61
2
Use the
or
button to select [Resize To Fit],
then the
or
button to select [On].
Adjusting the color balance
Use this function to adjust the colors in printouts
to match the colors displayed on the monitor.
Adjustments to the color balance are not reflected
in the monitor display.
It is recommended that you adjust the color
balance each time you load a new set of ink ribbon
and paper. You should use the ink ribbon and
paper that are contained in the same package as
a pair. The color balance may differ depending on
each pair.
If you capture the adjustments to memory, they
are retained even after the printer is turned off
and until new adjustments are captured to
memory.
Before adjusting the color balance
Reset all setting values in [Color Balance] on the
[Color Correction] tab of the [System Setup] menu
to their center values.
1
Display the [Color Correction] tab of the
[System Setup] screen, use the
or
button
to select [Color Balance], then press the
button.
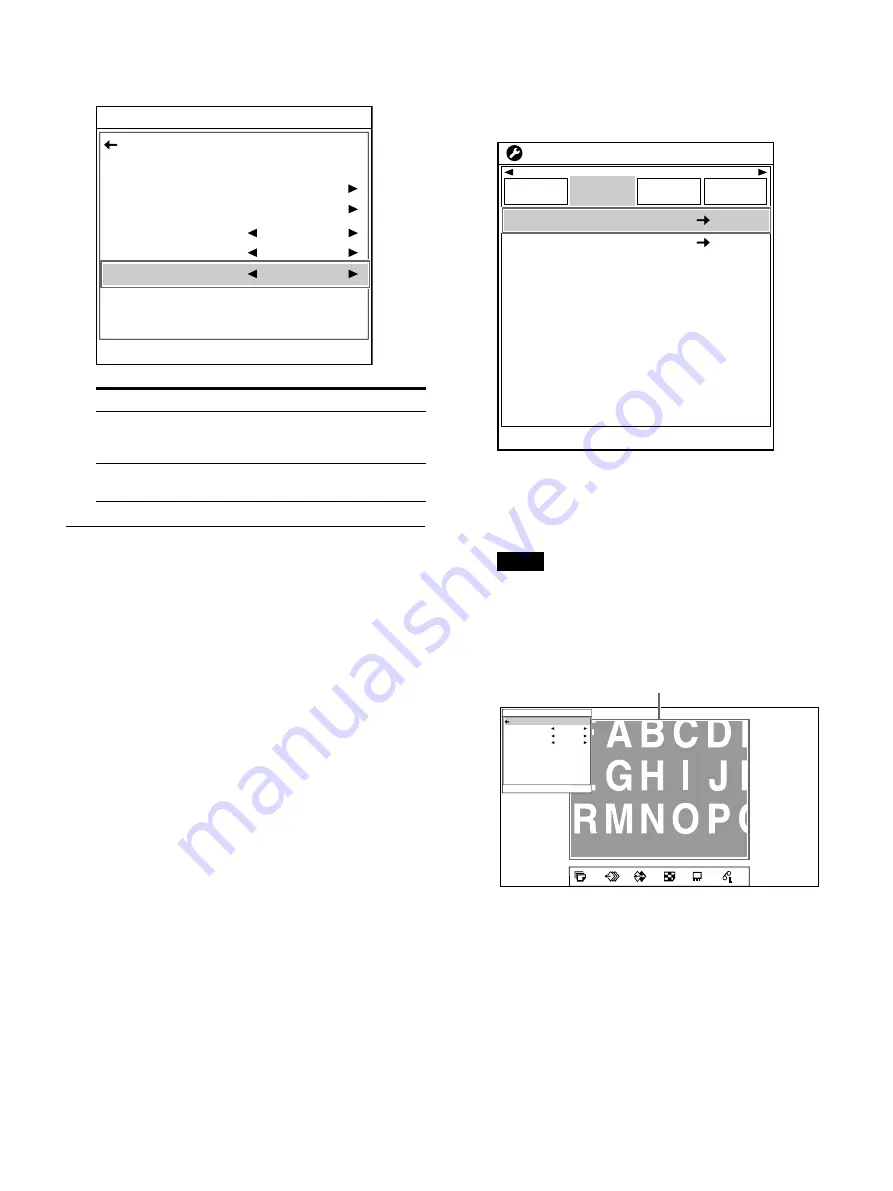
The [Color Balance] screen appears. The
highlighted area on the screen will be printed
to be used for adjusting the color balance. You
can move this area.
Note
If the layout was set to two or four reduced
image display, the page on which the pointer
was positioned will be displayed at full-size
image.
When you adjust the color balance for the first
time, the values of [Bal X], [Bal Y] and [Bal
Step] are set to the factory default settings 50,
50 and 5.
Option
Description
On
(default
value)
Prints the adjusted image to fit to the
paper size.
Off
Prints at the size adjusted in the
[General Range] screen.
End : MENU
General Range
Aspect Ratio
H Start
V Start
H Width
V Width
Resize To Fit
Back
16:9
0
0
1920
1080
On
End : MENU
Remote
Setup
Color Balance
System Setup
Color
Correction
Input
Setup
Monitor
Color Tone
HSV
1
A
S
2ı
50
4
Color Balance
Bal X
Bal Y
Bal Step
Test Print
Back
50
50
5
[EXEC]
End : MENU
Area that will be captured to memory
(Highlighted: about 1/2 the size of the entire screen)
Summary of Contents for UP-27MD
Page 90: ......


