34
1
Output images from the video device (source
images) onto the monitor.
This operation is done using the controls of
the connected equipment.
2
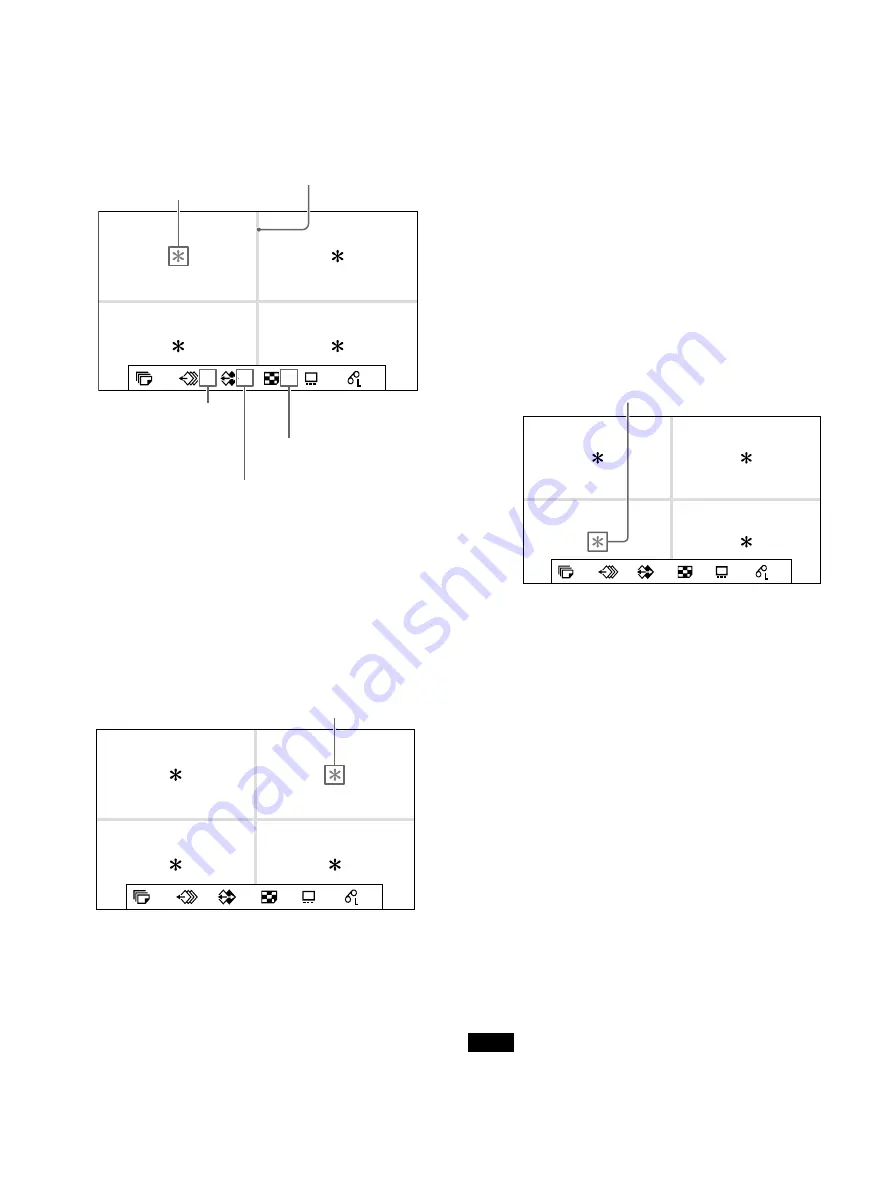
Press the CAPTURE button at the instant the
image appears on the screen.
The image is captured in the location
indicated by the blue pointer on the video
monitor or the position number displayed on
the printer window display in step 1. The blue
pointer moves to the next position where the
image is to be captured. The number also
changes on the printer window display.
At this time, the image captured in memory is
displayed on the video monitor. However, the
image to be displayed after depends on the
[Auto Live] (page 33) setting in the [Function
Setup] tab of the [User Setup] menu.
When the source image is displayed, go to
step 4.
3
Press the SOURCE/MEMORY button.
The source image appears on the video
monitor.
4
Repeat steps 2 and 3 until you have captured
four images when the memory image
remains on the video monitor.
Repeat step 2 until you have captured four
images when the source image appears on
the video monitor.
To replace a captured image
Example: When you want to change the
image captured in the third position.
Use the
,
,
, or
button to select
the image in the third position.
Display the source image on the video
monitor.
For further details, see step 3.
Press the CAPTURE button.
The previously captured image is replaced
with the newly captured image.
To keep a previously captured image
Skip images that you want to keep by pressing
the
,
,
, or
button.
5
Press the PRINT button.
The four reduced images are printed on one
sheet of paper.
Whether or not white frames are added to a
print depends on the [White Frames]
(page 35) setting in the [Print Setup] tab of the
[User Setup] menu.
To add white frames to reduced images
You can set whether or not reduced images are
printed with white borders.
Note
This setting is also effective for the images which
have been captured.
1
A
S
2ı
50
4
Number of reduced images
Displayed in blue:
Indicates that an image
will be captured here.
Indicates that the images on the screen are
being sent from source equipment.
When white frames have
been set, they appear on
the screen.
The memory page in which
the four reduced images
are to be captured.
1
A
S
2ı
50
4
The next pointer turns blue.
1
A
S
2ı
50
4
Press the
,
,
, or
button until the
pointer at the third image turns blue.
Summary of Contents for UP-27MD
Page 90: ......


