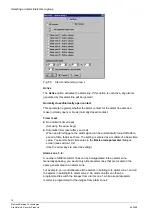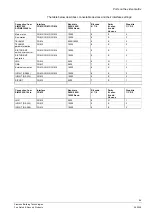
Selecting an alarm line/camera group
75
Siemens Building Technologies
Fire Safety & Security Products
06.2008
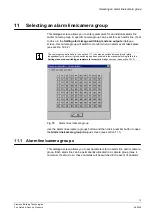
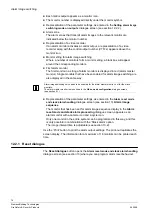
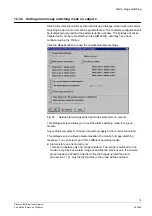
It is also possible to allocate an alarm line to more than one alarm zone. You must
program at least one alarm zone as otherwise image switching will not take place
when an alarm triggers.
Highlight the desired alarm line/ alarm lines in order to allocate it/them to an alarm
zone.
A time field for the alarm zone is also displayed (e.g. 07:00<->12:00). If no time
period is defined,
"always"
will appear.
A time-enabled change in alarm zone status will only become effective if the alarm zone is manually
inactive and the preset start time lies in the past.
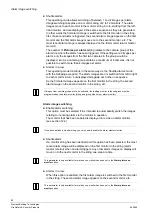
11.2 Cameras in the group and alarm positioning
z
Cameras in the group (for group and alarm line switching):
The camera groups are defined here. A group consists of a maximum of four
cameras. Enter the desired camera numbers for the four cameras in the group
here (cameras 1 to 4). The numerical sequence of the cameras in the group
(cameras 1 to 4) is relevant in that switching within a monitor string will take
place in this sequence. The sequence starts with a display of the image from the
camera on the first monitor in the string (master monitor).
If a group only consists of two cameras, for example, enter camera number ‘0’
for the third and fourth cameras in the group.
(Set using the arrow keys)
z
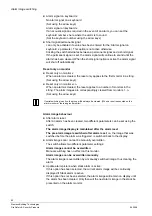
Alarm positioning
If fitted with CDC control, all the cameras in a group can be positioned
automatically when an alarm triggers.
The alarm position (freely selectable position number) must be stored in memory
using the keyboard.
z
No automatic alarm positioning
(set using the arrow keys)
z
Position x is the alarm position
(Set the position number using the arrow keys)


