MF 5990 - Agoris M943
- 67 -
10 - Using a USB memory key
Using a USB
memory key
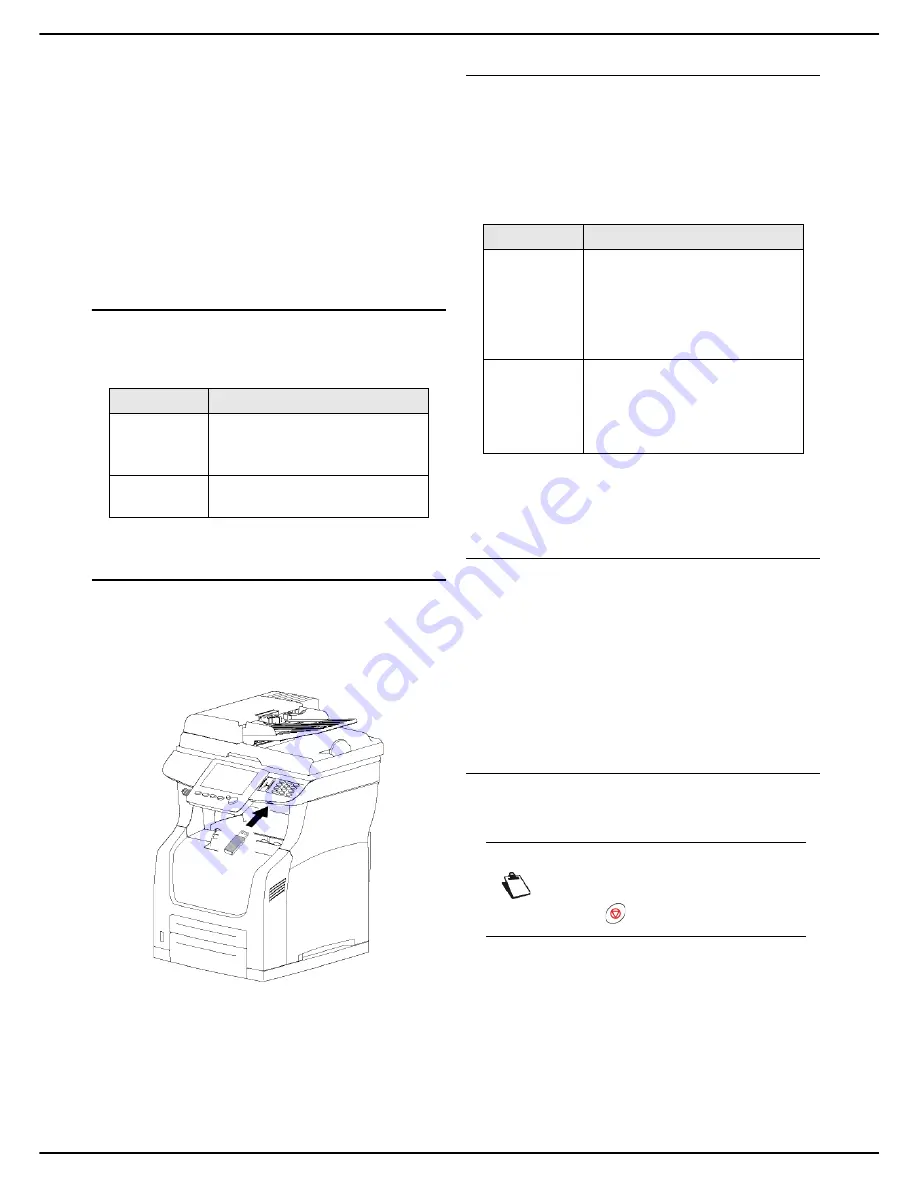
You can connect a USB key to the machine. The
compatible files are analyzed and you may perform the
following operations:
• print files from your USB key;
• scan and save a document on your USB key;
• scan the content of your USB key.
Support compatibility
The machine can read the contents of the following USB
peripherals:
Recommendations for using USB
keys
• Before using a USB key, always make a backup of its
contents. Thus, in the event of any data loss, you will
be able to retrieve the contents using the backup copy.
• Always insert your USB key in the machine without
forcing and respecting the direction of insertion.
• Never disconnect a USB key when a read or save op-
eration is in progress.
• Remove the inserted USB key only when the machine
has completed any printing or saving operations.
• If the machine cannot read the content of the USB key,
check that the USB key is compatible, that it is correct-
ly inserted, and that the file formats are compatible.
Viewing the content of a USB key
When you insert a USB key into the machine, its content
is immediately analyzed. The number of files present is
displayed and the special menu
USB KEY
opens.
The
USB KEY
function offers you methods of display and
selection suited to the types of documents you wish to
print:
Printable files (documents and images) are displayed
without taking account of their arborescence on the USB
key.
Printing files from a USB key
For clarity and to help you select the right printing options
for the type of files to be printed, this section explains the
following operations separately:
• Printing photos from a USB key;
• Printing documents from a USB key.
It is possible to select image and document files to be
printed in the same operation. In this case, common
printing options (paper format, paper type, number of
copies, etc.) will apply to all files selected.
Printing photos from a USB key
To print image files present on your USB key, proceed as
follows:
Cancelling an operation
1
Insert your USB key into the machine respecting
the insertion direction.
The USB key is analyzed. When the analysis is
complete, the
USB KEY
menu is displayed.
2
Press
.
The first settings appear on the screen. Use
OTHER PARAMETERS
to access all available
settings.
3
Press
IMAGES
to select the photos to print.
Support
Characteristics
Peripheral
Mass storage peripheral 2.0
formatted in FAT 16 or FAT 32
Maximum size 20 Gb
Files
Photo / Image: JPEG
Document: TIFF, TXT, PDF
Mode
Description
DOCUMENTS
Only printable documents on the
USB key are displayed in the form
of a list.
The file names and their
extensions are displayed to
facilitate selection.
IMAGES
Only printable image files present
on the USB key are displayed.
The images/photos are displayed
as thumbnails to facilitate
selection.
Note
You may cancel an operation at any time by
pressing
.


