43
In addition to the preceding method, you can also set the origin point by using the [
] and [
] keys to feed out the
required length of material to the rear of the machine, then pressing the [ORIGIN] key.
For more information, see “3-4 Setting the Origin Point.”
Setting the Cutting Area Using the CAMM-1 Driver
When you use the CAMM-1 driver to select [Front Loading], the required cutting area is set by the computer.
Load material, then choose either [ROLL] or [R-EDGE].
At the CAMM-1 driver's Properties window, click the [Options] tab, then select [Front Loading]. Also, go to the [Size] tab
and make the setting for [Cutting Area]. The cutting area of the size you set here is made available.
When you send cutting data from the computer, the material is fed toward the back without any cutting performed. A new
origin point is set and the cutting area of the size you had set in step 2 is made available automatically. Cutting then starts.
When cutting has finished, the tool returns to the origin point. If you are going to send another set of cutting data, leave the
location of the tool unchanged.
1
2
3
4
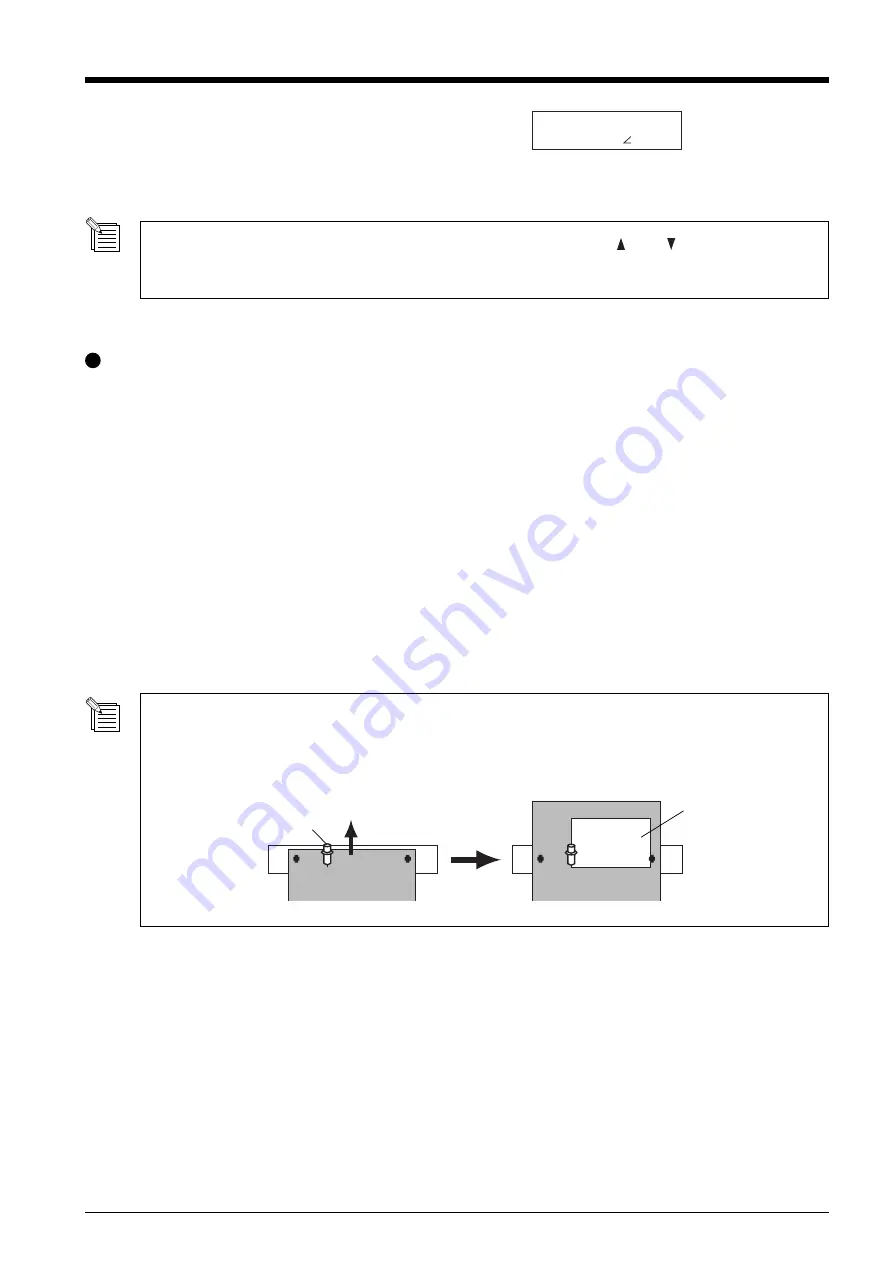
The tool position when cutting starts is used as the point of origin for automatically making the cutting area available
using [Front Loading]. It makes no difference where the origin point has been set.
Present position of the tool is used as the point for origin in not only feed direction but also right and left direction.
Tool location
at cutting start
cutting area
6
Press the [MENU] key to back to the screen shown in
the figure.
If the material is crooked and looks like it might come
loose from the pinch rollers, or actually does come
loose, reload the material.
20cm/s
50gf 0.250mm A
Summary of Contents for Camm-1 Pro GX-300
Page 9: ...To Ensure Safe Use 7...
Page 16: ...14...
Page 54: ...52...
Page 66: ...64...
Page 70: ...68...
Page 81: ...79...
Page 82: ...80...
Page 83: ......
Page 84: ...R3 070216...


