7.1. Vacuum Gripper cleaning
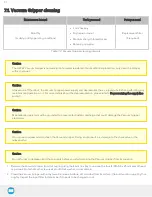
Maintenance Interval
Tools you need
Parts you need
Monthly
(or daily in dirty operating conditions)
l
4 mm hex key
l
Dry tissue or towel
l
Medium strength thread locker
l
Retaining ring plier
Replacement filter
(if required)
Table 7-2: Vacuum Gripper cleaning intervals
Caution
The AirPick Vacuum Gripper is not waterproof or water resistant without additional protection, only clean the Gripper
with a dry towel.
Caution
Always turn off the robot, the Vacuum Gripper power supply and depressurize the air supply tube before performing any
maintenance operation on it. For more details about the depressurization, please refer to Depressurizing the supply line
Caution
Maintenance operator must be grounded to prevent electrostatic discharge that could damage the Vacuum Gripper
electronics.
Caution
Do not use compressed air to clean the Vacuum Gripper. Doing so can result in a damage to the check valve or the
release valve.
Caution
Do not forget to depressurized the air supply before you start removing the Vacuum Gripper from its coupling.
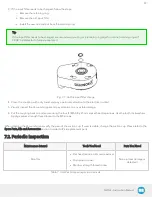
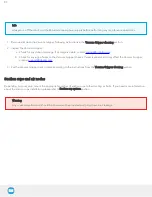
1. Remove the Vacuum Gripper from its coupling using the 4 mm hex key to unscrew the four (4) M5-0.8 x 25 mm socket head
cap screws. Note that each screw uses a tooth lock washer, do not discard.
2. Clean the Vacuum Gripper with a dry towel, remove all debris, dirt and dust from its surface. Clean all suction cups. Dry thor-
oughly. Inspect the input filter to determine if it needs to be changed or not.
91
Summary of Contents for AirPick
Page 25: ...Fig 3 7 Mounting air nodes suction cups air bolts air nuts on the bracket 25...
Page 27: ...Fig 3 9 Robotiq Vacuum Gripper with pigtail cable and device cable wiring scheme 27...
Page 35: ...Fig 4 1 Vacuum Gripper control logic overview 35...
Page 57: ...7 Click on the New Project icon in the upper left corner of the screen 57...
Page 58: ...AirPick Instruction Manual 8 Enter a name for your program and click on the OK button 9 58...
Page 76: ...Fig 6 5 Minimum and maximum arrangement possibilities of the air nodes position 76...
Page 77: ...AirPick Instruction Manual 6 1 3 Air nodes Fig 6 6 Air nodes dimensions 77...
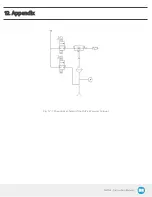
Page 103: ...AirPick Instruction Manual 12 Appendix Fig 12 1 Pneumatic schema of the AirPick Vacuum Gripper...

