


AirPick - Instruction Manual
15
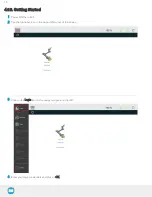
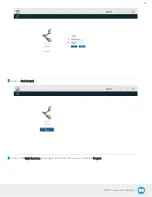
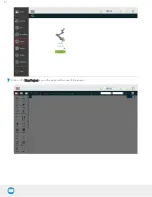
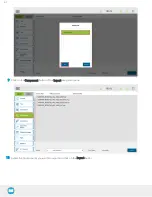
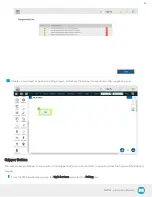
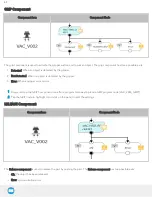
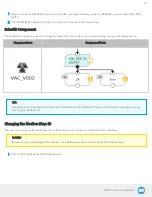
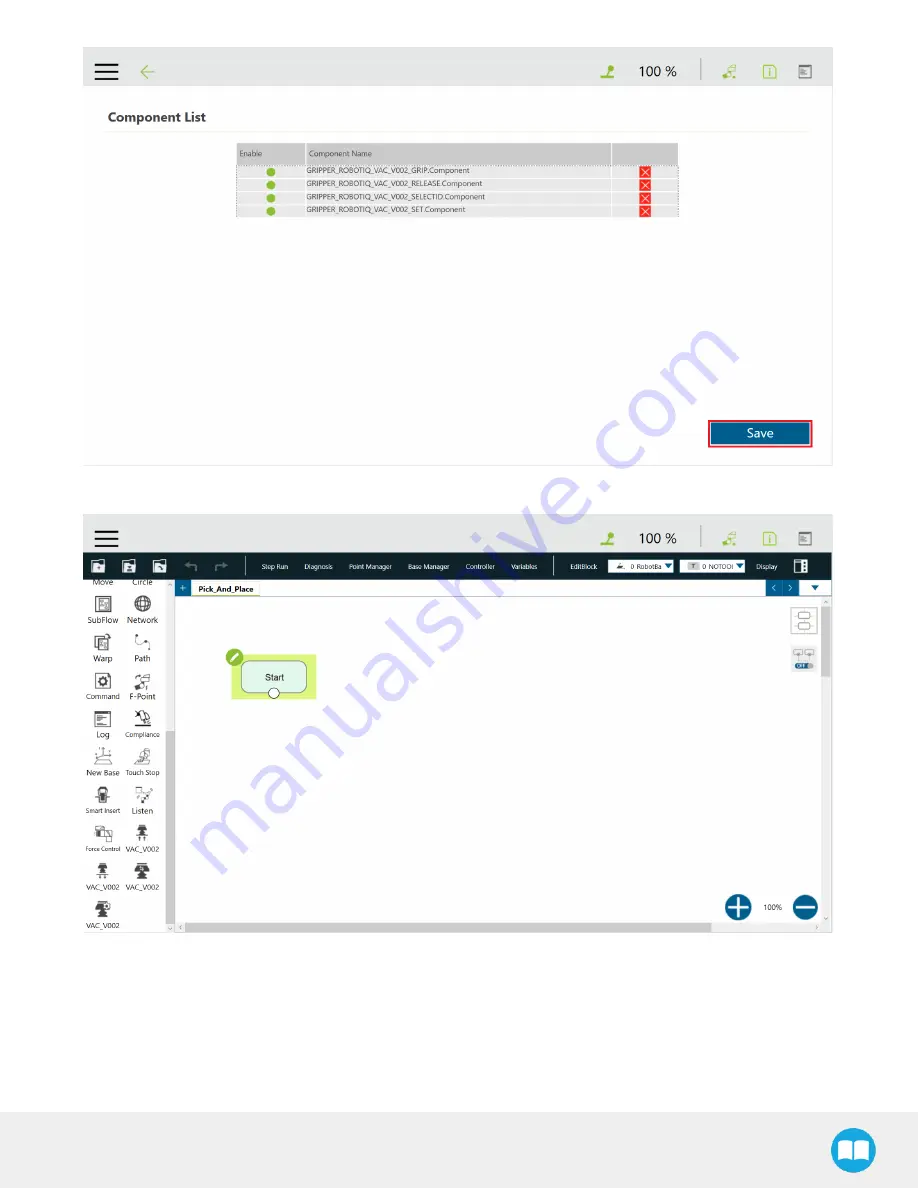
Create a new project or open an existing project, and locate the Gripper components in the navigation pane
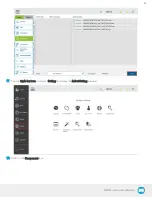
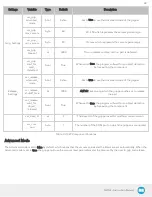
Gripper Button
The user can assign Gripper Components to the Gripper button and use the latter to open and close the fingers of the Robotiq
Gripper.
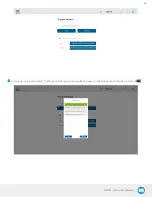
1
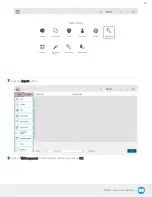
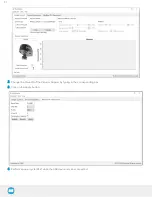
From the TM Flow homepage, tap the triple bar icon and select the Setting icon
64
Summary of Contents for AirPick
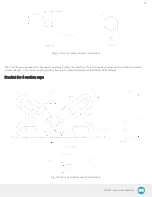
Page 25: ...Fig 3 7 Mounting air nodes suction cups air bolts air nuts on the bracket 25...
Page 27: ...Fig 3 9 Robotiq Vacuum Gripper with pigtail cable and device cable wiring scheme 27...
Page 35: ...Fig 4 1 Vacuum Gripper control logic overview 35...
Page 57: ...7 Click on the New Project icon in the upper left corner of the screen 57...
Page 58: ...AirPick Instruction Manual 8 Enter a name for your program and click on the OK button 9 58...
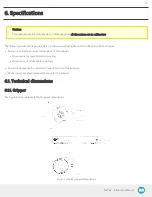
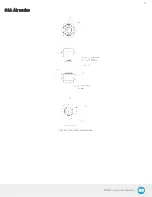
Page 76: ...Fig 6 5 Minimum and maximum arrangement possibilities of the air nodes position 76...
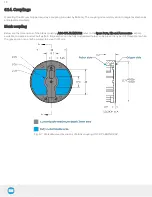
Page 77: ...AirPick Instruction Manual 6 1 3 Air nodes Fig 6 6 Air nodes dimensions 77...
Page 103: ...AirPick Instruction Manual 12 Appendix Fig 12 1 Pneumatic schema of the AirPick Vacuum Gripper...