Installing Options
16
2
D
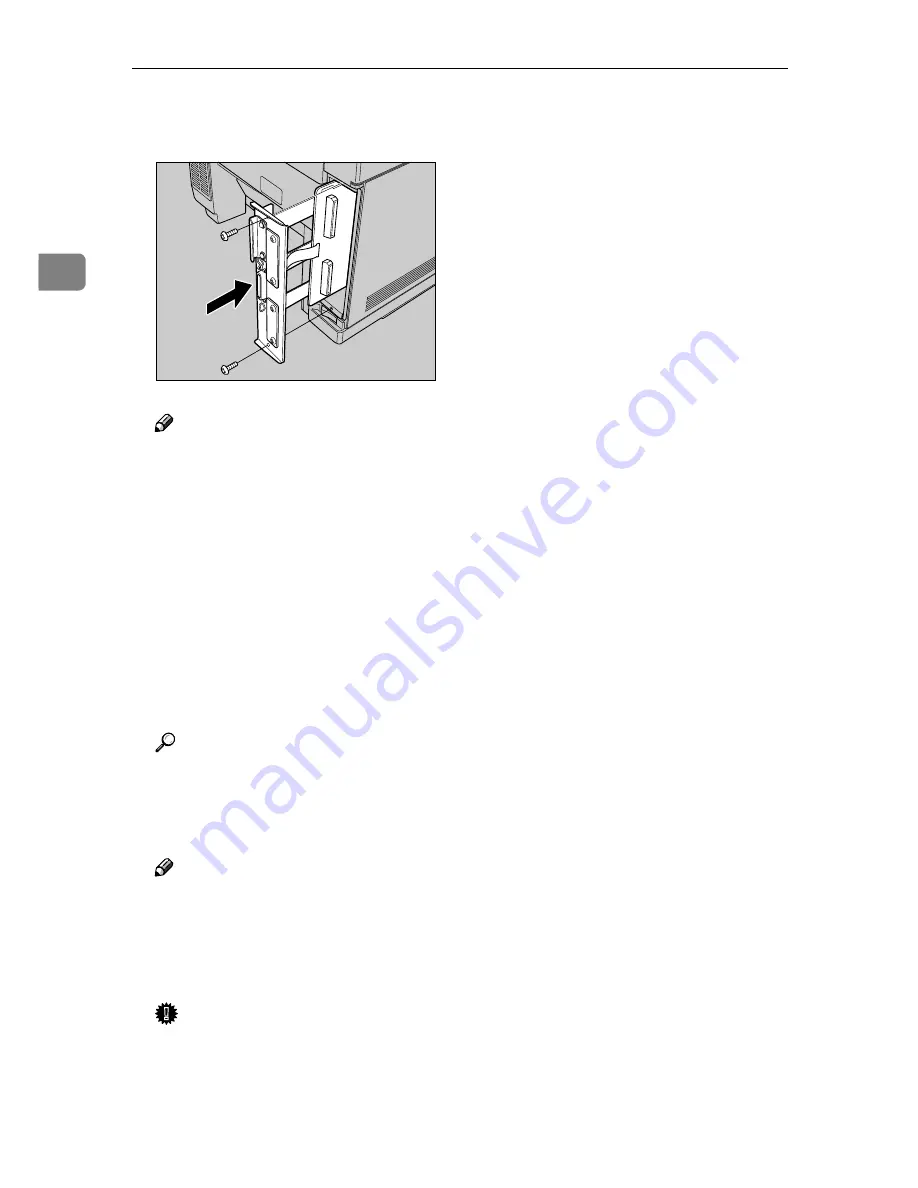
Insert the printer board into the
printer. Fasten both screws.
Note
❒
A coin can be used to fasten the
screws.
E
Connect all cables removed in
step
A
.
F
Plug the printer's power cord
back into the printer and the out-
let. Turn on the printer's power
switch.
G
Print a configuration page to con-
firm that the memory unit is prop-
erly installed.
Reference
⇒
"Printing the Configuration
Page" in the "Printer Reference"
included as a PDF file on the
CD-ROM
Note
❒
If the memory unit is not prop-
erly installed, follow the above
procedure to reinstall it. If you
fail again, contact your sales or
service representative.
Important
❒
To make the printer recognize
the installed option properly,
you must set up the option with
the printer driver.
ZDGP020J
Summary of Contents for Lanier AP206
Page 12: ...viii ...
Page 24: ...Getting Started 12 1 ...
Page 46: ...Configuring the Printer for the Network 34 3 ...
Page 72: ...UE USA G063 8647 ...
Page 84: ...x ...
Page 118: ...Paper and Other Media 34 3 ...
Page 209: ...125 MEMO ...
Page 210: ...126 UE USA G063 MEMO ...
Page 212: ...UE USA G063 8667 ...
Page 274: ...Windows NT 4 0 Configuration 48 3 ...
Page 300: ...Macintosh Configuration 74 5 ...
Page 339: ...Copyright 2000 ...
Page 340: ...Network Interface Board Operating Instructions EE GB UE USA G063 8680 ...
Page 366: ...Using RICOH SCRIPT2 with Windows 22 1 ...
Page 374: ...Using RICOH SCRIPT2 with a Macintosh 30 2 ...
Page 380: ...36 EE GB UE USA G063 MEMO ...
Page 381: ...Copyright 2000 ...
Page 382: ...RICOH SCRIPT2 Operating Instructions EE GB UE USA G063 8900 ...
Page 388: ...iv ...
Page 404: ...16 UE USA G063 MEMO ...
Page 405: ...Copyright 2000 ...
Page 406: ...UNIX Supplement UE USA G063 8697 ...


