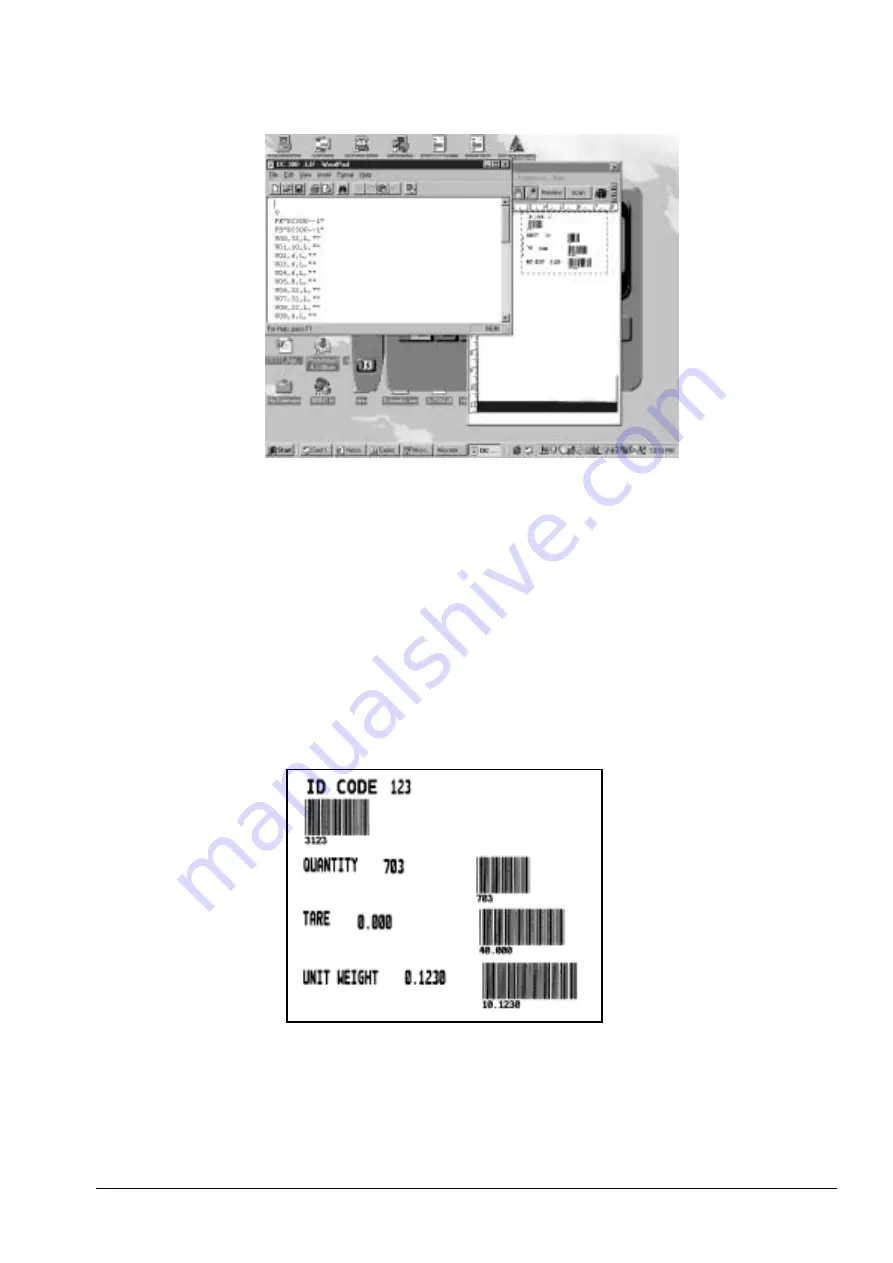
7. Change the “O” in the first line to an “N”.
Figure 5-10. Editing the .EJF File
8. In the second and third lines, if the name is too long for the program to recognize, it will truncate the
name, putting a x in it. If you have names with an x in them in the second or third lines, rename them
using 8 characters or less.
9. For each line from V00 to V16, change the justification from L to N. Example: change V00, 32, L, ““ to
V00, 32, N,””. You can edit the lines manually or, if you are familiar with the function, use the Replace
function under the Edit Menu in WordPad.
10. At the end of the .EJF file, insert a line before the last line FE and enter PA1. This tells the printer to print
one label.
11. Save the .EJF file you have edited by opening the File Menu and clicking on
Save
or by clicking on the
disc icon on the toolbar. Keep the same file name you have already given this label format.
12. Close the WordPad application.
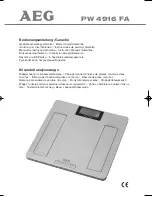
Below is a sample label and the corresponding .EJF file after it has been edited in Wordpad or Notepad.
Figure 5-11. Sample Label Format From .EJF File Downloading the Label Format from the Computer to the Eltron Printer
All manuals and user guides at all-guides.com


