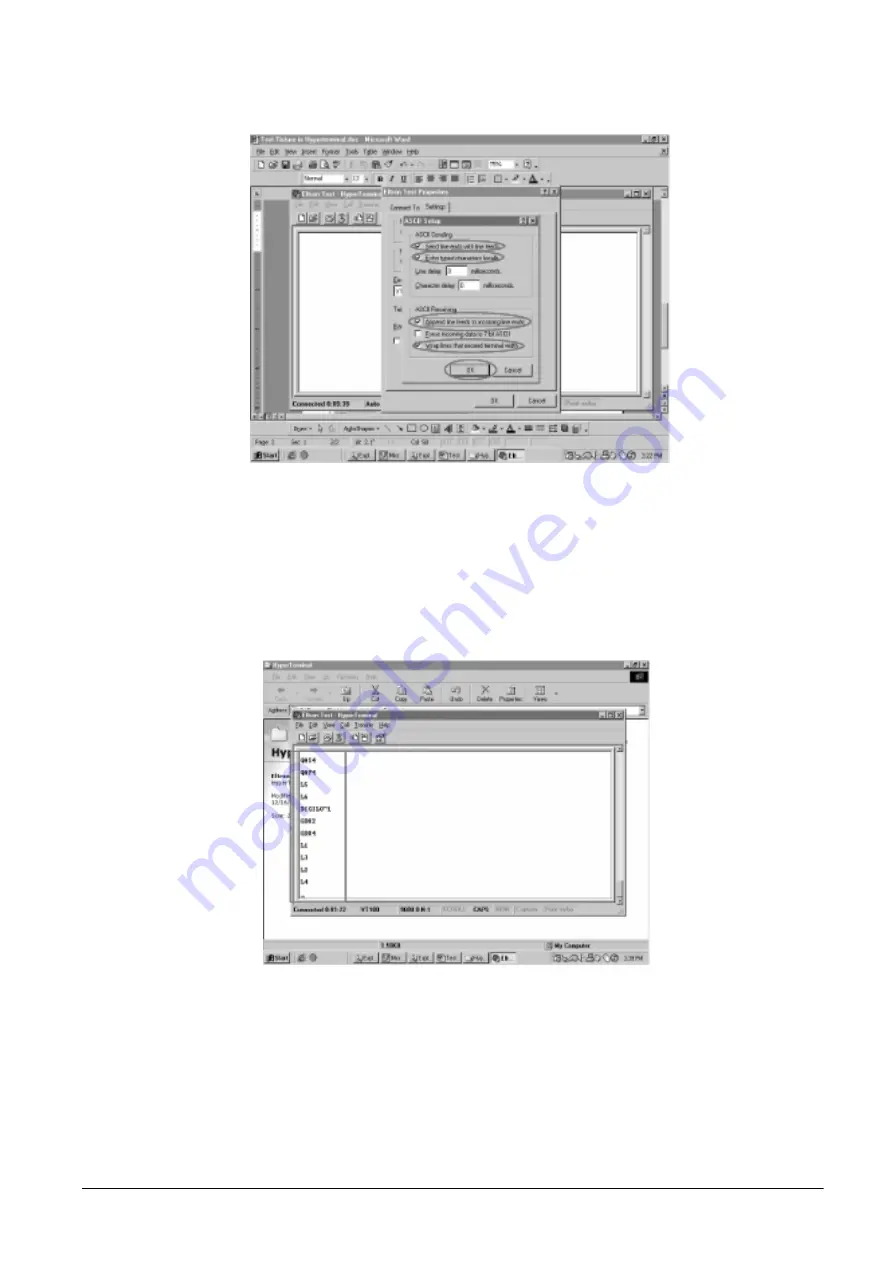
Figure 5-19. ASCII Setup in HyperTerminal
10. Click on the
OK
button to close the ASCII Setup dialog box, then click on the
OK
button to close the
Properties dialog box. Hyperterminal is now ready for data transfer.
11. Press the
Cap Locks
key on your keyboard and type one of the following two commands in the terminal
window:
•
Type
UG
to have the printer return what graphic is stored in the Eltron printer’s memory.
•
Type
UF
to have the printer return what label format is stored in the printer.
12. The terminal window will now display the data returned by the printer.
Figure 5-20. Printer Memory Displayed in HyperTerminal
13. When finished, select the File Menu and Exit to close HyperTerminal. The program will ask you whether
you want to save the “Eltron Test” session or not. Click on the
Yes
button to save the settings for future
use. The next time you open the HyperTerminal accessory, “Eltron Test” will be one of the connection
choices.
All manuals and user guides at all-guides.com


