5.2.6
Testing to See What Label Format or Graphic is in the Eltron Printer’s Memory
1. On the Windows Taskbar, click on the
Start
Button.
2. From the Start Menu select
Programs
and then, from the programs menu select
Accessories
.
3. Within the Accessories menu select
Communications
and in the communications menu choose
HyperTerminal
.
4. In the Connection Description dialog box, type Eltron Test in the Names field. Click on the
OK
button.
5. In the Connect To dialog box, use the pull-down list box for Connect Using: to select Direct to COM1.
Click on the
OK
button.
6. In the COM1 Properties dialog box, on the Port Settings tab, set the following:
•
set Bits per second: to 9600
•
set Data bits: to 8
•
set Parity: to None
•
set Stop Bits to 1
•
set Flow Control: to Hardware
When you are done configuring the Port Settings, click on the
OK
button to exit the Port Settings dialog
box.
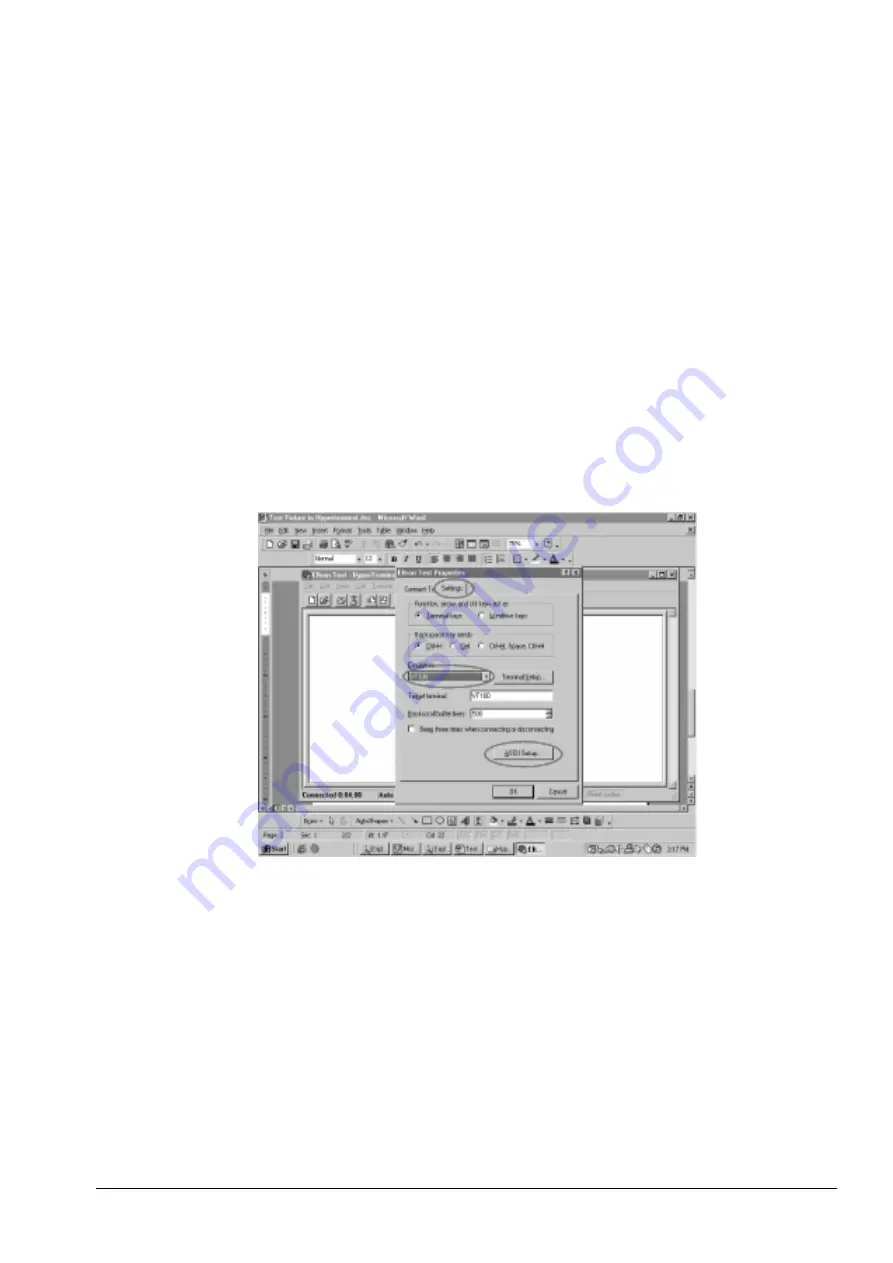
7. Click on the File Menu and select Properties. In the Properties dialog box, select the tab labeled
Settings
.
8. In the Settings dialog box, choose
VT100
as the Emulation.
Figure 5-18. Emulation in Hyperterminal
9. In the Settings dialog box, click on the button labeled
ASCII Setup
. Then, in the ASCII Setup dialog box,
click on the check boxes for
Send line ends with line feeds
,
Echo typed characters locally
,
Append line
feeds to incoming line ends
, and
Wrap lines that exceed terminal width
check boxes to select them.
All manuals and user guides at all-guides.com


