


4.6
Removing the Thermal Print Head (DC-300 only)
1. Open the printer drawer block.
2. Remove the screw holding the print head assembly in place.
Figure 4-16. Printer Head Assembly Screw
3. Turn the metal plate counter-clockwise. Then move the paper lead roller out of the way.
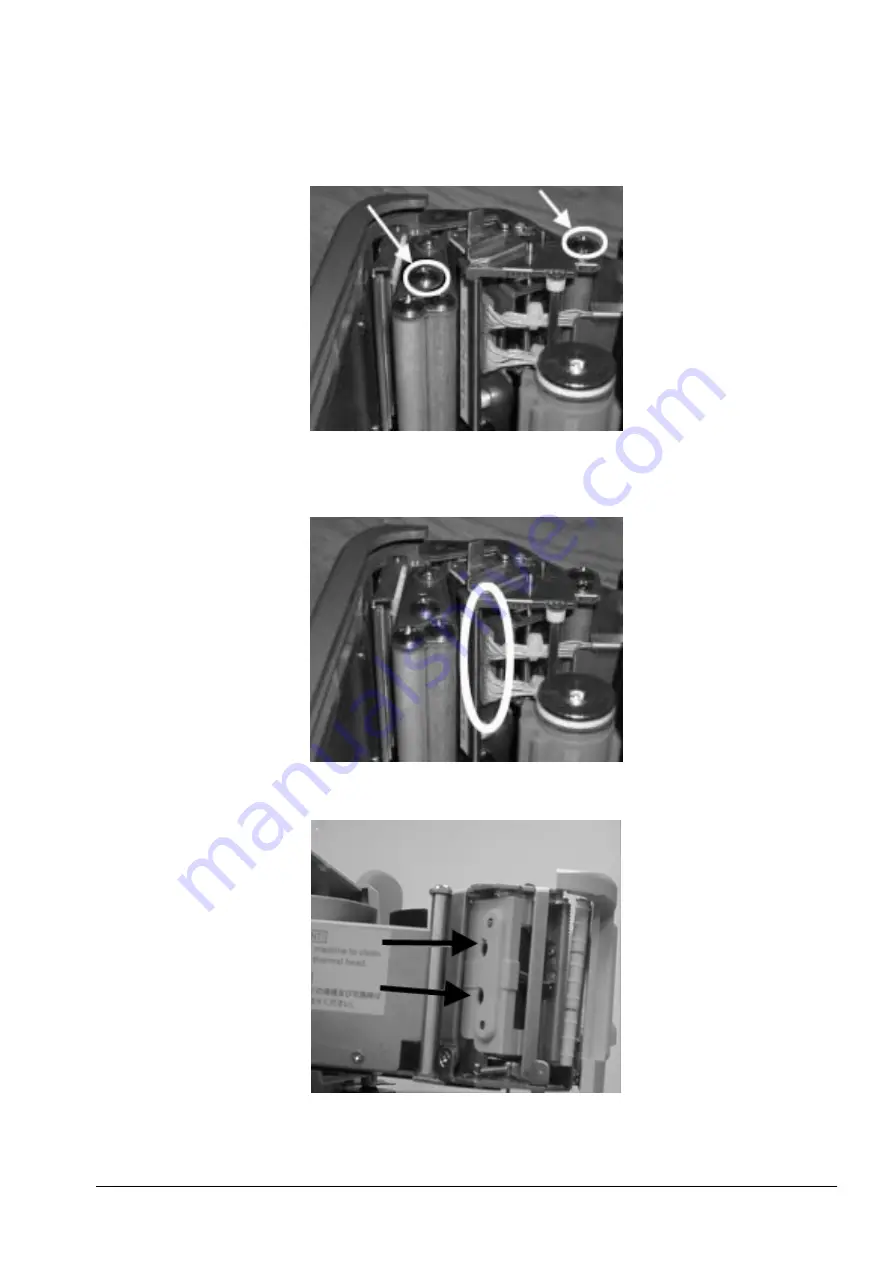
4. Disconnect the two cables going to the printer head.
Figure 4-17. Disconnect Printer Cables
5. Remove the two Allen screws holding the thermal print head in the printer head assembly.
Figure 4-18. Printer Head Allen Screw Location
All manuals and user guides at all-guides.com