119
1.800.627.4499
DN-Series Integrated Programmable Controls
DOAS
SYSTEM MONITORING
2. Click on “Choose File” and locate the file on your PC that corresponds to the controller.
HINT: The ending character in the UID of the controller should match the character of the ap1
file. Click “OPEN.”
3. You should now see that file name next to “Choose File.” Click “Upload AP1 to c.pco.” You
will see the file upload.
4. On the controller the program will see the file and require you to push “ENTER.” You can see
that on the front of the controller itself or on the RUT page of the web pages.
5. Once the upgrade is finished the controller will ask you to reboot.
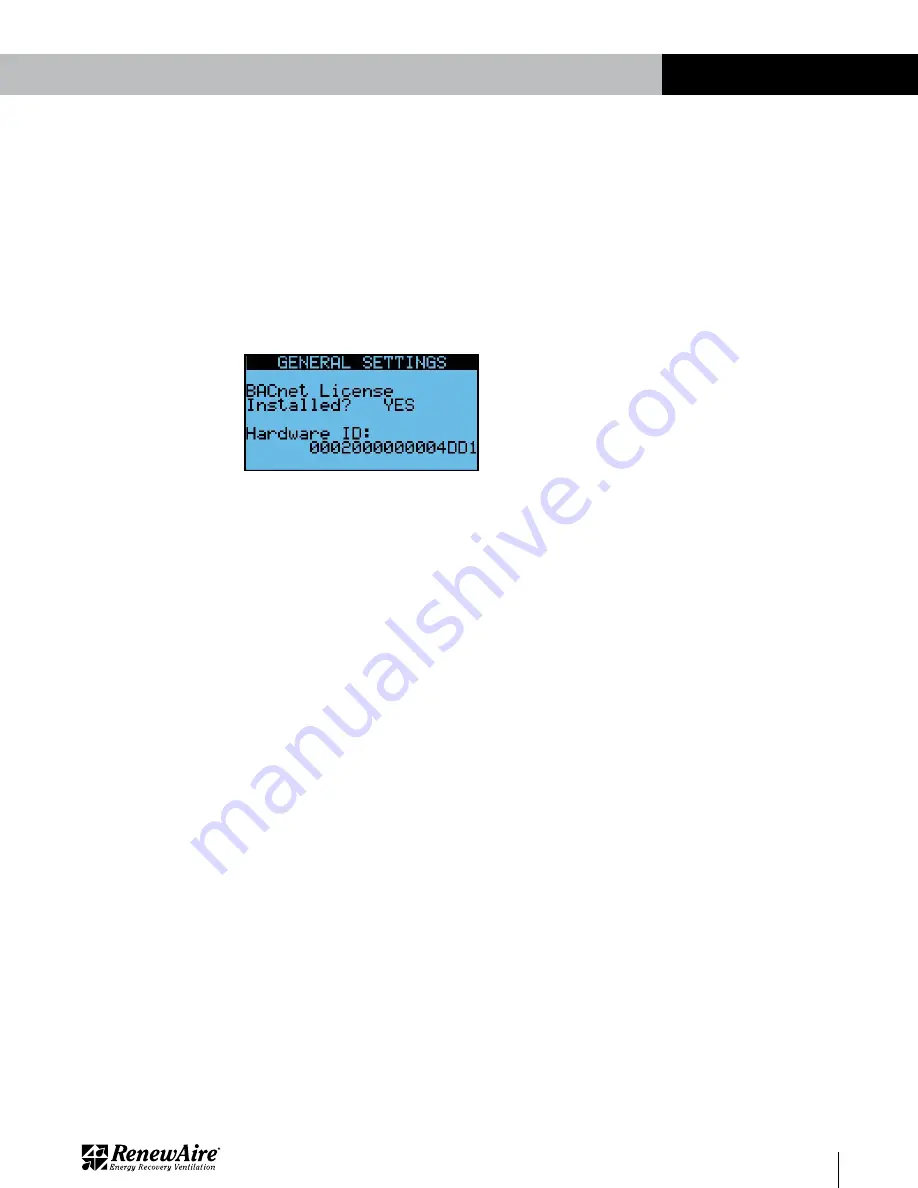
You can then verify that the license is installed by going to the RUT page.
13.6.3 Installing the BACnet License via USB Drive
Prerequisites
u
Micro USB Adapter
u
USB Stick with the file in a folder in the root called “UPGRADE.” The file you received should
be in that folder.
Steps
1. Carefully insert the micro USB end into the controller front under the door with the wide side
to the bottom.
2. You should now see a prompt telling you press the enter key.
3. Once finished you will be prompted to press “ENTER” again.
You should now see the license is installed in the controller screen.
13.6.4 Installing the BACnet License via USB Connection
Prerequisites:
u
PC
u
Micro USB cable with the ability to plug in with a PC and have the controller appear as a USB
drive in your Windows Explorer
Steps
1. Carefully insert the micro USB end into the controller front under the door with the wide side
to the bottom.
2. You should see a folder called “UPGRADE” in the controller. Put the file in that folder.
3. You should now see a prompt telling you press the enter key.
4. Once finished you will be prompted to press “ENTER” again.
You should now see the license is installed in the controller screen.


