© Copyright Qvis ®. All documentation rights reserved.
32
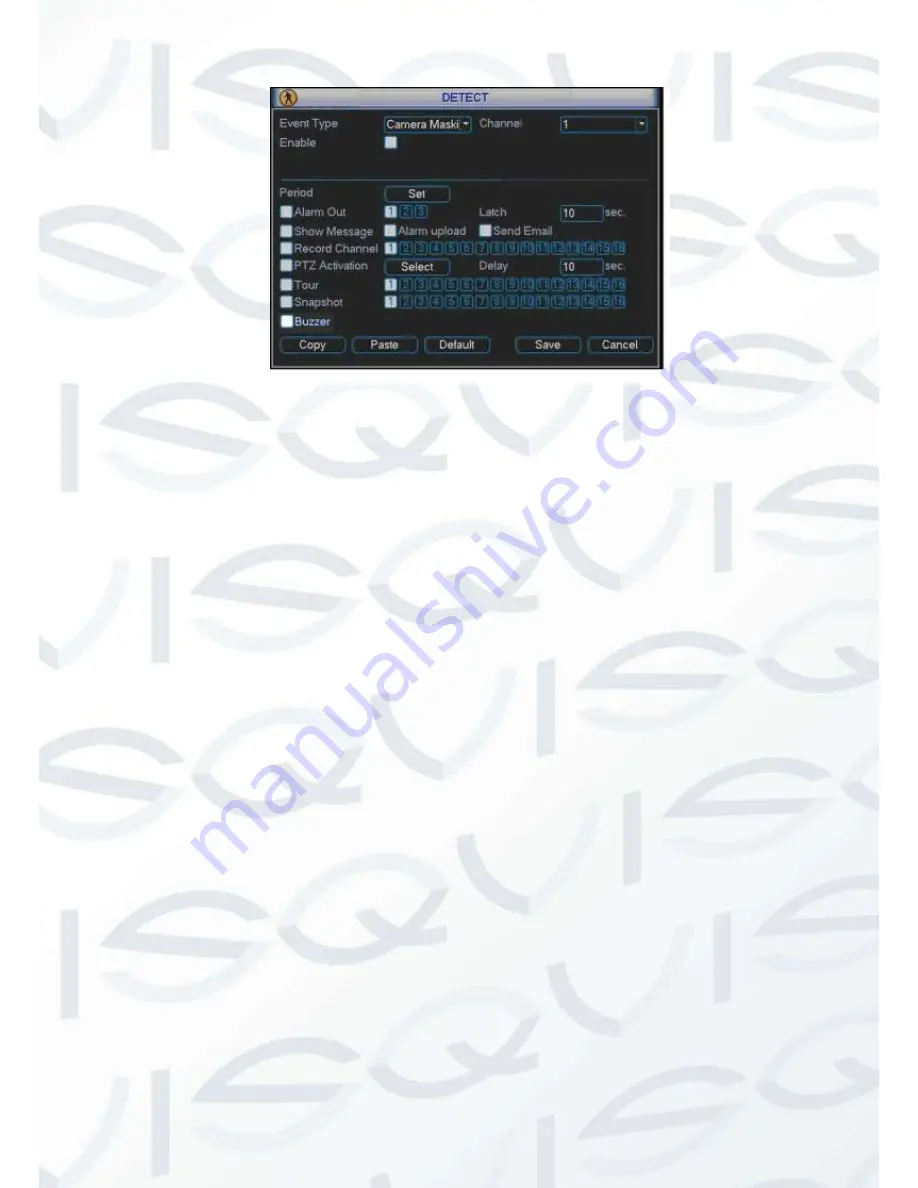
Figure 3-27
3.7 Alarm Setup and Alarm Activation
Before operation, please make sure you have properly connected alarm devices such as buzzer.
3.7.1 Go to alarm setup interface
In the main menu, from Setting to Alarm, you can see alarm setup interface. See Figure 4-28.
3.7.2 Alarm setup
Alarm interface is shown as below. See Figure 4-28.
Alarm in:
Here is for you to select channel number.
Event type:
There are two types. One is local input and the other is network input.
Type:
normal open or normal close.
PTZ activation:
Here you can set PTZ movement when alarm occurs. Such as go to
preset, tour&
pattern when there is an alarm. Click “select” button, you can see an
interface is shown as in Figure 3-.
Period:
Click set button, you can see an interface is shown as in Figure 3-. Here you can
set for business day and non-business day. In Figure 3-, click set button, you can see an
interface is shown as in Figure 3-. Here you can set your own setup for business day and
non-business day.
Anti-dither:
Here you can set anti-dither time.
Show message
: System can pop up a message to alarm you in the local host screen if
you enabled this function.
Alarm upload:
System can upload the alarm signal to the network (including alarm
centre) if you enabled current function.
Send email:
System can send out email to alert you when alarm occurs.
Record channel
: you can select proper channel to record alarm video (Multiple choices).
At the same time you need to set alarm record in schedule interface (Main Menu-


