Chapter 3: Setup
41
3.
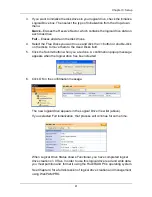
If you want to initialize the disk drives in your logical drive, check the Initialize
Logical Drive box. Then select the type of Initialization from the drop-down
menu:
Quick
– Erases the Reserve Sector, which contains the logical drive data on
each disk drive.
Full
– Erases all data on the disk drives.
4.
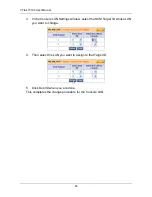
Select the Free Disks you want to use and click the >> button or double-click
on the disks to move them to the Used Disks field.
5.
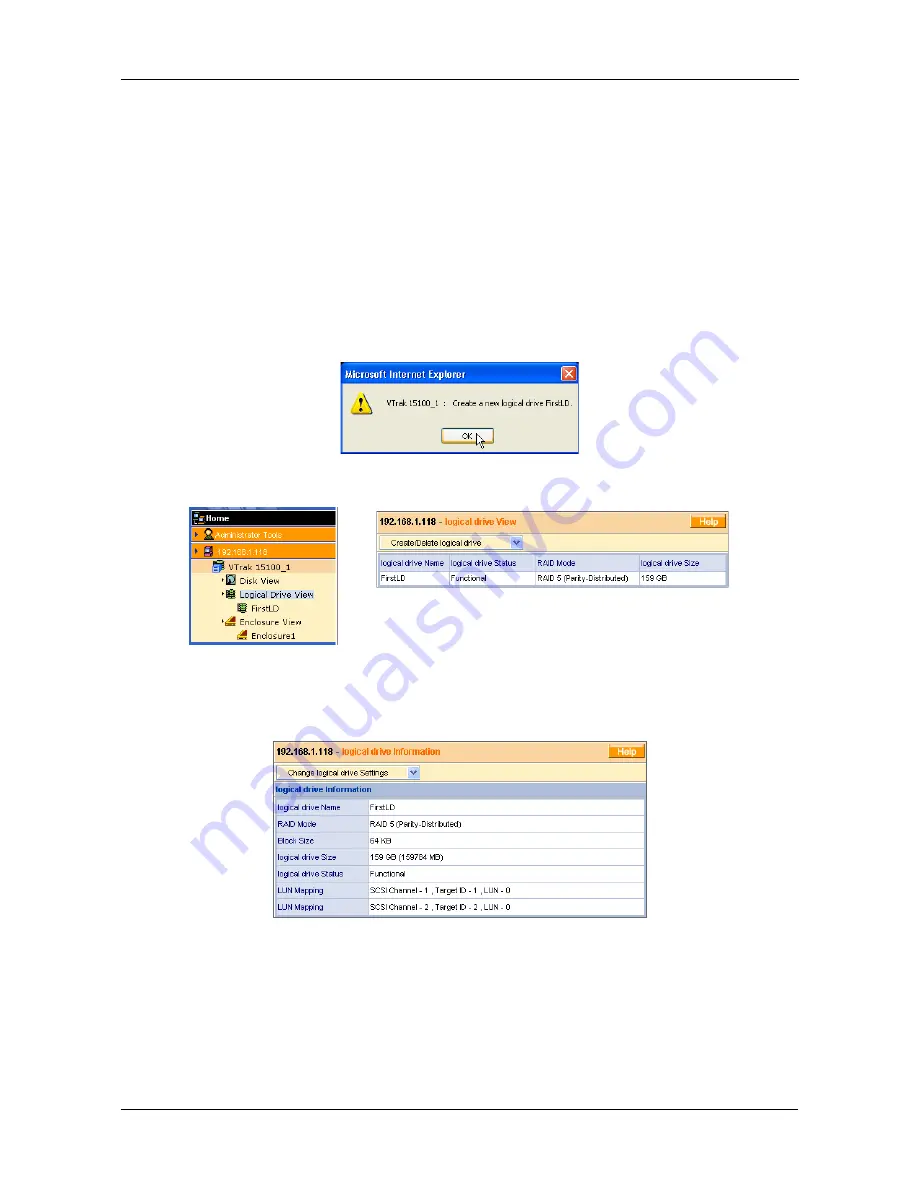
Click the Submit button when you are done. A confirmation popup message
appears when the logical drive has been created.
6.
Click OK in the confirmation message.
The new logical drive appears in the Logical Drive View list (above).
If you selected Full Initialization, that process will continue for some time.
When Logical Drive Status shows
Functional
, you have completed logical
drive creation on VTrak. In order to use this logical drive read and write data,
you must partition and format it using the Host/RAID PC’s operating system.
See Chapter 4 for a full discussion of logical drive creation and management
using WebPAM PRO.
Summary of Contents for VTRAK 15100
Page 1: ...VTRAK 15100 USER MANUAL Version 1 4 PROMISE VTrak 15100 ...
Page 42: ...VTrak 15100 User Manual 34 ...
Page 60: ...VTrak 15100 User Manual 52 ...
Page 176: ...VTrak 15100 User Manual 168 ...
Page 186: ...VTrak 15100 User Manual 178 ...

