Section 4: Ribbons and Print Media
21
Digital Label and Decal Press 2 UserÕs Manual
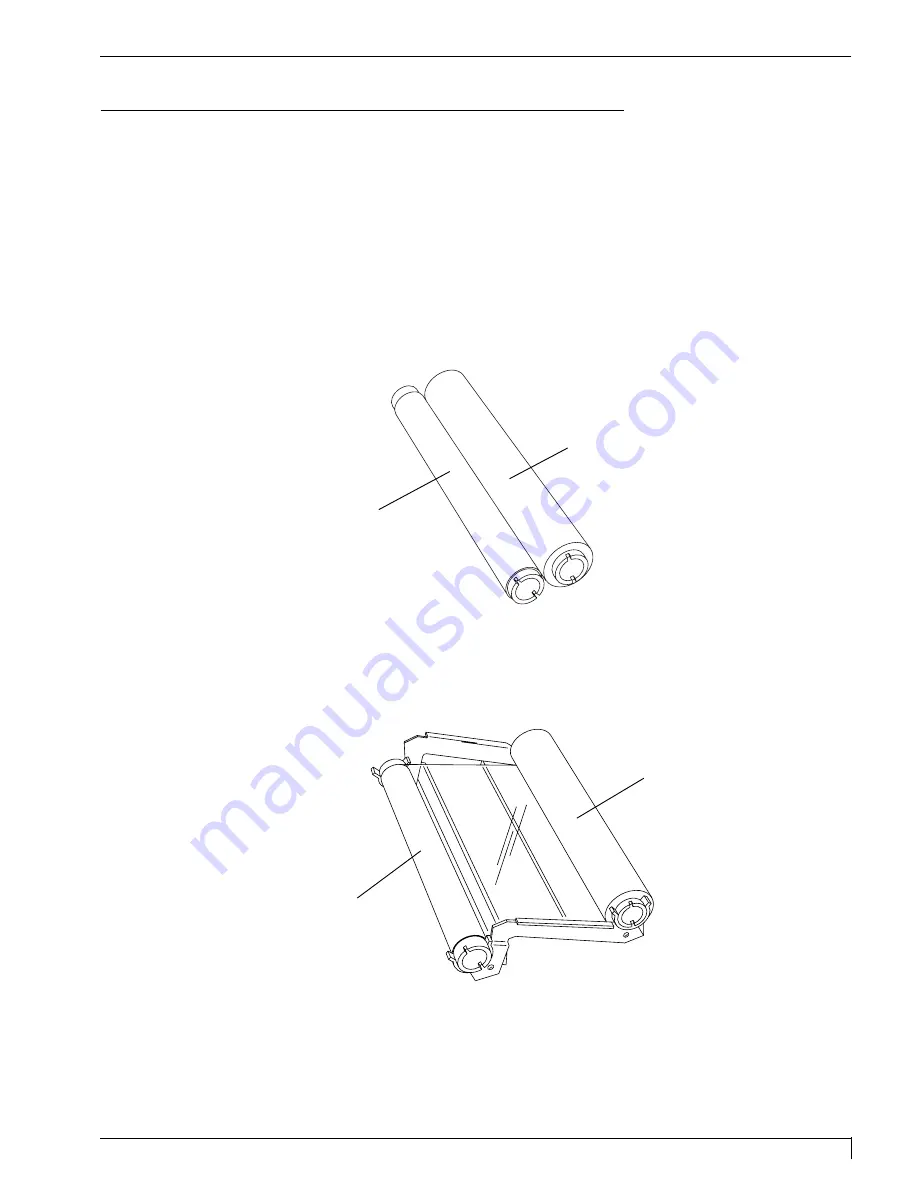
C. LOADING RIBBON INTO THE RIBBON CARTRIDGE
Whether using the included Ribbon Cartridge or using other cartridges purchased
separately, all Ribbon Cartridges can be used with any of the different print
ribbons. Follow these steps to load a print ribbon into a Ribbon Cartridge:
1.
Remove the ribbon from its packaging. Do not touch the colored portion of the
ribbon. Oil or dirt from your hands can impair print quality. Handle the ribbon
only by the ends of its ribbon core.
2.
The supply end of the ribbon is the end with the fresh, unused ribbon on it.
The take-up end of the ribbon is the other end.
3.
Place the supply end of the ribbon into the supply end of the Ribbon Cartridge
as indicated. Make certain that the ribbon is fed from underneath the supply
end of the ribbon roll, up and over the top of the take-up end of the ribbon roll.
Once the ribbon is installed into the Ribbon Cartridge, it can then be placed into the
printer. See Part D of this section for instructions on inserting a loaded Ribbon
Cartridge into the printer.
Take-up End
Take-up
Supply End
Supply
DLDP2.qxd 3/29/99 9:56 AM Page 21
Summary of Contents for Impressa 2
Page 1: ......
Page 9: ...4 Section 1 Introduction Digital Label and Decal Press 2 User s Manual...
Page 14: ...Section 2 Safety Precautions 9 Digital Label and Decal Press 2 User s Manual...
Page 15: ...10 Section 2 Safety Precautions Digital Label and Decal Press 2 User s Manual...
Page 23: ...18 Section 3 Getting Started Digital Label and Decal Press 2 User s Manual...
Page 35: ...30 Section 4 Ribbons and Print Media Digital Label and Decal Press 2 User s Manual...
Page 41: ...36 Section 5 Connecting the Unit Digital Label and Decal Press 2 User s Manual...
Page 89: ...84 Section 8 Maintenance Digital Label and Decal Press 2 User s Manual...
Page 104: ...Printed in the United States of America P N 510183...


