4.
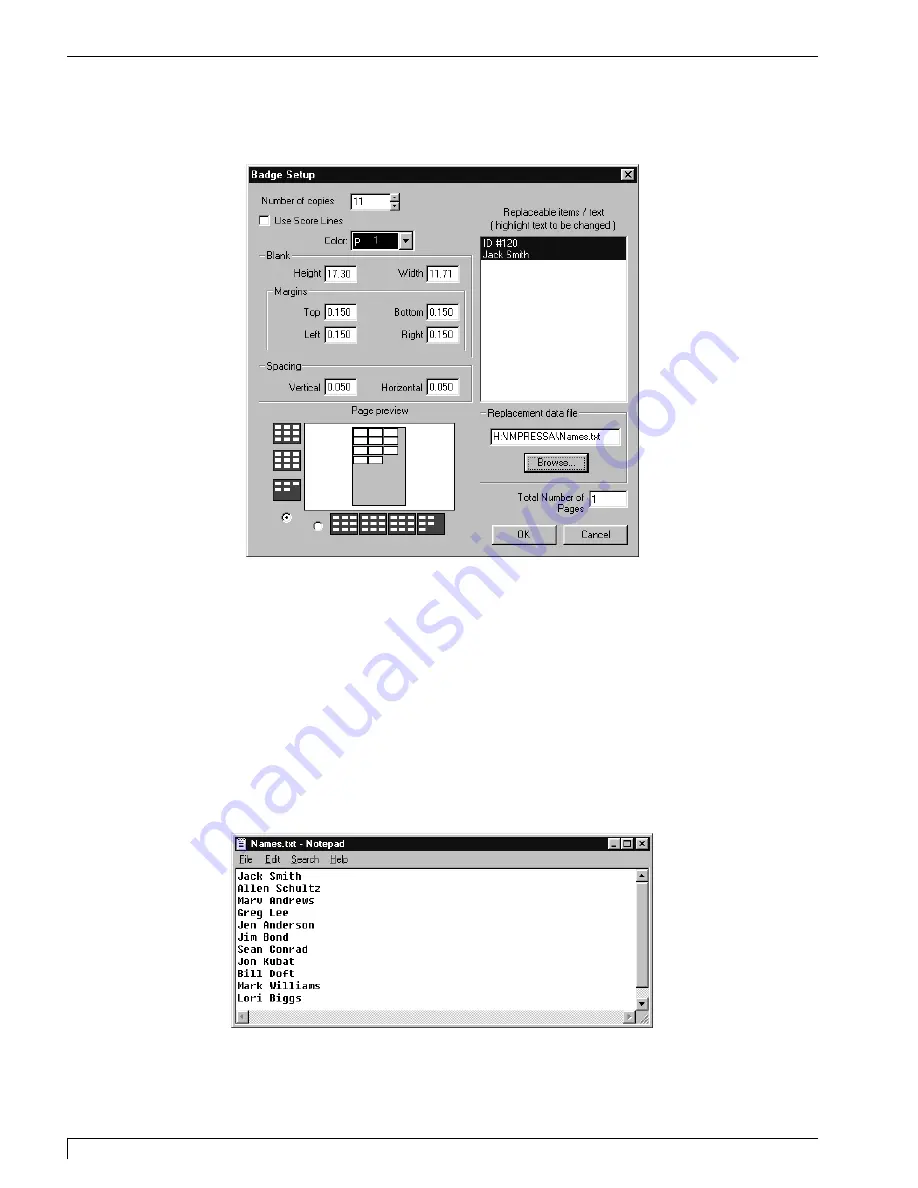
With both the cut line and the label selected, choose
Badges
from the Layout
menu. The Badge Setup window appears.
5. Enter the number of labels you wish to create into the
Number of copies box,
and adjust the vertical and horizontal spacing between labels as needed.
6. Highlight the text you wish to have serialized and, if applicable, click on the
Browse
button to select the appropriate Replacement data file. The replacement
data file specifies the text (.txt) file you would like to use in your serialized
labels. Such a file can be created in any text editing program, such as the
Notepad program in the Windows Accessories folder, and must be saved in an
MS-DOS Text (.txt) format. When creating such a file, place each item in the list
on its own line, and be sure to close the file before attempting to merge it into
PressPrint. A sample of the list created for this example procedure is shown
below:
64
Section 7: Installing and Using the PressPrint Software for Windows 95/98
Digital Label and Decal Press 2 UserÕs Manual
DLDP2.qxd 3/29/99 9:56 AM Page 64
Summary of Contents for Impressa 2
Page 1: ......
Page 9: ...4 Section 1 Introduction Digital Label and Decal Press 2 User s Manual...
Page 14: ...Section 2 Safety Precautions 9 Digital Label and Decal Press 2 User s Manual...
Page 15: ...10 Section 2 Safety Precautions Digital Label and Decal Press 2 User s Manual...
Page 23: ...18 Section 3 Getting Started Digital Label and Decal Press 2 User s Manual...
Page 35: ...30 Section 4 Ribbons and Print Media Digital Label and Decal Press 2 User s Manual...
Page 41: ...36 Section 5 Connecting the Unit Digital Label and Decal Press 2 User s Manual...
Page 89: ...84 Section 8 Maintenance Digital Label and Decal Press 2 User s Manual...
Page 104: ...Printed in the United States of America P N 510183...


