93
En
12
The Video Adjust Menu
2Move the joystick left/right to change the
setting.
There are 6 presets available:
•
TV(CRT)
– suitable for standard cathode-ray tube
TVs
•
PDP
– suitable for plasma display screens
•
Professional
– suitable for professional monitors
•
Memory1
– user preset 1
•
Memory2
– user preset 2
•
Memory3
– user preset 3
3
Press ENTER to select the preset.
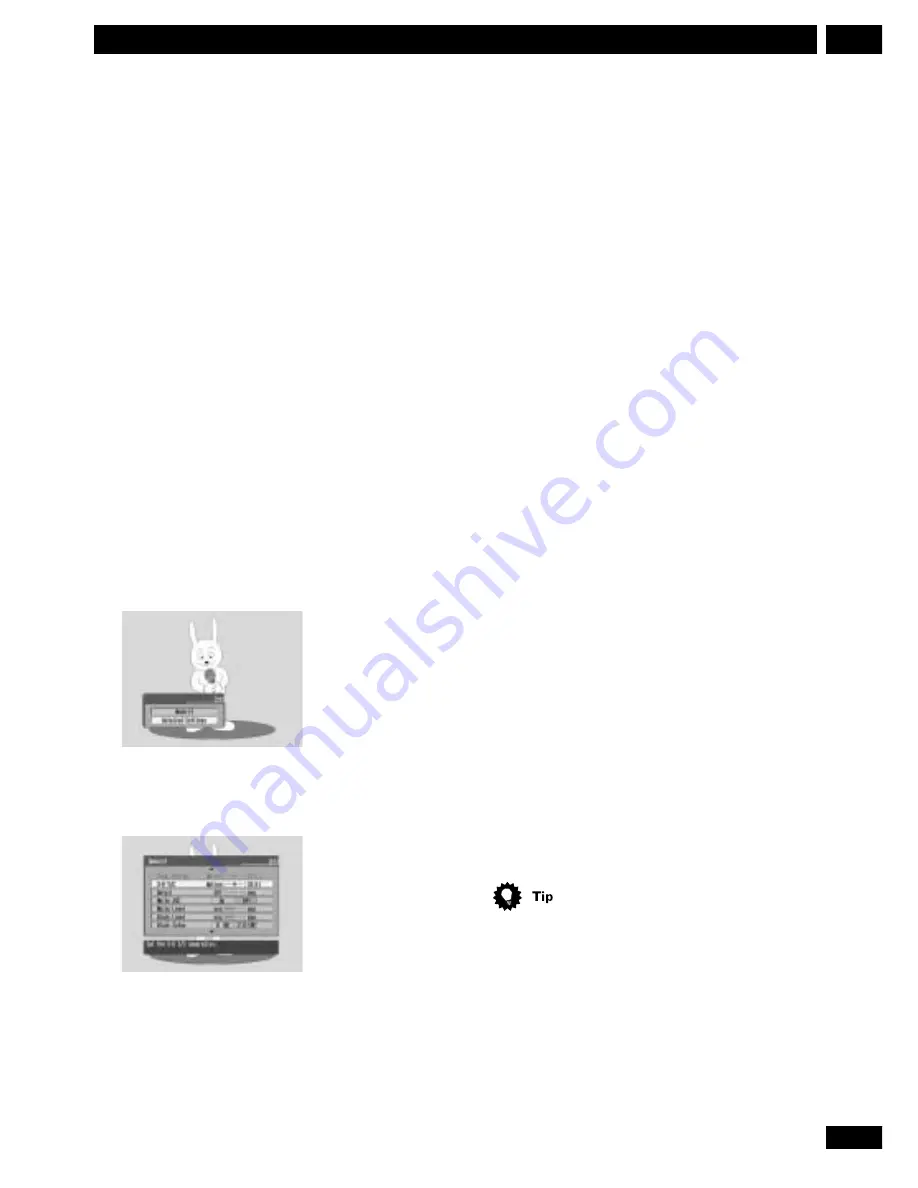
Creating your own set
There are three user presets in which you can save
your own set of picture quality settings for disc
playback.
1
Follow steps 1 and 2 above and select one of
the user presets (Memory 1, 2 or 3).
2Move the cursor down and select ‘Detailed
Settings’.
3
Select the picture quality setting you want to
adjust.
There are 14 settings available to adjust:
•
Prog. Motion
– When using progressive scan, this
adjusts the motion and still picture quality (this
does not affect the disc content).
•
Pure Cinema
– When watching DVD movies, Pure
Cinema optimizes the picture quality. If the picture
appears unnatural on the default
Auto
setting,
change to
On
or
Off
as desired. If using with a
progressive scan TV, adjust in conjunction with
Prog. Motion
above.
See also
PureCinema
in the glossary on
page 97
.
•
YNR
– Adjusts the amount of noise reduction (NR)
applied to the Y (brightness) component
•
CNR
– Adjusts the amount of noise reduction (NR)
applied to the C (color) component
•
QNR
– Adjusts the amount of noise reduction
(NR) applied to the mosquito noise (video artifacts
on the edge of the image resulting from MPEG
compression) and the black noise.
•
Sharpness High
– Adjusts the sharpness of the
high-frequency (finely detailed) elements in the
picture
•
Sharpness Mid
– Adjusts the sharpness of the
mid-frequency (less detailed) elements in the
picture
•
Detail
– Adjusts how sharp edges appear
•
White Level
– Adjusts the intensity of white
•
Black Level
– Adjusts the intensity of black
•
Black Setup
– Corrects the standard reference
black level
•
Hue
– Adjusts overall balance between red and
green (not applicable to the component output)
•
Chroma Level
– Adjusts how rich the colors appear
•
Chroma Delay
– Compensates for misalignment of
the Y (brightness) and C (color) components
To see more of the picture as you adjust different
settings, press
ENTER
after selecting the setting you
want to adjust.
4
Move the joystick left/right to adjust the
currently selected picture quality setting.
5
When you have all the settings as you want
them, press SETUP to exit.
Summary of Contents for DVR-7000
Page 1: ...DVD Recorder DVR 7000 Operating Instructions 4 7 ...
Page 103: ......


