91
En
12
The Video Adjust Menu
Creating your own set
There are three user presets in which you can save
your own set of picture quality settings.
1
Follow steps 1 to 3 above and select one of
the user presets (Memory 1, 2 or 3).
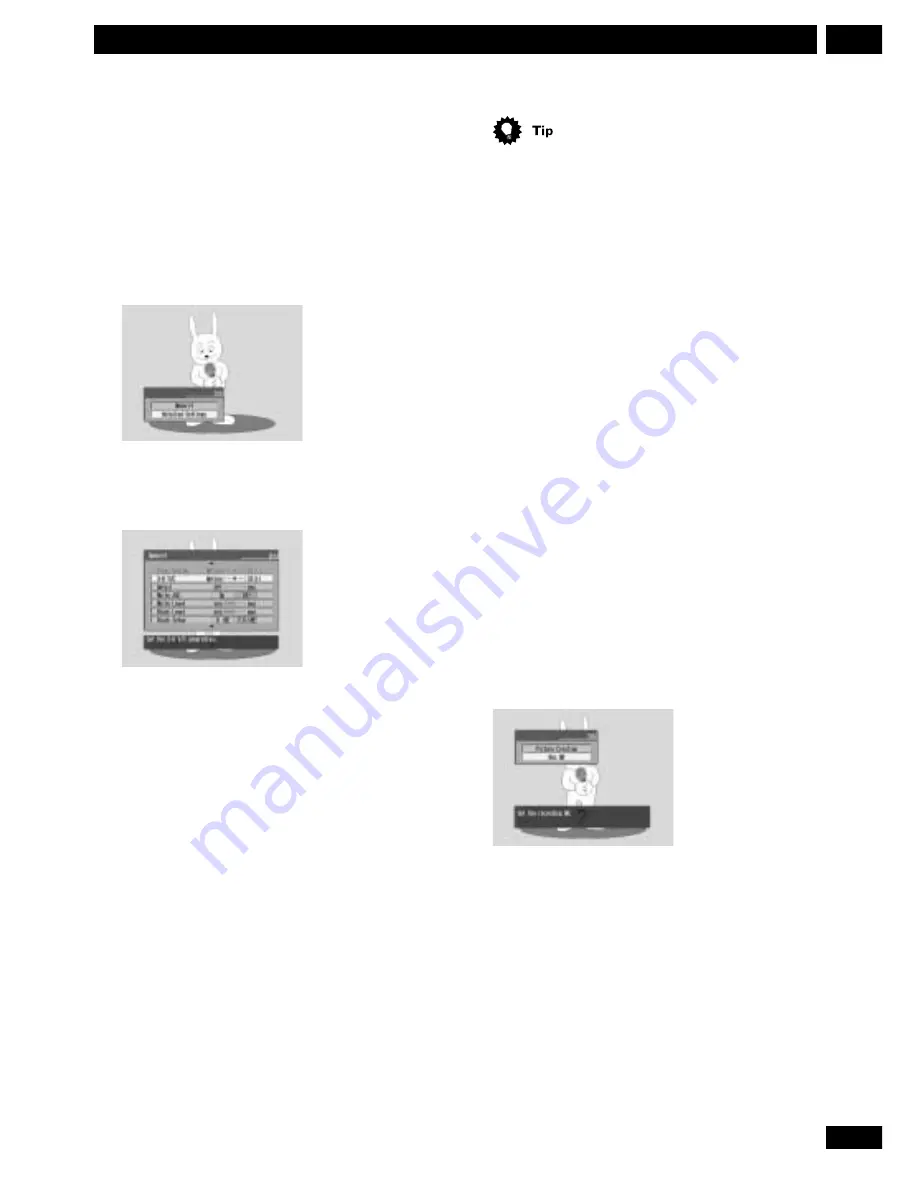
2Move the cursor down and select ‘Detailed
Settings’.
3
Select the picture quality setting you want to
adjust.
There are 9 settings available to adjust:
•
Prog. Motion
– When using progressive scan, this
adjusts the motion and still picture quality
•
3-D Y/C
– Adjusts the brightness/color separation
•
Detail
– Adjusts how sharp edges appear
•
White AGC
– Turn on for automatic white level
adjustment
•
White Level
– Adjusts the intensity of white
•
Black Level
– Adjusts the intensity of black
•
Black Setup
– Corrects the standard reference
black level
•
Hue
– Adjusts overall balance between red and
green
•
Chroma Level
– Adjusts how rich the colors appear
•
When the DV input is selected, only the
Prog. Motion
setting can be set.
Setting the noise reduction for
recording
You can make settings for both brightness and
color noise reduction. These are designed to
improve the recorded picture quality.
Using the Preview feature, you can see how your
recording will look on various playback picture
settings.
1
Make sure that the recorder is stopped, then
press SETUP and select ‘Video Adjust’ from
the menu.
2Select ‘Rec NR’.
To see more of the picture as you adjust different
settings, press
ENTER
after selecting the setting you
want to adjust.
4
Move the joystick left/right to adjust the
currently selected picture quality setting.
5
When you have all the settings as you want
them, press SETUP to exit.
You can now use the preset for any other input or the
built-in TV tuner.
Summary of Contents for DVR-7000
Page 1: ...DVD Recorder DVR 7000 Operating Instructions 4 7 ...
Page 103: ......


