137
4-2-7 Laser output optimize
[Function specific to LP-M5xx / LP-M2xx type]
* This function is not implemented in the LP-MAxx type.
Using “Laser Output Optimize” function improves the accuracy of “Laser output measurement/correction” results.
After the installation, replacement or moving of laser marker, use this “Laser Output Optimize” function by following the
procedures as described below.
To use this function
• This function requires the commercially available laser power meter.
• Use a calibrated laser power meter.
• Use a laser power meter that has the damage threshold (max. power density) of more than 10 kW/cm
2
.
• The laser detector diameter of the laser power meter should be more than 10 mm.
• Adjust the power correction rate using this function every time when the laser marker installation condition is changed.
• The measurement results might have +/-5% difference with normal temperature (20 to 30 Celsius degree).
• The +/-10% difference might occur under the high/low temperature. Correcting power under normal temperature is
recommended.
• Before using this function, confirm the laser emission port is clean. The contamination or scratch on the laser emission
port might be a cause of inaccurate results of the laser power measurement.
• After using the function, the marking energy measurement results may change.
Confirm the measurement result of the marking energy and adjust “Marking Energy Upper/Lower Limit” value, especially
in case “Marking Energy Upper/Lower Limit” is set with small value.
Optimization procedure
1.
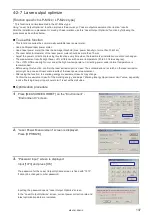
Press [MEASURE/CORRECT] on the “Environment” -
“Environment 3” screen.
2.
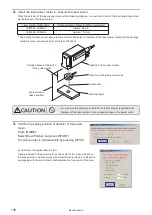
“Laser Power Measurement” screen is displayed.
Press [OPTIMIZE].
3.
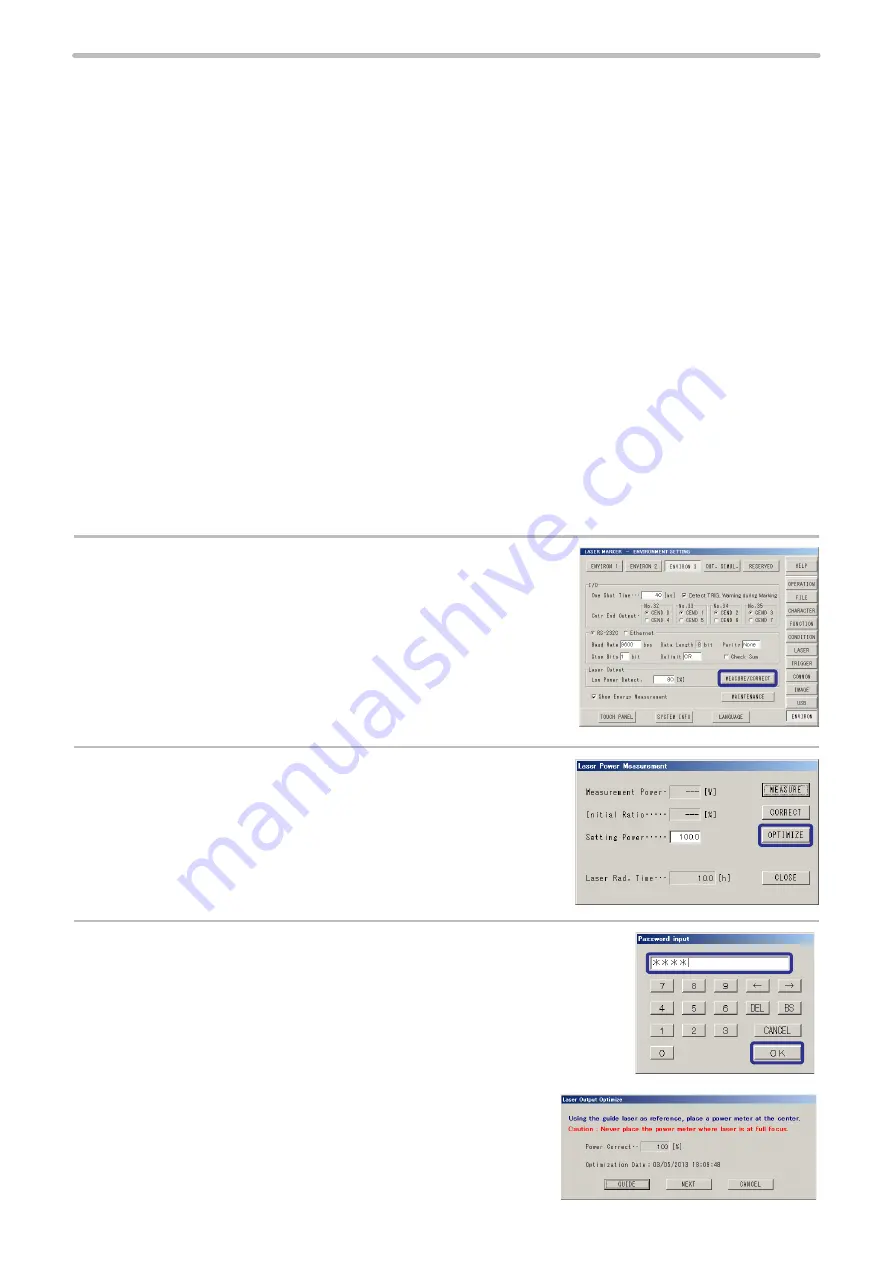
“Password input” screen is displayed.
Input [1973] and press [OK].
The password for the Laser Output Optimize screen is fixed with “1973”.
It cannot be changed to other password.
Inputting the password opens “Laser Output Optimize” screen.
In the “Laser Output Optimize” screen, current power correction rate and
latest optimization date are indicated.
ME-LPM-SSM-10
Summary of Contents for LP-M Series
Page 16: ...16 MEMO ME LPM SSM 10...
Page 27: ...27 Chapter 1 Specification ME LPM SSM 10...
Page 37: ...37 Chapter 2 Preparation ME LPM SSM 10...
Page 69: ...Chapter 3 Connection for External Control ME LPM SSM 10...
Page 128: ...Chapter 4 Maintenance ME LPM SSM 10...
Page 148: ...Troubleshooting ME LPM SSM 10...
Page 169: ...Index ME LPM SSM 10...
Page 172: ...172 MEMO No 9000 0066 34V ME LPM SSM 10...
Page 173: ...No 9000 0066 34V...


