1.
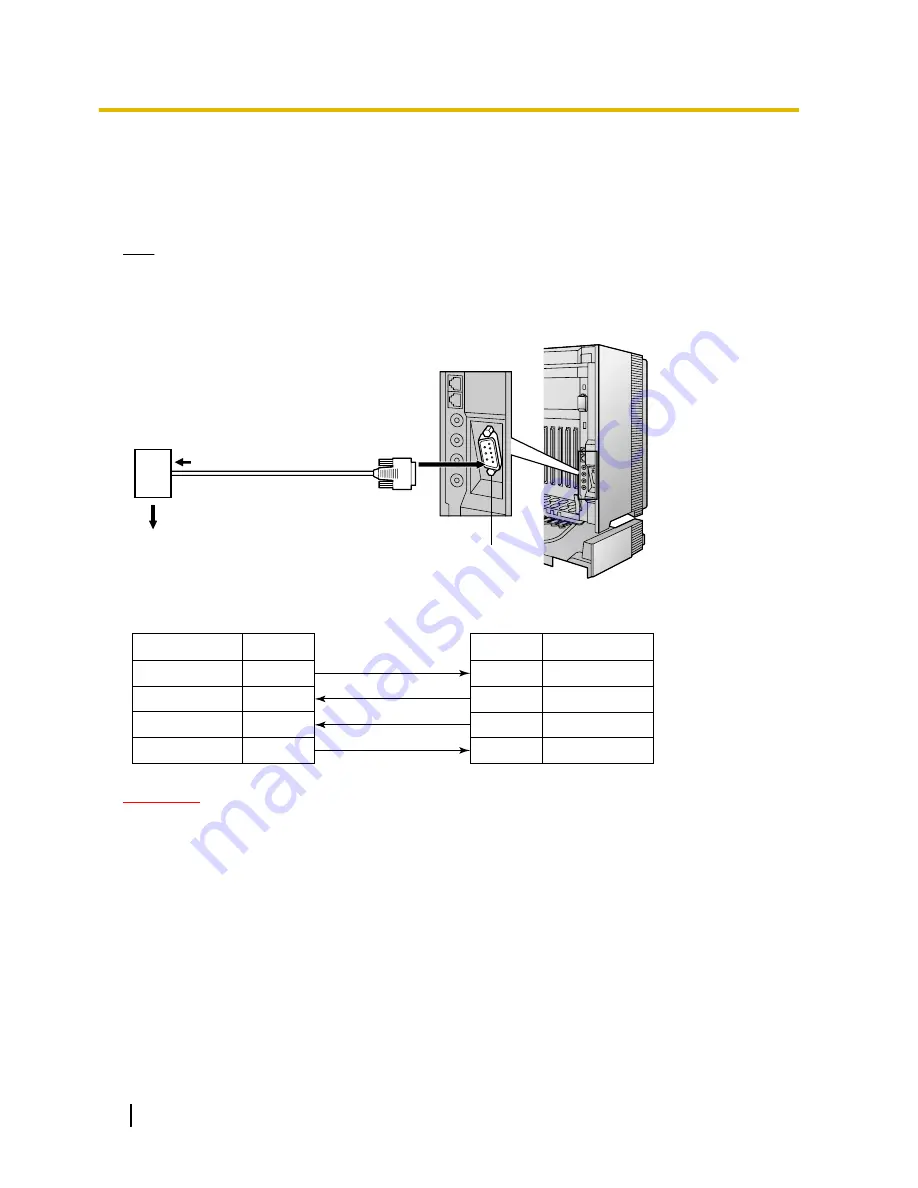
Make sure that both connector cases (frame ground) of the RS-232C cross cable (shielded cable) are
conductive. If they are not conductive, make sure that both connector cases of the cable are firmly
connected.
2.
If this is not possible, connect the frame of the PBX to the frame of the PC using an earthing wire in
order to prevent difference in the electrical potentials.
Note
For pin assignments and maximum cabling distance, refer to "3.13.1 Connection of Peripherals".
External Modem Connection
Modem
To RS-232C port (25-pin)
To trunk/PBX extension port assigned
as the trunk destination
RS-232C Port
(9-pin)
External Modem (25-pin)
PBX (9-pin)
Signal Name
RD (RXD)
SD (TXD)
ER (DTR)
DR (DSR)
Signal Name
RD (RXD)
SD (TXD)
ER (DTR)
DR (DSR)
Pin No.
2
3
4
6
Pin No.
3
2
20
6
CAUTION
To protect the system, keep the following in mind:
1.
Make sure that both connector cases (frame ground) of the RS-232C straight cable (shielded cable)
are conductive. If they are not conductive, make sure that both connector cases of the cable are firmly
connected.
2.
If this is not possible, connect the frame of the PBX to the frame of the external modem using an earthing
wire in order to prevent difference in the electrical potentials.
After connecting the PBX and the external modem, set the power switch of the external modem to "ON", then
the external modem will be initialised with the default values.
The following AT command settings may be required for the modem:
•
The Data Terminal Ready (DTR) signal should be ignored.
•
The Data Terminal Equipment (DTE)/Modem flow control should be turned off.
•
Data compression should be disabled.
•
Error Correction is not necessary.
266
Installation Manual
4.2.1 PC Connection
Summary of Contents for KX-TDE100
Page 40: ...40 Installation Manual 1 4 3 System Capacity ...
Page 48: ...48 Installation Manual 2 1 3 Activation Key File ...
Page 262: ...262 Installation Manual 3 16 1 Starting the PBX ...
Page 270: ...270 Installation Manual 4 3 1 Installing and Starting the Maintenance Console ...
Page 283: ...Section 6 Appendix Installation Manual 283 ...
Page 286: ...286 Installation Manual 6 1 2 PMMPR Software File Version 2 01xx ...
Page 287: ...Index Installation Manual 287 ...
Page 293: ...Installation Manual 293 Notes ...


