4-46 ChartView Software Reference
ChartScan User’s Manual
It is a simple task to create chart display configurations using the automatic method. The following
steps apply to this feature of
Chart Setup Wizard
.
1.
Select Wizard from the Chart pull-down menu of
ChartView’s
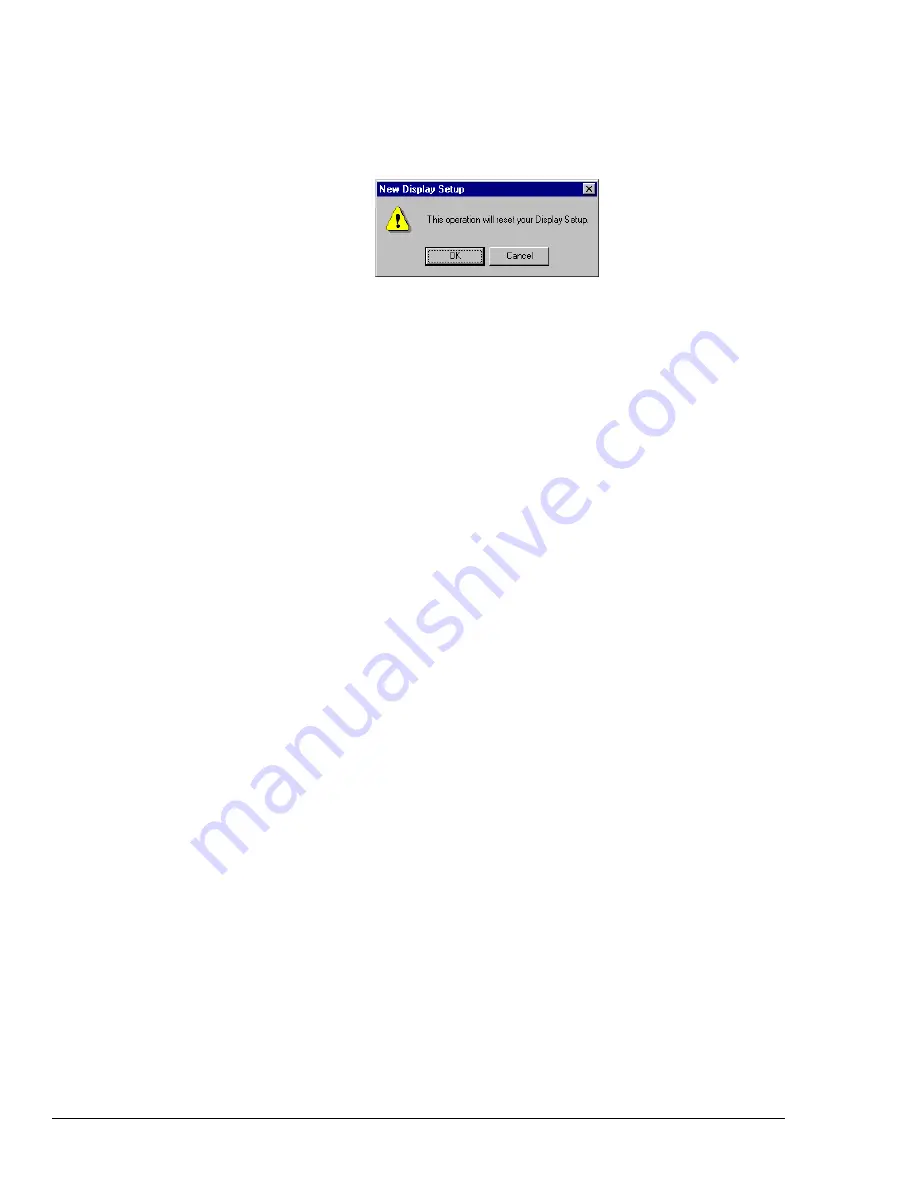
main window. The New Display
Setup dialog box appears.
2.
Click OK on the New Display Setup dialog box. The Wizard setup window appears.
3.
Select the desired mode tab (Simple, Moderate, or Advanced). Moderate and advanced modes are
only available with
ChartView
Plus
.
4.
Use the pull-down arrows (
τ
), or use the cursor and type in a new value to make selections for the
number of groups, charts, and channels as applicable.
5.
If you desire to start with a channel other than channel 1, use the pull-down arrow and select the
desired starting channel number.
6.
When your setup is complete, click on the
Automatic Chart Creation
,
Create Charts
button. A
percentage of completion bar will appear, followed by the Channel and Alarm Setup box.
7.
Make appropriate configuration changes, if any are desired, including enabling additional
channels; then click on the OK button. After clicking OK, the Main Window appears and you can
begin running charts. The
Channel and Alarm Setup
section of this chapter contains related
information.
The channels in the setup you create will be automatically enabled and will appear in chart form on
ChartView’s
Main Window. The Channels will overlap on their assigned Chart (for
ChartView
Plus
applications), and will be visible when the applicable Group is selected. Only one group of charts can
be viewed at a time.
As mentioned earlier, you can enable additional channels from the Channel and Alarm Setup window.
Enabling additional channels allows you to acquire more data to disk; however, it will not change your
display on
ChartView’s
Main Window. In other words, you can acquire data from channels you do not
monitor.
Bypassing Automatic Chart Setup
You can bypass
Chart Setup Wizard
by clicking on the
Manual Chart Creation, Create Charts
button
in
Chart Setup Wizard’s
main window. After selecting this option you will be using the Display
Configuration Setup dialog boxes to create a display from scratch, i.e., using a “clean slate” approach.
This is method is detailed with an example, in the section
Manually Creating a Display,
beginning on
page 4-12
.
Summary of Contents for OMB-CHARTSCAN 1400
Page 1: ...August 2002 OMB CHARTSCAN 1400 Portable Data Recorder p n OMB 483 0901 Rev 3 1...
Page 6: ...iv ChartScan User s Manual...
Page 24: ...ChartScan User s Manual...
Page 32: ...2 8 General Information ChartScan User s Manual Notes...
Page 56: ...3 24 ChartScan User s Manual Notes...
Page 124: ...6 20 Calibration ChartScan User s Manual...
Page 126: ...A ii ChartScan User s Manual...
Page 136: ...API Commands Appendix A A 10 ChartScan User s Manual Notes...
Page 176: ...API Commands Appendix A A 50 ChartScan User s Manual...
Page 230: ...Appendix C Registers Data Formats Queries ChartScan User s Manual C 13...
Page 237: ...Registers Data Formats Queries Appendix C C 20 ChartScan User s Manual Notes...
Page 257: ...E 2 ChartScan User s Manual Notes...
Page 265: ...ASCII Code Summary Appendix F F 8 ChartScan User s Manual Notes...
Page 269: ...Abbreviations Appendix H H 2 ChartScan User s Manual Notes...
Page 271: ...ChartScan User s Manual...


