APPLIED OPERATIONS
/Image Acquisition
2-57
Page
2.
While observing the image in the [Live] panel, locate the upper edge of the range to
be observed by moving down the stage using the <Z stage coarse adjustment> and
<Z stage fine adjustment> buttons in the [Z Stage] sub-panel.
When using the FLUOVIEW system with an inverted microscope, locate the bottom
edge of the range to be observed by moving down the revolving nosepiece using
the <Z stage coarse adjustment> and <Z stage fine adjustment> buttons.
3. When the upper edge position is located, click the <Set> button. The [Start Z] text
box will show the scan start position of the range of the multiple sections to be
observed (Z-direction scanning range).
4. While observing the image in the [Live] panel, locate the bottom edge of the range
to be observed by moving up the stage using the <Z stage coarse adjustment> and
<Z stage fine adjustment> buttons in the [Z Stage] sub-panel.
When using the FLUOVIEW system with an inverted microscope, locate the upper
edge of the range to be observed by moving up the revolving nosepiece using the
<Z stage coarse adjustment> and <Z stage fine adjustment> buttons.
5.
When the position is located, click the <Set> button. The [Stop Z] text box will show
the scanning stop position of the range of the multiple sections to be observed (Z-
direction scanning range).
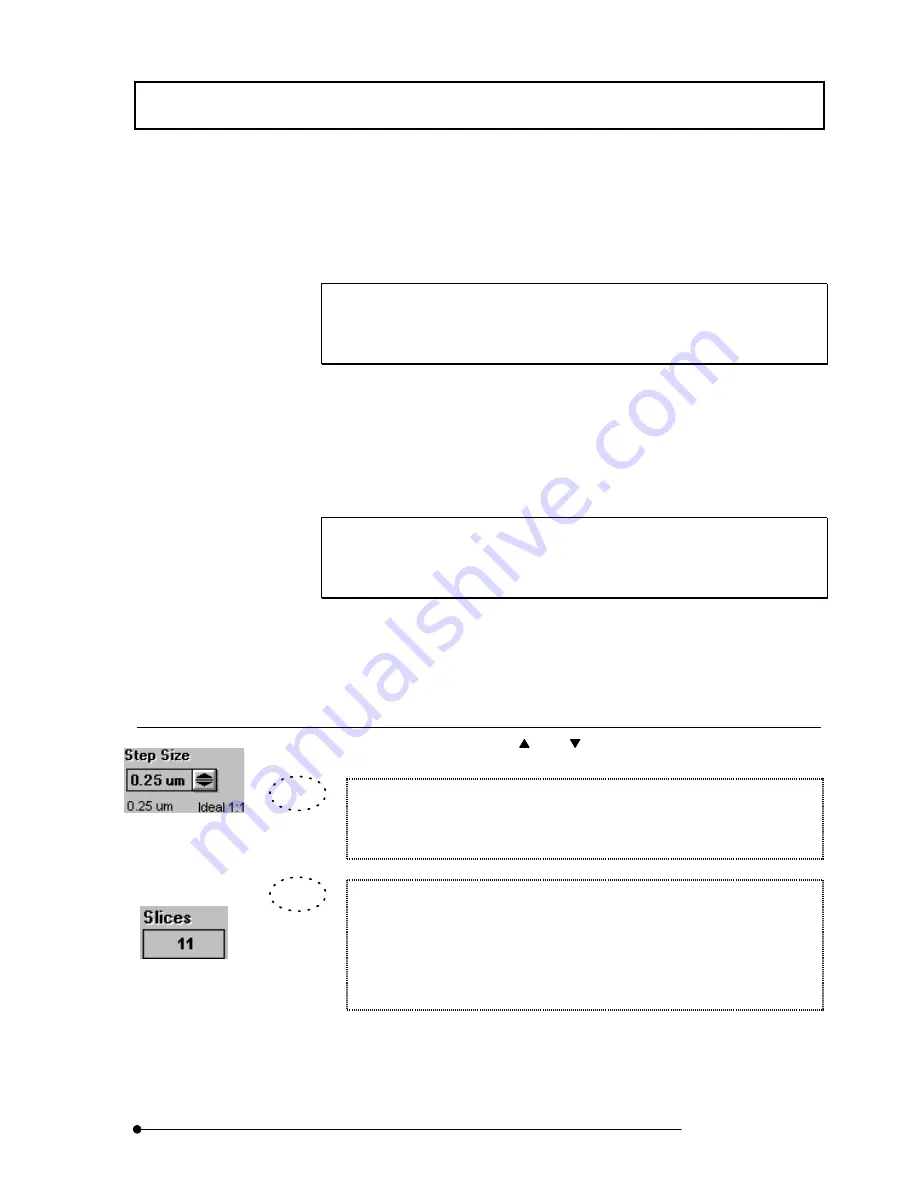
2 Setting the numbers of steps and acquired image slices
1.
Set the number of steps using the <
> or <
> button in the [Step Size] text box.
The number of steps shown in the [Step Size] text box has been calculated by
the system so that the depth scale of the acquired image is identical to the
horizontal scale.
The number of acquired images shown in the [Slices] text box can also be input
from the keyboard.
After setting [Start Z] (Z-direction scan start position) and [Stop Z] (Z-direction
scanning stop position), input the desired number of images in the [Slices] text
box. This automatically sets [Step Size] (number of steps).
[Step Size] text box
[Slices] text box
TIP
TIP
Summary of Contents for FLUOVIEW FV500
Page 2: ......
Page 8: ......
Page 10: ......
Page 24: ......
Page 110: ......
Page 327: ...APPLIED OPERATIONS Viewing 3D Image 2 217 Page Fig 2 106 Panel Showing Stereo 3D Images ...
Page 396: ......
Page 402: ......
Page 414: ......
Page 420: ......
Page 426: ......
Page 428: ......
Page 430: ......
Page 458: ......
Page 460: ......
Page 462: ......
Page 468: ......
Page 469: ......


