9-245
Specifying Original Direction
3.
Touch
OK
to complete the setting and return to the Basic Screen.
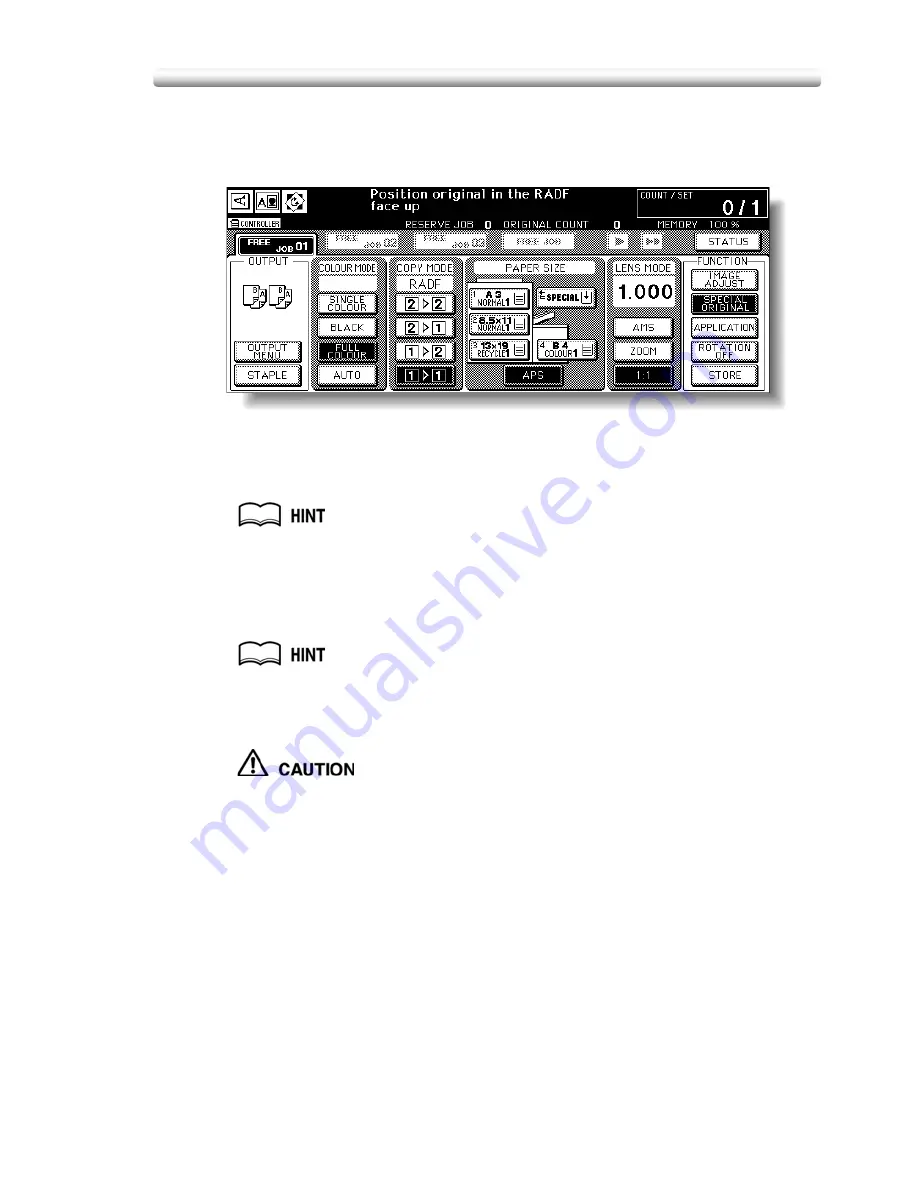
The
SPECIAL ORIGINAL
key on the Basic Screen is highlighted, and the icon in
the message area indicates the selected original direction.
4.
Make other compatible selections.
5.
Enter the desired print quantity from the control panel keypad.
See p. 3-76 for details on setting print quantity.
6.
Position originals FACE UP in the document feeder or FACE
DOWN on the platen glass according to the original direction
specified in step
2
.
See the illustration on previous page, and p. 3-70 for details on positioning
originals.
7.
Press [
START
].
When the finisher / trimmer unit / paper exit tray capacity is
exceeded due to the print quantity selected, remove the copied sets
as they exit; otherwise, mishandled paper will occur.
Summary of Contents for CS520
Page 1: ...Oc CS520 User Manual GB...
Page 15: ...Basic...
Page 16: ......
Page 32: ...Installation Space 1 32...
Page 34: ...Machine Configuration 2 34 Machine Configuration External Machine Items...
Page 66: ...Loading Paper 2 66...
Page 126: ...Selecting Binding Mode 3 126...
Page 146: ...Displaying Screen for Operation Guide Help Mode 4 146...
Page 164: ...Troubleshooting Tips 5 164...
Page 171: ...Advanced...
Page 172: ......
Page 181: ...7 181 Colour Copy Quality 4 4 Blue...
Page 183: ...7 183 Colour Copy Quality 4 4 Yellow 4 4 Black...
Page 187: ...7 187 Colour Copy Quality Increase shine on the image Gloss Mode Gloss mode Original...
Page 240: ...Tray Adjustment 8 240...
Page 256: ...Scanning Thin Thick Originals in RADF Original Thickness 9 256...
Page 361: ...12 Paper and Original Information Paper Information 12 362 Original Information 12 370...
Page 382: ...Inserting a New Staple Cartridge into FS 513 FS 606 13 382 8 Close the Finisher door...
Page 398: ...Periodic Maintenance 13 398...
Page 459: ...Index...
Page 460: ......
Page 466: ...Index 466...
Page 467: ...467 Oc CS520 User Manual Appendix A Miscellaneous...


