5.2.2 Adjustment of Print Uniformity
When the main board is replaced, check and adjust the print uniformity in the following
procedure after adjusting the print position.
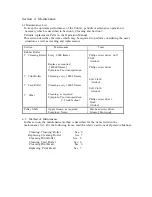
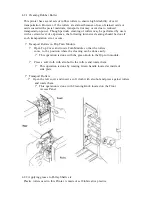
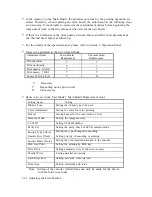
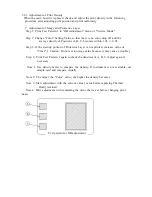
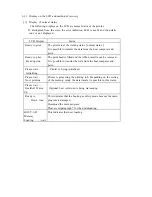
Step 1: Print Test Pattern H in "Uniformity Adjustment" menu of "Service Mode".
Step 2: Compare print density of the following three positions A, B, C, and decrease
the densities of two positions to the same as the least dense position.
Step 3: Print Test Pattern H again and check the density of the three positions.
Adjust again if necessary.
Note 1: Use density meter to compare the densities. If the instrument is not
available, check visually.
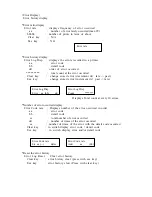
Note 2: Three positions A, B, C, correspond to the positions shown on the Operation
Panel as following:
A: Upper
B: Center
C: Lower
Note 3: Start adjustment with the current value
(
value before replacing Thermal
Head
)
retained.
Test Pattern for
uniformity
adjustment


