Section 5 Replacement and Adjustment
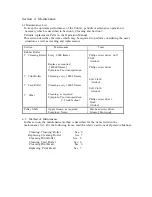
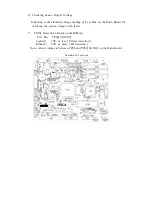
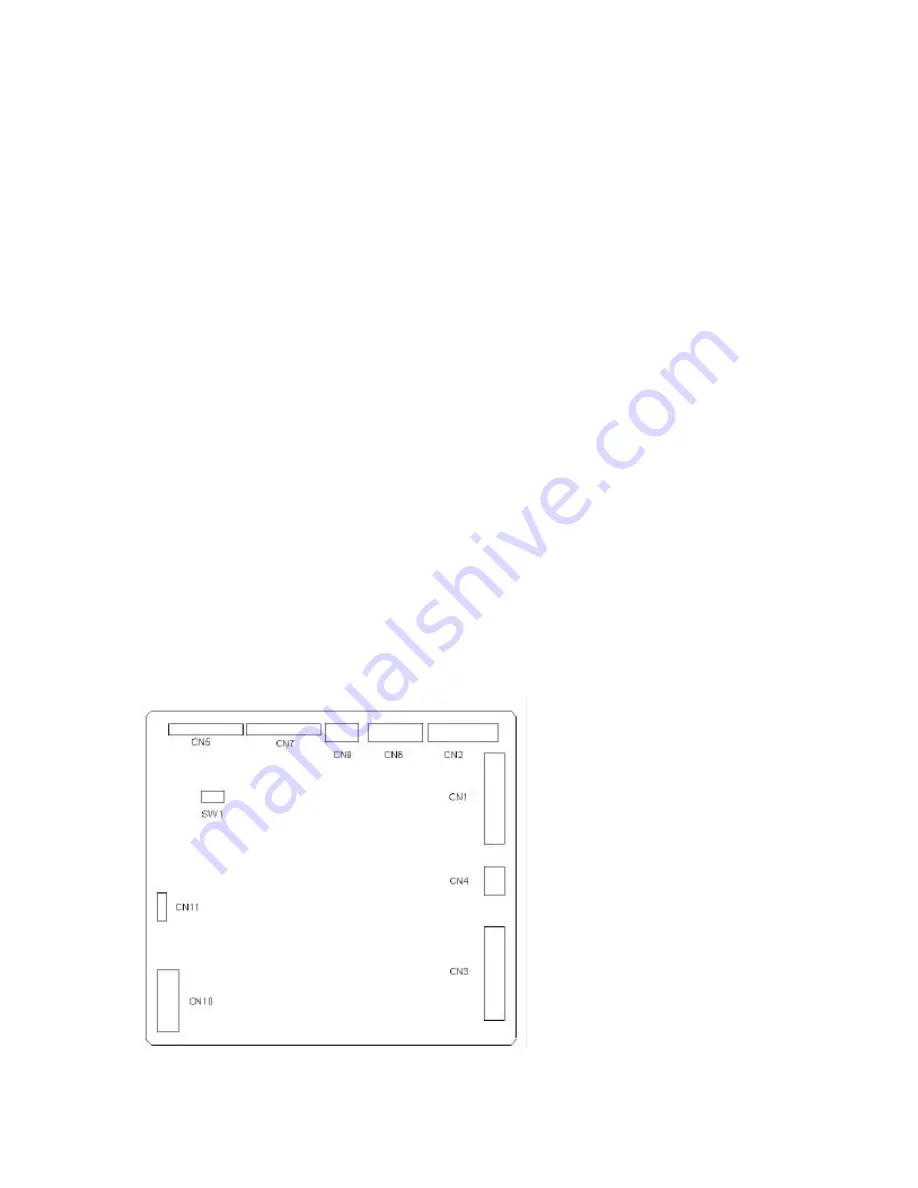
5.1 Replacing Main Board
(
PBA-MAIN
)
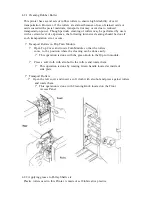
Step 1: Remove R-COVER
Step 2: Loosen two screws on the lower edge and remove two screws on the upper
edge of MAIN-BOARD-PLT and remove a screw to fix the ground cable.
Then, lean the board backward.
Step 3: Disconnect all harnesses from the board.
(
CN1 - CN15
)
Step 4: Remove Main Board.
(
7 screws
)
Step 5: Fix new Main Board onto the Printer
(
7 screws
)
and connect all harnesses.
Step 6: Make sure that the SW1 is set as NORMAL MODE.
Step 7: Raise the MAIN-BOARD-PLT and fix with screws.
(
4 screws
)
Step 8: Attach R-COVER.
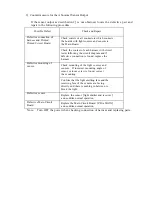
Step 9: Turn ON the power and make downloading
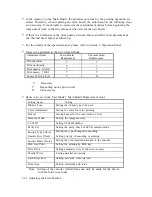
Download the resistance data of print head first.
Then,:
?
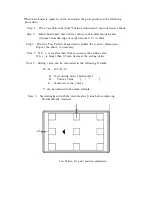
Adjustment of Print Position, Print Uniformity, Print Density.
?
Adjustment of Sensor levels.
?
Settings to be done in User Mode
(
Buzzer ON/OFF etc.
)
Note: Turn OFF all Systems connected each other including PC when performing this
operation.
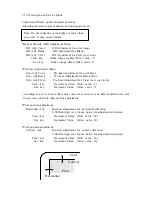
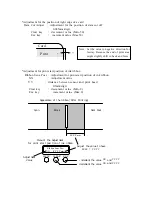
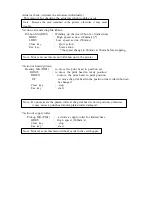
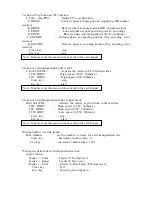
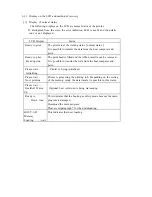
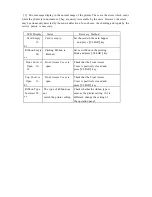
5.2 Adjustment after Main Board replaced.

