Upgrading Your Server 9-9
Installation
Take the following steps to install a hard disk drive. This procedure applies to all the hard disk drive
bays. See the next section for the procedure installing a hard disk drive in the flex bay.
NOTE:
Any hard disk drive can be installed or removed in or from the
server only by removing the front bezel.
IMPORTANT:
In the RAID System, use the hard disk drives having the same specification
including the capacity.
Do not press the POWER switch during the installation or removal of the hard
disk drive if your server is running.
2.5-inch hard disk drive
1.
See page 9-4 to prepare.
2.
Locate the slot in which you are going to install a hard disk drive.
The server has six slots. Fill the vacant slots with hard disk drives from the lower port
number (as described in "3.5 inch hard disk drive" on page 9-7).
3.
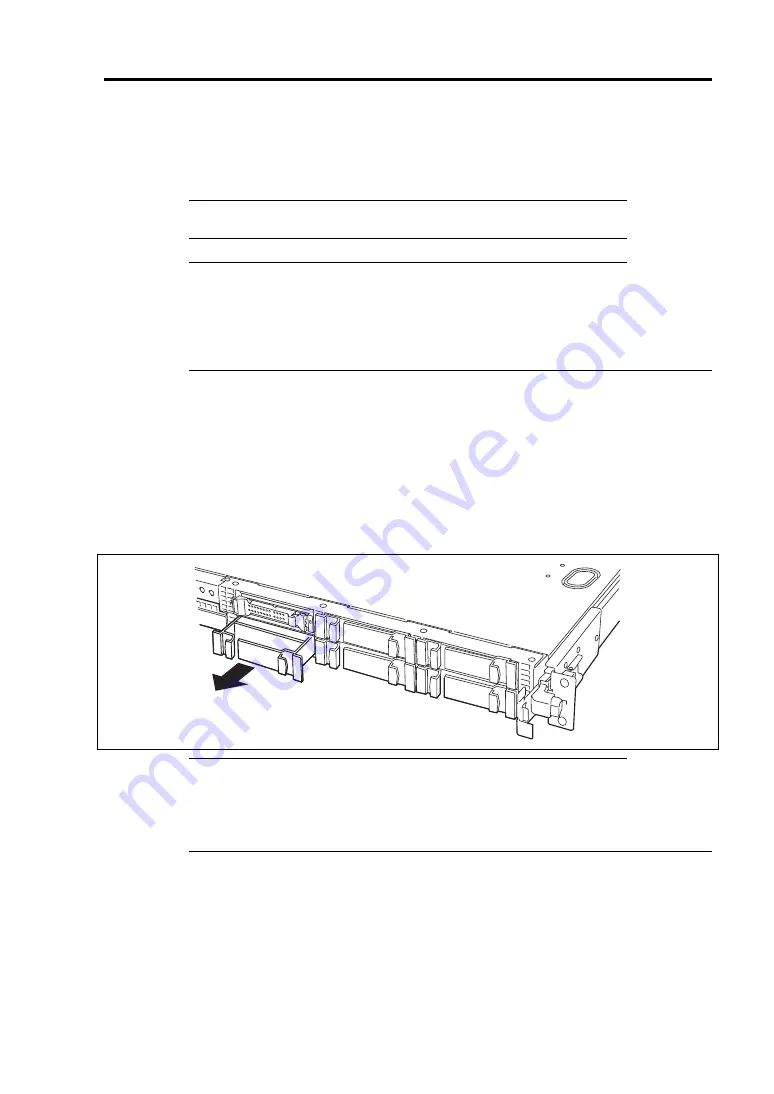
Remove the dummy tray.
There are dummy trays in all hard disk drive bays.
IMPORTANT:
Keep the dummy tray for future use.
The purpose of a dummy tray is to increase the cooling effect in the server. Install
a dummy tray in slots not containing a hard disk drive.
4.
Unlock the hard disk drive handle.
Summary of Contents for Express5800/R120b-1
Page 20: ...Notes on Using Your Server 1 3 3 5 inch disk model...
Page 87: ...3 24 Setting Up Your Server This page is intentionally left blank...
Page 268: ...6 14 Installing and Using Utilities Windows Server 2003...
Page 296: ...7 14 Maintenance This page is intentionally left blank...
Page 350: ...8 54 Troubleshooting When you use a remote console 6 Each tool is selected and it starts...
Page 438: ...9 82 Upgrading Your Server This page is intentionally left blank...
Page 450: ...C 2 IRQ This page is intentionally left blank...
Page 474: ...D 24 Installing Windows Server 2008 R2 4 Activate Windows The Windows activation is complete...
Page 504: ...E 28 Installing Windows Server 2008 4 Activate Windows The Windows activation is complete...
Page 564: ......
Page 566: ...H 2 Using a Client Computer Which Has a CD Drive This page is intentionally left blank...
Page 576: ...I 10 Accessing Power and Performance Data This page is intentionally left blank...
Page 580: ...J 4 Product Configuration Record Table This page is intentionally left blank...


