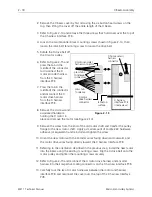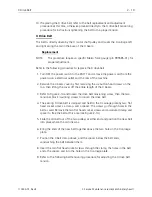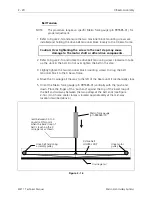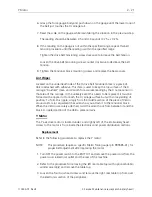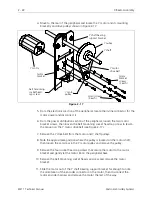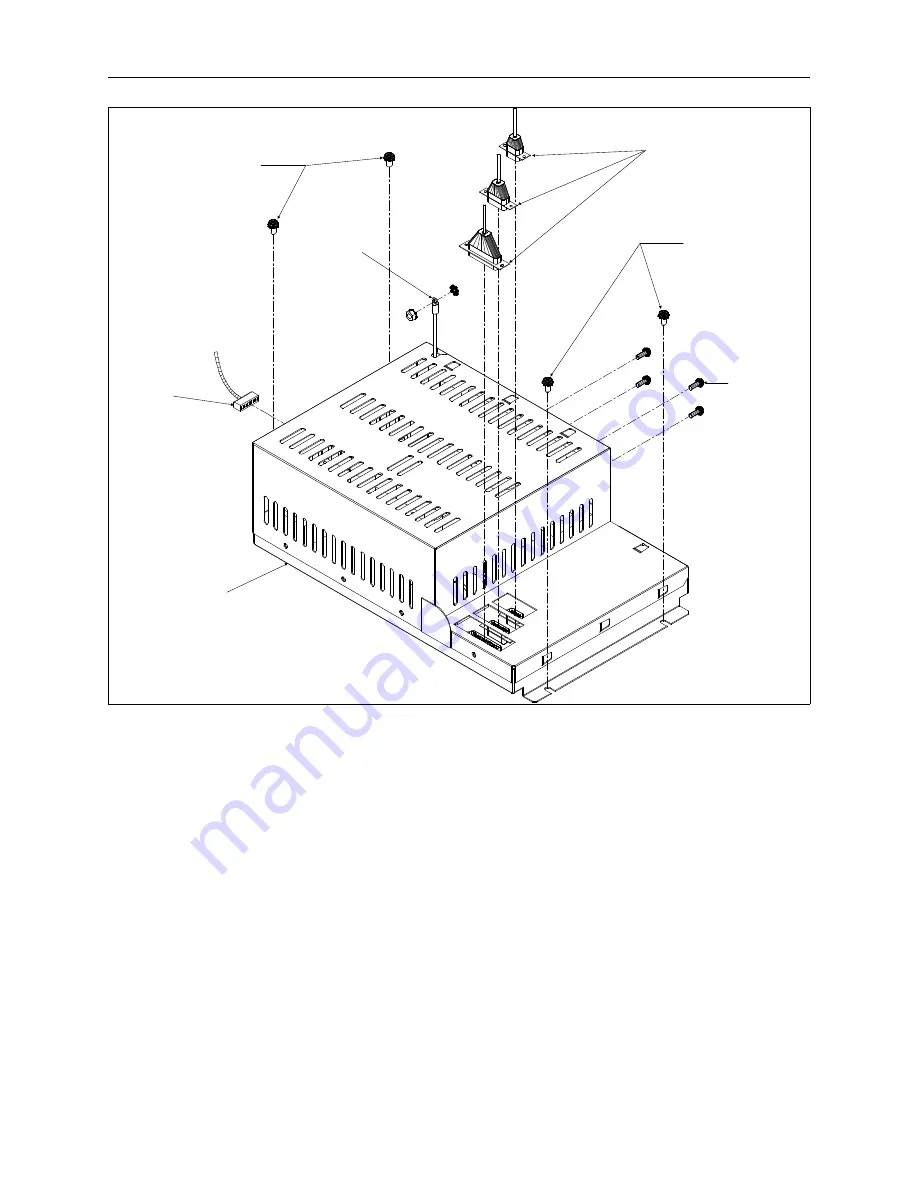
5. At the rear of the peripheral, remove the four screws holding the power
distribution module to the rear wall of the power distribution section.
6. At the side of the module next to the left peripheral wall, loosen the two M5 pan
head screws with captured star washer (DO NOT REMOVE THE SCREWS).
7. Remove the remaining two M5 pan head screws holding the power distribution
module to the base of the power distribution section.
8. The slots under the two loosened screws near the peripheral wall are shaped in a
right angle pattern. To remove the power distribution module from those two
screws you must first slide it slightly forward and then to the right. Carefully lift
the module out of the peripheral.
9. Put the new power distribution module into place and push the open ends of the
slots at the left of the module under the loosened screws near the peripheral
wall.
power
switch
harness
four
screws at
the rear
of the
peripheral
the two left
side screws at
the base of the
distribution
section (loosen
screws ONLY)
ground
wire
the two right
side screws at
the base of the
distribution
section (remove
completely)
power
distribution
module
three harnesses
entering at the top
Figure 2 - 9
Module Replacement
2 - 9
110344-01, Rev B
2. Service Maintenance (except embroidery head )


