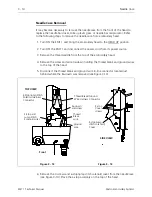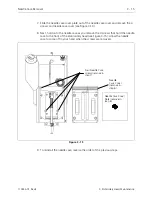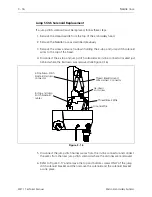
Thread Check Spring Replacement
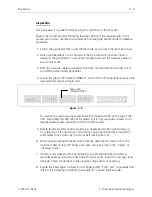
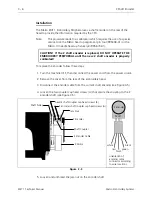
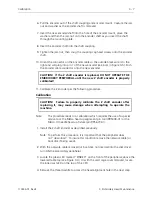
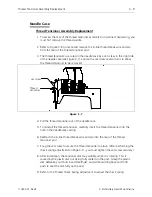
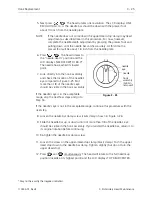
1. As described previously, remove the thread tensioner.
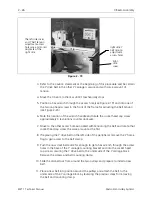
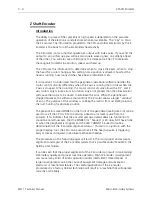
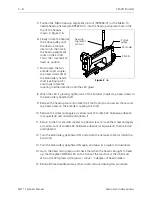
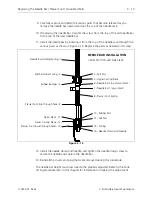
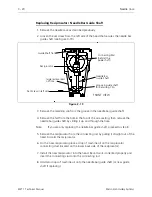
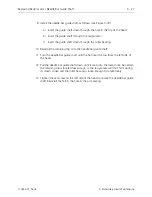
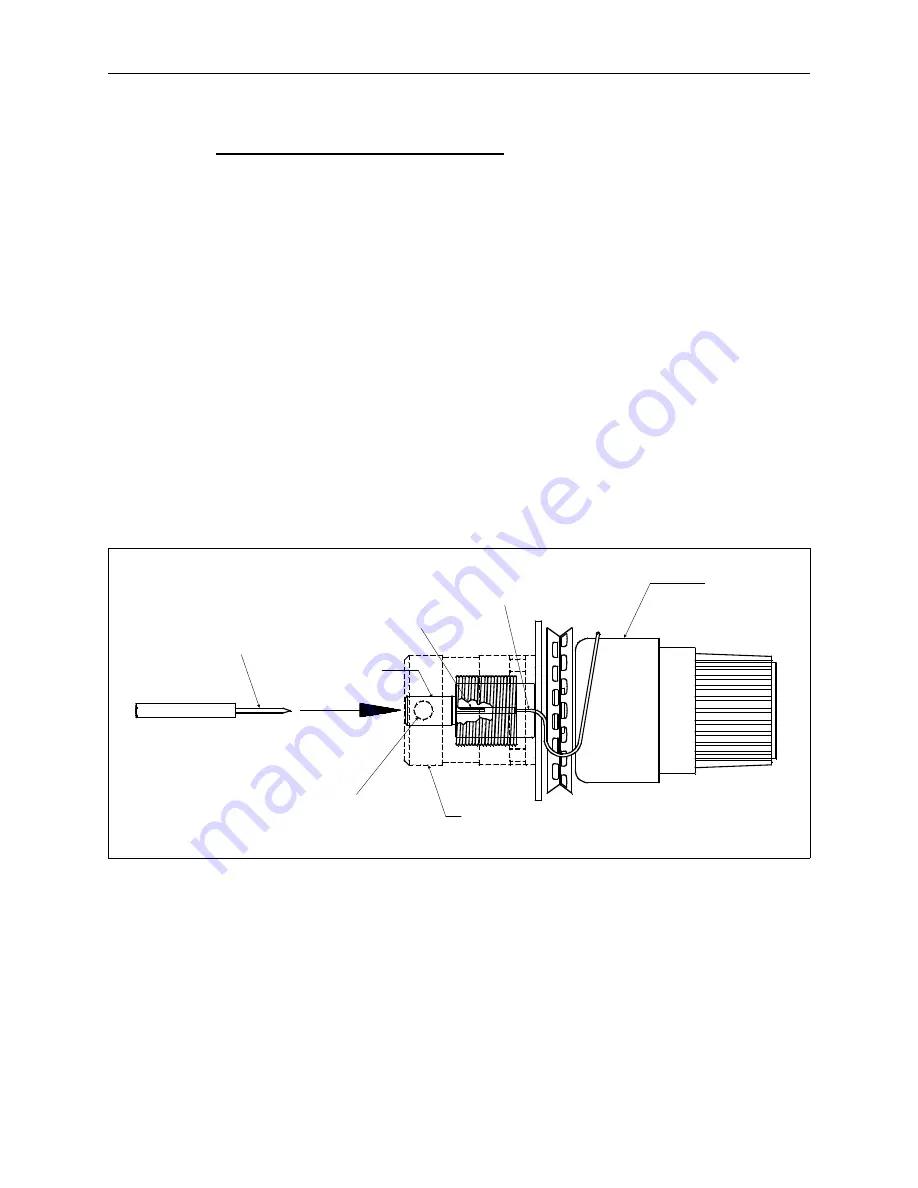
2. Refer to Figure 3-8 to loosen the screw and remove the tensioner post mount
from the rear of the thread tensioner post.
3. Remove the old check spring and discard it.
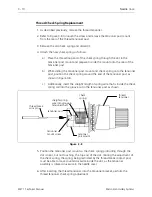
4. Attach the new check spring as follows:
a)
Place the thread loop end of the check spring through the slot in the
tensioner post mount and prepare to slide the mount onto the rear of the
tensioner post.
b)
While sliding the tensioner post mount and check spring onto the tensioner
post, position the check spring around the end of the tensioner post as
shown in Figure 3-8.
c)
Additionally, insert the straight length of spring wire that is inside the check
spring coil into the groove cut in the tensioner post as shown.
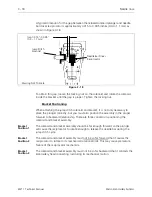
5. Position the tensioner post mount so the check spring protruding through the
slot is near, but not touching, the top end of the slot. (During the adjustment of
the check spring, the spring, being restricted by the thread break contact post,
must be able to move counterclockwise inside the slot, as the tensioner
assembly is rotated clockwise in the needle case.)
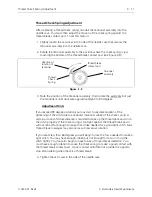
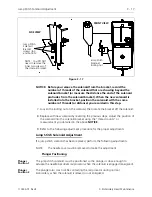
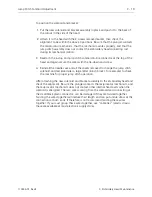
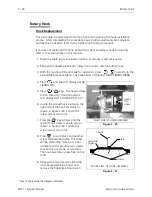
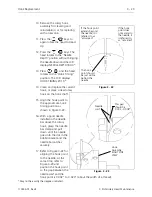
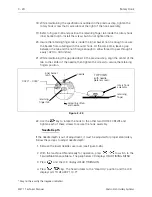
6. After inserting the thread tensioner into the tensioner bracket, perform the
thread tensioner check spring adjustment.
check
spring
thread
tensioner
straight spring
wire into groove in
tensioner shaft
tensioner
mount screw
tensioner
post mount
thread break
wire pin
tensioner post
Figure 3 - 8
3 - 10
Needle Case
EMT 1 Technical Manual
Melco Embroidery Systems

