Jump Stitch Solenoid Replacement
If a jump stitch solenoid must be replaced, follow these steps:
1. Remove the thread saddle from the top of the embroidery head.
2. Remove the Needle Case as described previously.
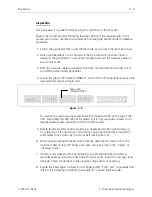
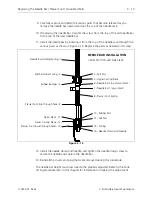
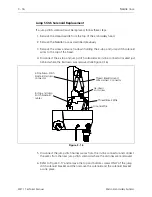
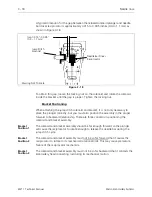
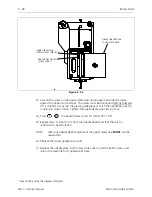
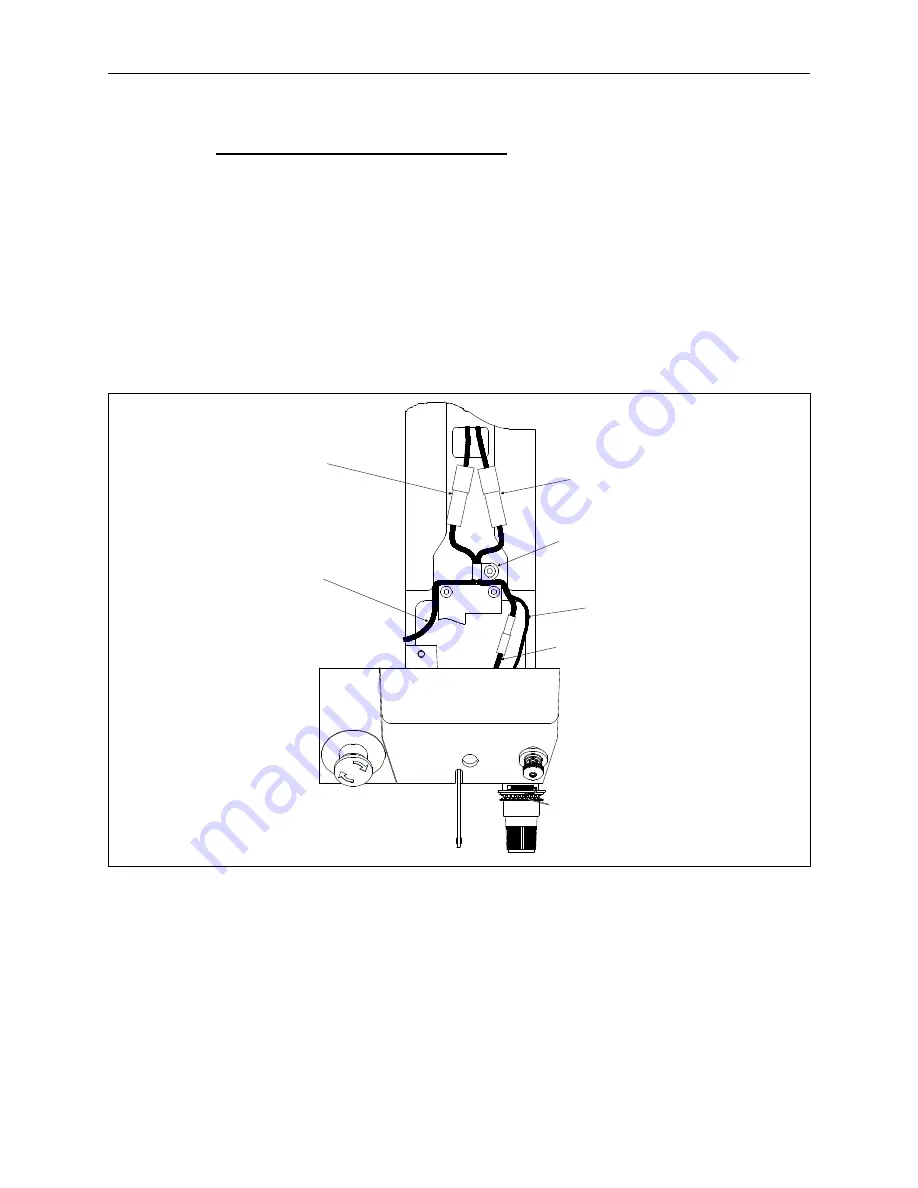
3. Remove the screw and wire tie-down holding the e-stop and jump stitch solenoid
wires to the top of the head.
4. Disconnect the e-stop and jump stitch solenoid wire in-line connector located just
behind where the tie-down was removed (see Figure 3-16).
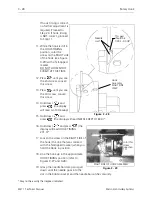
5. Disconnect the jump stitch harness wires from the in-line connector and connect
the wires from the new jump stitch solenoid where the old ones were removed.
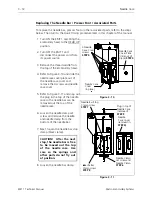
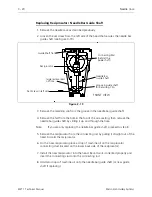
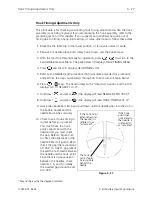
6. Refer to Figure 3-17 and remove the top and bottom screws ONLY of the jump
stitch solenoid bracket and then remove the solenoid and the solenoid bracket
as one piece.
Thread Break/Ground
Wire Harness Connector
tie-down
and screw
Ground Wire
Thread Break Wire
E-stop and Jump
Stitch Solenoid
cables
E-Stop/Jump Stitch
Solenoid Harness
Connector
Figure 3 - 16
3 - 16
Needle Case
EMT 1 Technical Manual
Melco Embroidery Systems

