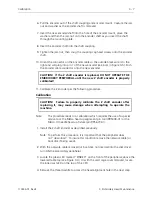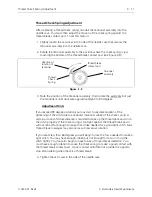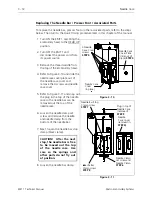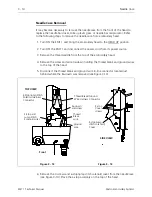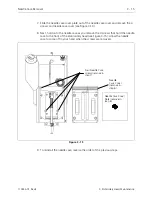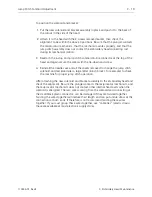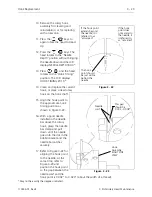
9. Carefully capture and retain the various parts that become released as you
remove the needle bar upward and out the top of the needle case.
10. If replacing the needle bar, transfer the screw from the top of the old needle bar
to the top of the new needle bar.
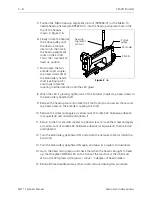
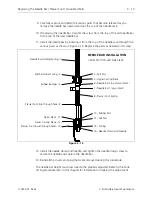
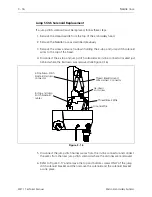
11. Install the needle bar by inserting it from the top of the needle case through the
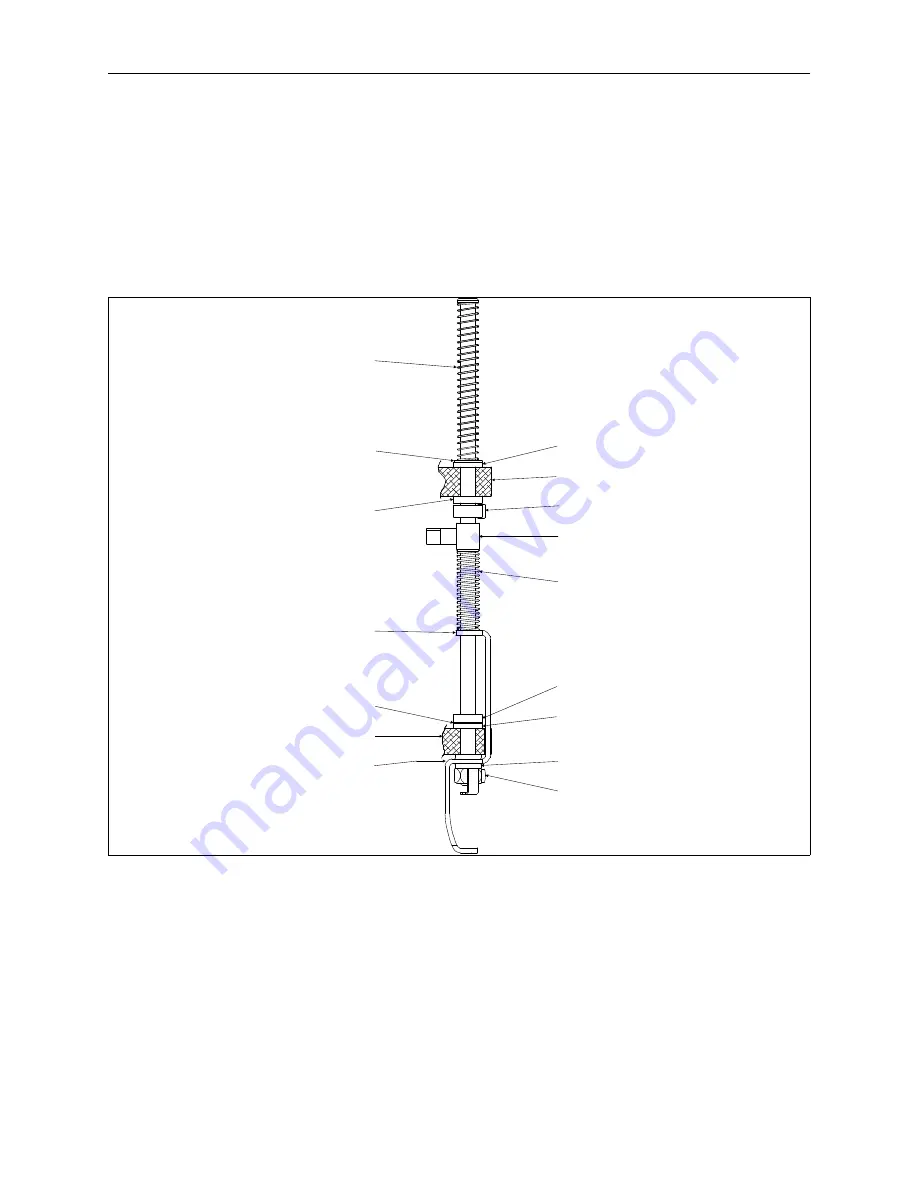
various parts as shown in Figure 3-12. Replace the parts as needed in this step.
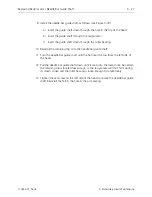
12. Install the needle clamp and needle, and tighten the needle clamp screw to
secure the needle and capture the needle bar.
13. Reinstall the covers and plug that were removed during this procedure.
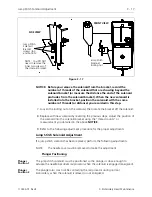
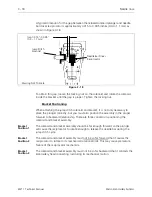
The needle bar height must now need to be properly adjusted. Refer to the hook
timing procedure later in this chapter for information in making this adjustment.
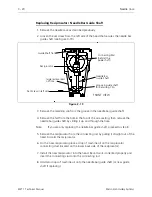
Needle Bar Holding Spring - 1-
Washer Under Spring - 2 -
Rubber Bumper - 5 -
Presser Foot (top through hole - 9 -
Nylon Piece - 11 -
Lower Casting Piece - 13 -
Presser Foot (lower through hole) - 14 -
- 3 - Felt Pad
- 4 - Upper Casting Piece
- 6 - Needle Bar Stop Clamp (black)
- 7 - Needle Bar Clamp (silver)
- 8 - Presser Foot Spring
- 10 - Rubber Pad
- 12 - Felt Pad
- 15 - O-Ring
- 16 - Needle Clamp And Needle
NEEDLE BAR INSTALLATION
CROSS SECTION. LEFT SIDE VIEW
Figure 3 - 12
Replacing The Needle Bar / Presser Foot / Associated Parts
3 - 13
110344-01, Rev B
3. Embroidery Head Maintenance

