Needle Case
Thread Tensioner Assembly Replacement
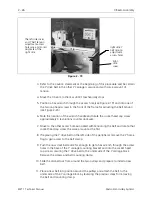
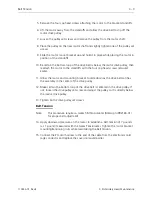
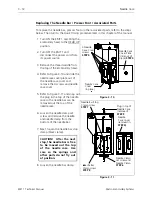
1. To access the rear of the thread tensioner assembly to disconnect harnessing, you
must first remove the thread saddle.
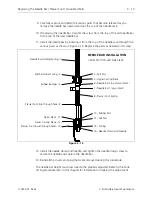
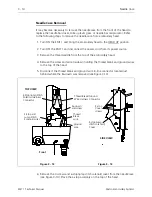
2. Refer to Figure 3-8 to locate and remove the in-line thread break wire and pin
from the rear of the thread tensioner post.
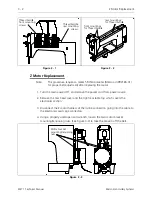
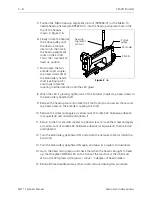
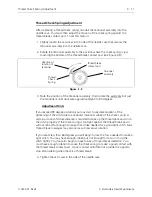
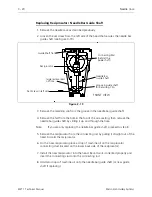
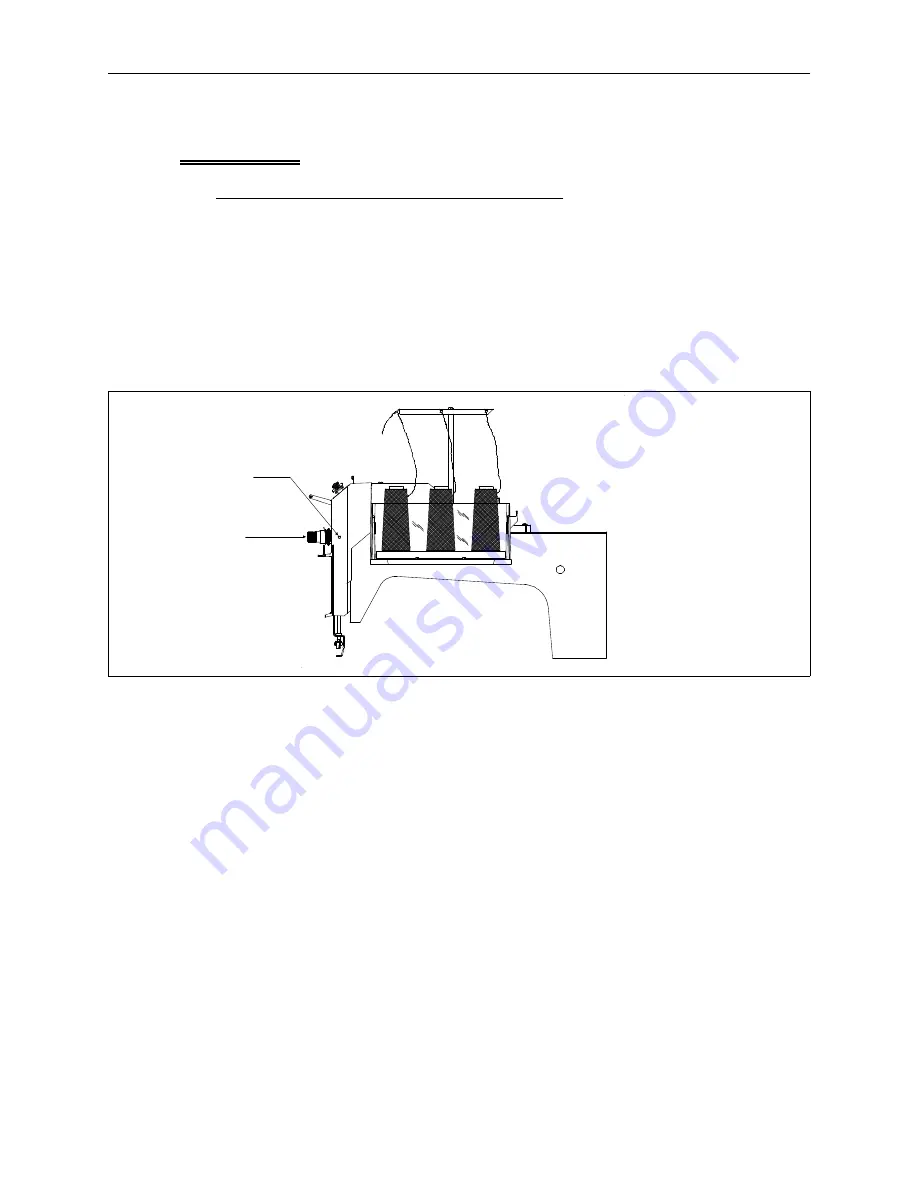
3. The thread tensioner is secured in the needle case by a set screw in the right side
of the needle case (see Figure 3-7). Loosen the set screw several turns to allow
the thread tensioner to be removed.
4. Pull the thread tensioner out of the needle case.
5. To reinstall the thread tensioner, carefully insert the thread tensioner into the
hole in the needle case casting.
6. Reattach the in-line thread break wire and pin into the rear of the thread
tensioner post.
7. Snug the set screw to secure the thread tensioner in place. (After performing the
check spring adjustment on Page 3-11, you must tighten the set screw securely.)
8. After installation, the tensioner disk may wobble while it is rotating. This is
caused by the plastic disk not being fully seated on the post. Grasp the plastic
disk between your thumb and forefinger; and while twisting back and forth,
push to seat the disk fully on the post.
9. Refer to the Thread Check Spring Adjustment to adjust the check spring.
set screw
Thread
Tensioner
Figure 3 - 7
Thread Tensioner Assembly Replacement
3 - 9
110344-01, Rev B
3. Embroidery Head Maintenance

