


Patch
Xciter
user
manual
51
3.
Use the top right scroll wheel to adjust the current value. You can also press [CLEAR] to clear the current
value and input a new value using the general-purpose number keys 1-10 (10 being the 0).
Press [ENT] to accept the new value, [ESC] to return to the previous value.
4.
If you want to set another parameter, repeat steps 2 and 3.
Otherwise press [ENT] or [ESC] to leave the limits dialog and return to the dimmer patch.
8.2.6
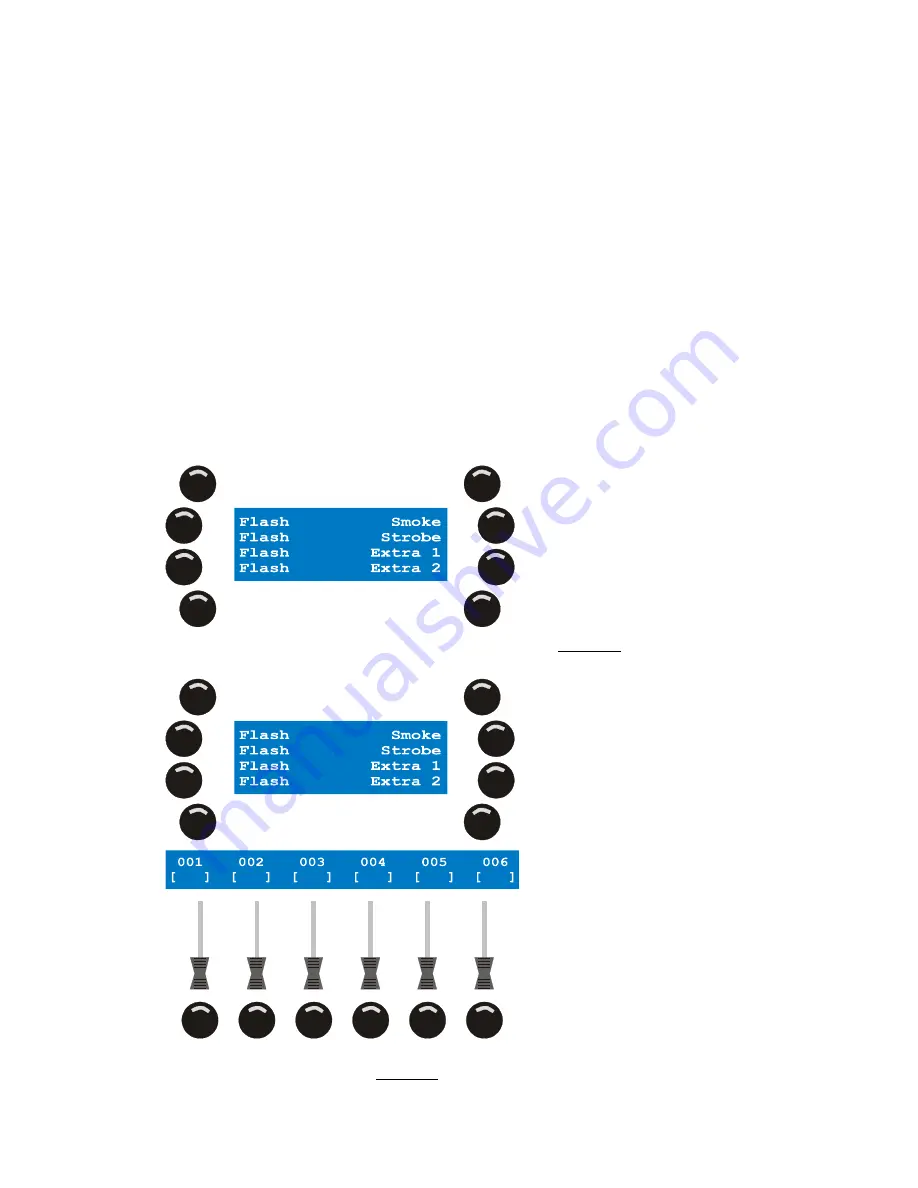
DA patch
DA stands for Direct Access. You have 4 DA buttons on the console. The main purpose of the DA button is
to control devices like smoke machines and strobes, not to launch full scenes. For that matter, Xciter will
not allow you to use channels that are occupied by units from another patch.
The DA patch allows you to patch two different sets of physical channels to each DA button. On set of
values is put on the DMX output when you press the button down and the other is output when you release
the button.
If you wish to use a strobe in the show, you need to patch it as a fixture or dimmer device but you can no
longer use it under a DA button because of the restriction mentioned above. However, you can still make it
direct access under a playback fader.
Note that if you change the DMX addresses of your DA devices in the rig, you also need to move them in
the DA patch.
1.
Press {Direct Access} in the patch menu. Xciter shows the DA patch menu.
2.
Press the softkey to the right of the DA button you wish to edit. Example: {Smoke}.
Xciter shows a dialog on LCD2 that looks a lot like the dimmer soft patch.
3.
Use the arrow keys or the top right jog wheel to scroll through the 512 DMX channels and locate the ones
that are occupied by your device. Example: A DMX-controlled smoke machine on channel 500 and 501.