


Run mode features
Xciter
user
manual
103
4.
Use the top right jog wheel to adjust the value.
5.
Repeat these steps until you have set all audio bands.
6.
Press [ENT] to confirm, [ESC] to cancel. Xciter returns to the advanced dialog.
15.3
Store run mode settings
In some cases, you need to explicitly store changes to certain settings of each cue. If you do not, these
settings will be lost the next time you enter cue mode. Press [STORE] in the basic or advanced dialog to
store the current settings to the cue. You do not need to press store for each cue button separately when
you make changes to them. You can make all the changes and press store once for all cue buttons.
The following settings need an explicit [STORE] if you want them to be permanent:
•
Active / inactive condition of each sequence.
•
Active / inactive condition of the background scene.
•
Quick link to playback page.
15.4
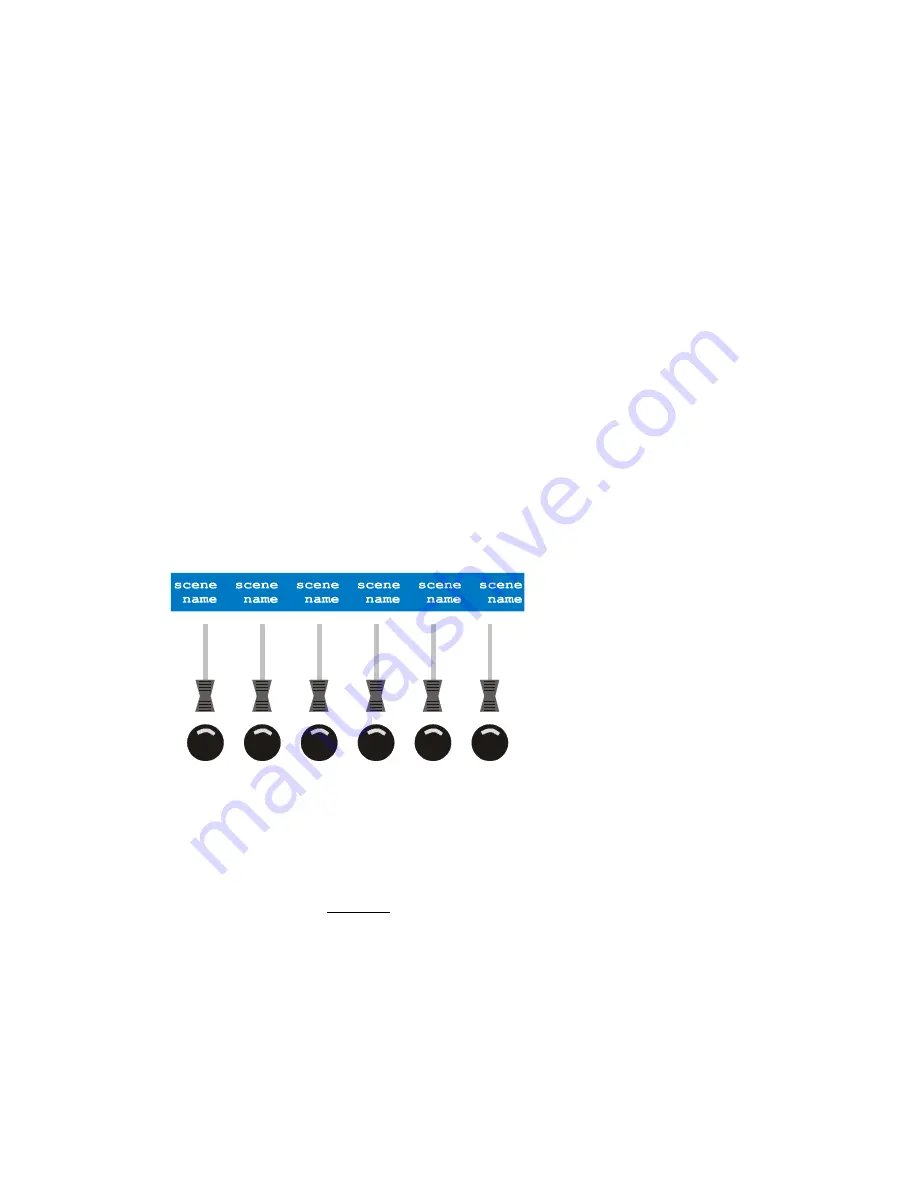
Playback controls
When you are in cue (run mode), Xciter shows playback controls on the fader LCD. Playback controls
involve the following:
•
The six faders under the LCD
•
The six bump buttons that accompany the faders
•
The centre top jog wheel
•
The fader LCD itself
The first things that catch the eye are the labels. These are actually the PB sequence names. Although you
can give a name of 15 characters, they are chopped off at 10 characters when they are displayed above
the faders. So we recommend you give maningful names of 10 characters to them.
15.4.1
Activate, deactivate and bump override playbacks
With the six faders under the fader LCD, you can cross-fade up to six sequences with the background
scene and sequences that are running in the cue. But the things you cross-fade do not necessarily have to
be complete sequences. Example: You wish to flash a PAR can with a bump button. Simply program a
one-step sequence with the dimmer channel at full (255 or 100%). Set the fade time to 0 for instant action,
and store the sequence directly to a playback fader. Refer to the chapter on Program features on page 63
if you do not know how to program the console.
1.
Use the centre top jog wheel to scroll through the playback banks.
2.
Push a fader (above 3%) to activate the sequence under it and adjust its influence on the output. The higher
you push it, the higher the influence of the sequence. The corresponding bump button lights up to indicate
the playback is active and locked.
3.
Hit a bump button to flash a sequence to 100% intensity.
4.
To deactivate a playback sequence, you need to pull the fader below 3% again.