


Patch
48
Xciter user manual
8.2.5.3
Soft patch, advanced settings
In the previous example we have only touched on a small part of the soft patch. In this section we will cover
the more advanced features of the soft patch.
1.
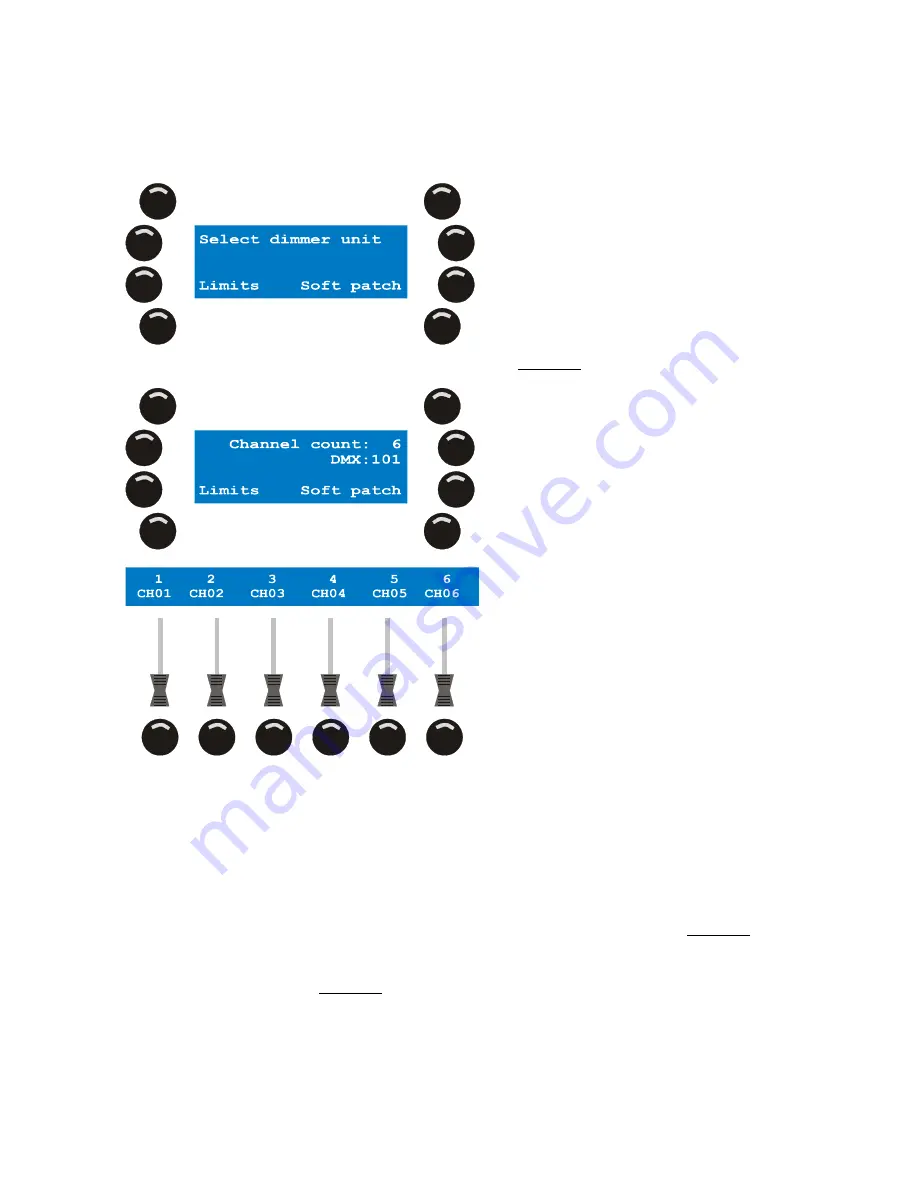
Press {Dimmer Patch} in the patch menu. Xciter prompts you to select a dimmer unit.
2.
Use the general-purpose number keys to select a dimmer unit. Example: 1.
If you have followed the first example correctly, dimmer unit 1 should still have 6 logical channels patched to
physical channels 101 – 106.
If your dimmer unit has more than 6 logical channels or faders, you can scroll to other pages of channels
with the centre top scroll wheel. As you press the bump buttons underneath the channel names, note that
the main display on the right shows a list of the physical channels attached to the selected logical channel.
If you have not used the soft patch before, there should be only one physical channel in the list each time.
If there are more than 6 physical channels attached to the fader, use the top right jog wheel to scroll up and
down through the list.
3.
Press the bump button under the channel name of the logical channel you wish to modify. Example: CH01.
4.
Press [EDIT] to modify the logical channel.
Xciter brings up the DMX chain on the fader LCD. It displays the first physical channel that has been
patched to the logical channel. Example: 101.
Xciter will also send the default test value (128 if you have not changed it) to all the physical channels
currently patched to the selected logical channel.