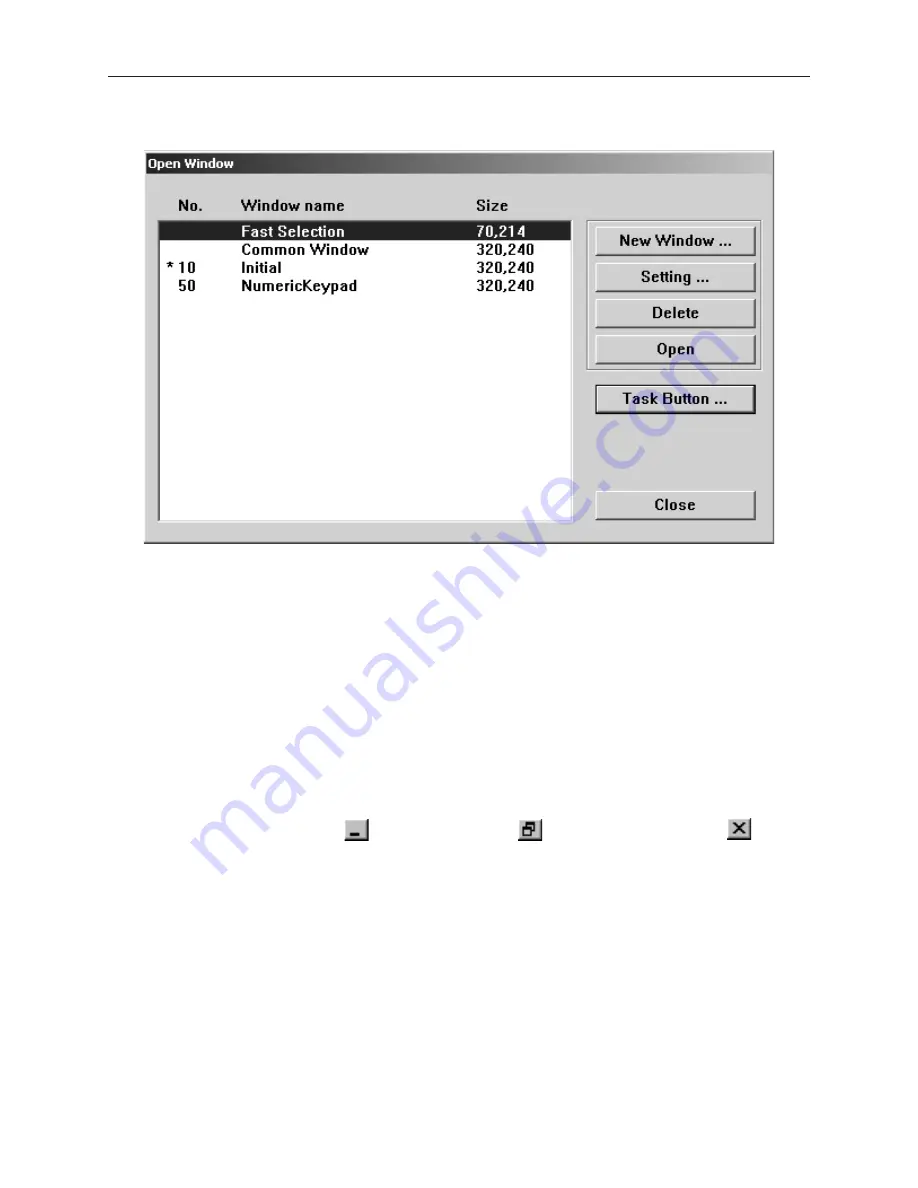
Let’s look at the Open Window dialog box again using the sample project.
The Open Window dialog box lists all of the windows currently created for the project. You will notice that in the
sample project, three windows have been created: 10, 11, and 12. The asterisk next to Window #10 indicates that
this window has already been opened. Each window is listed with the Window name and size. The window name
is the name that you assign to the window when it is created. The window size is shown for quick reference.
Finally, you will notice that the Open Window dialog box is also used to create a new window, change any of the
settings for a window, or delete a window. Press the
Close
command button to return to the main EasyBuilder
screen.
By default, when a window is opened it will replace any window that was displayed in the work area of
EasyBuilder. To switch between open windows, click the
Window
menu and select from the list of windows
currently open. You can also
cascade
or
tile
the open windows to see the windows at the same time.
EasyBuilder requires more resources from your computer every time you open another window. When many
windows are open, the performance of the computer may be affected. Therefore, you may wish to close some of the
windows until you need to edit them.
4
To close a window
1.
You will notice three small icons located in the upper right hand corner of each window: the
minimize icon
, the maximize icon
, and the close icon
. To close
a window, click the close icon associated with that window .
These icons show in the window if minimized. Otherwise, the icons are located on the rightmost end of the menu
bar of EasyBuilder.
Cre ating a New Win dow
Whenever you create a new project, the initial window (Window #10), the fast selection window (Window #4), the
common window (Window #6), and the numeric keypad window (Window #50) are automatically created. To
create a new window, the following steps must be performed.
1010-1001a, Rev 02
80
Sil ver Se ries In stal la tion & Op er a tion Man ual
Summary of Contents for Silver HMI504T
Page 1: ...1010 1001A Rev 02...
Page 32: ...1010 1001a Rev 02 28 Silver Series Installation Operation Manual...
Page 128: ...1010 1001a Rev 01 124 Silver Series Installation Operation Manual...
Page 156: ...1010 1001a Rev 02 152 Silver Series Installation Operation Manual...
Page 166: ...1010 1001a Rev 02 162 Silver Series Installation Operation Manual...
Page 216: ...1010 1001a Rev 01 212 Silver Series Installation Operation Manual...
Page 251: ...1010 1001a Rev 02 Macros 247 Set Bit Objects Attributes Dialog Project Example of Add 2...
Page 264: ...End Macro_Command 1010 1001a Rev 02 260 Silver Series Installation Operation Manual...
Page 268: ...1010 1001a Rev 01 264 Silver Series Installation Operation Manual...


