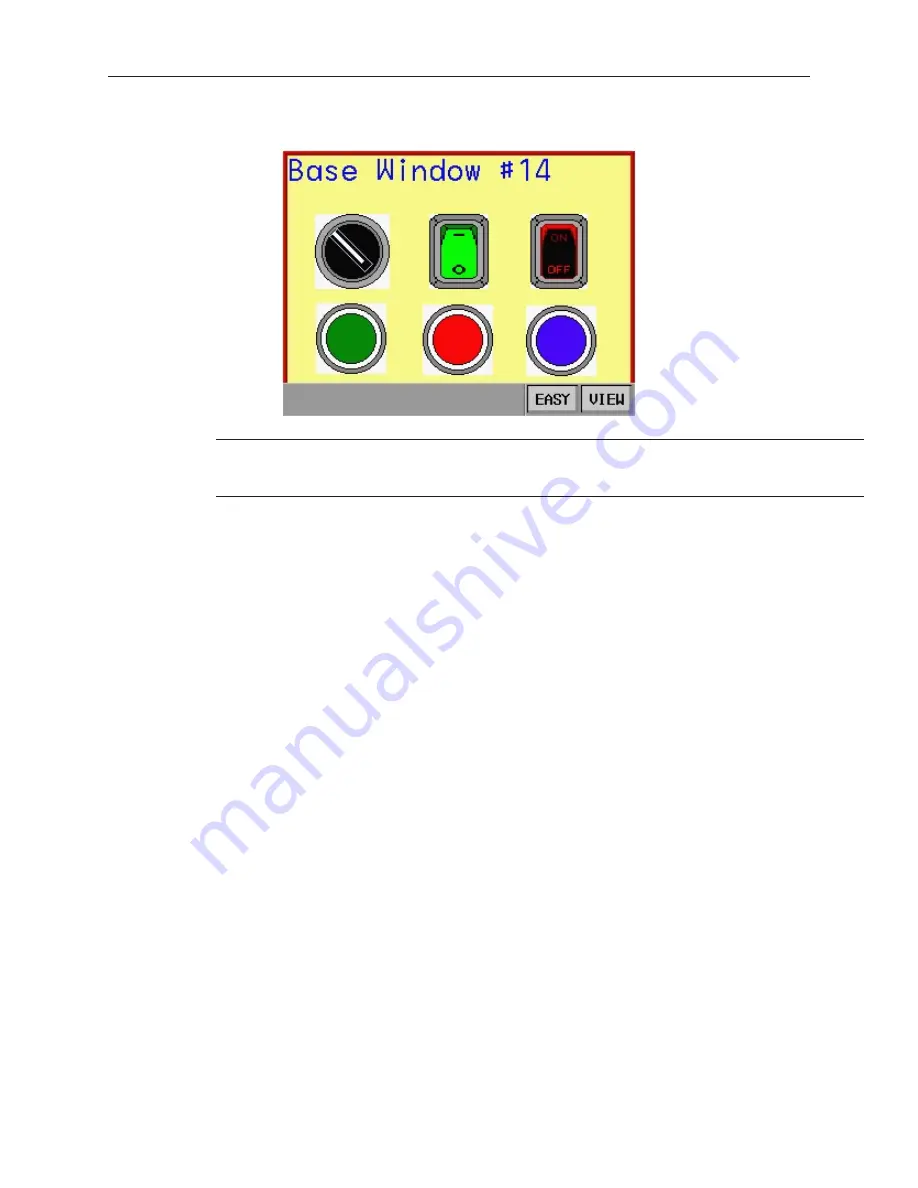
Finally, pressing the Fast Selection Key will remove the Fast Selection Window until it is needed again.
As you can see, the Fast Selection window, though not seen, is always readily available.
The Fast Selection window can only call full screen windows not popup windows.
Therefore, you cannot use Function Key objects with the Popup Window attribute in
Fast Selection windows.
Changing the Fast Se lec tion Win dow
As with common windows, only one fast selection window can be on the OIT display at one time. However, you
can create multiple fast selection windows by using base windows. Then, with the help of a Function Key object,
the OIT operator can change the active fast selection window.
This feature allows you to customize each fast selection window created to perform a specialized function
depending upon which set of windows is currently displayed. For example, for a group of data entry screens, you
may want the fast selection window to contain a numeric keypad. For a group of data monitoring screens, you may
want the fast selection window to contain a trend graph.
4
To change the active fast selection window
1.
Create a fast selection window.
Note:
To use this feature, you must change the default width
setting of the fast selection window from 70 to at least a minimum of 100. This is because the
minimum allowable width size for base windows is 100.
2.
Create a base window that is the same width and height as the fast selection window you just
created. This will be used as another fast selection window. Match all settings to that used
on the fast selection window. For our example, we will use Window#11.
3.
Create a full screen base window that can be used to change the fast selection windows, (such
as a startup window). Let’s use Window#10, the initial window, for our example.
4.
On Window#10, create a Function Key object that is used to change the fast selection
window. From the
Parts
menu, click
Function Key
. The Create Function Key Object dialog
box appears.
5.
On the
General
tab, click
JOG FS-Window
.
6.
In the same frame, enter
11
for
Window No
..
7.
Click the
Shape
tab. Click
Use Shape
. Click on the
Shape Library…
command. Select
Shape#0
from the
button1
library. Click
OK
to return to the
Create Function Key Object
dialog box.
8.
Click the
Label
tab. Click the
Use label
checkbox.
9.
For our example, type
CFS11
(meaning
C
hange
F
ast
S
election Window#
11
) into the
Contents
box. Click
OK
to exit the Create Function Key Object dialog box and go back to
the EasyBuilder main screen.
10. Place the new Function Key object somewhere on Window #10.
11. Now create another Function Key object with the JOG-FS attribute but select
4
for
Window
number
1010-1001a, Rev 02
114
Sil ver Se ries In stal la tion & Op er a tion Man ual
Summary of Contents for Silver HMI504T
Page 1: ...1010 1001A Rev 02...
Page 32: ...1010 1001a Rev 02 28 Silver Series Installation Operation Manual...
Page 128: ...1010 1001a Rev 01 124 Silver Series Installation Operation Manual...
Page 156: ...1010 1001a Rev 02 152 Silver Series Installation Operation Manual...
Page 166: ...1010 1001a Rev 02 162 Silver Series Installation Operation Manual...
Page 216: ...1010 1001a Rev 01 212 Silver Series Installation Operation Manual...
Page 251: ...1010 1001a Rev 02 Macros 247 Set Bit Objects Attributes Dialog Project Example of Add 2...
Page 264: ...End Macro_Command 1010 1001a Rev 02 260 Silver Series Installation Operation Manual...
Page 268: ...1010 1001a Rev 01 264 Silver Series Installation Operation Manual...


