


160 Tutorial: Creating a CSS-based Page Layout
3.
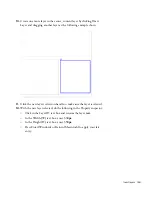
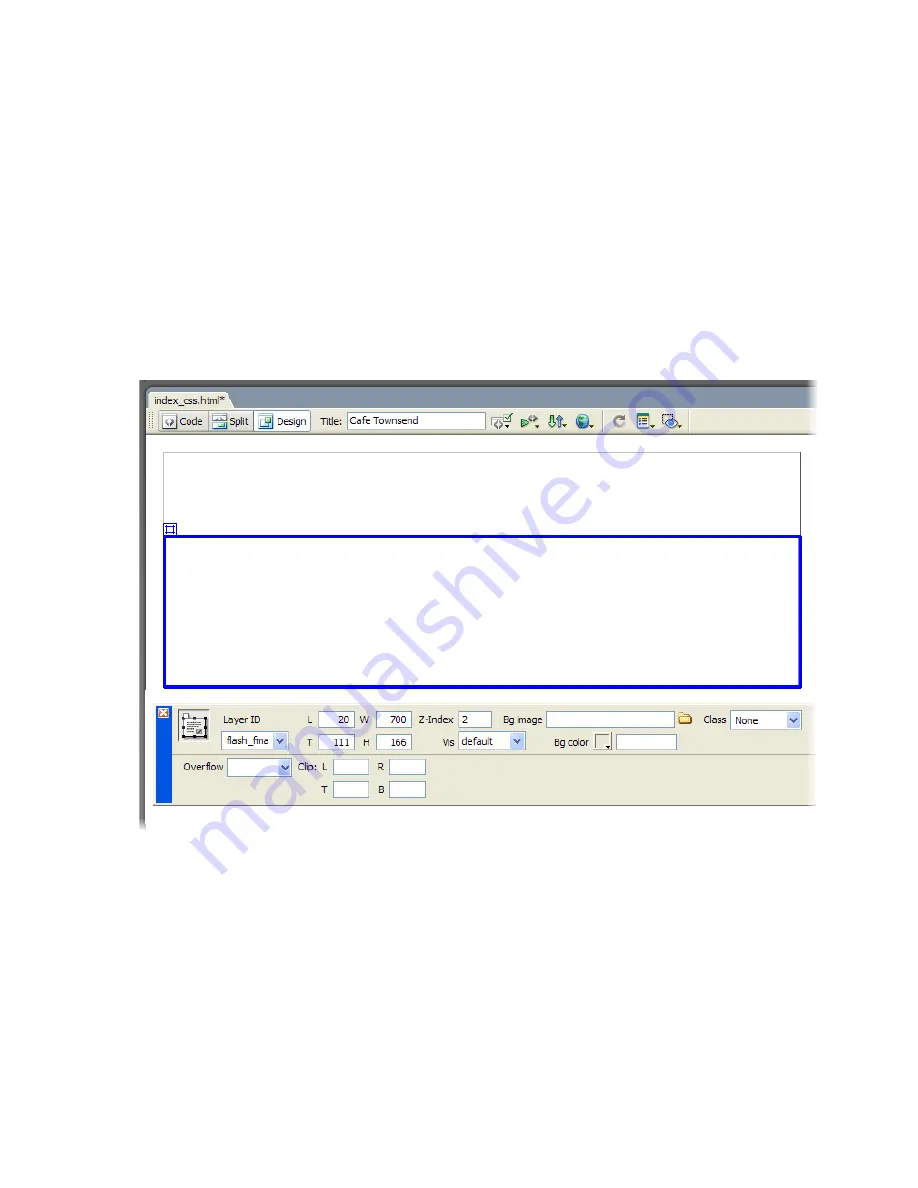
With the new layer selected, do the following in the Property inspector:
■
Click in the Layer ID text box and rename the layer
flash_fma.
■
In the Width (W) text box, enter
700px.
■
In the Height (H) text box, enter
166px.
■
In the Left (L) text box, enter
20px.
■
In the Top (T) text box, enter
111px.
■
Press Enter (Windows) or Return (Macintosh) to apply your last
entry.
Dreamweaver sizes and positions the new flash_fma layer.
.
The flash_fma layer is 700 pixels wide by 166 pixels high. It is also
positioned 20 pixels from the left margin of the page, and 111 pixels
from the top margin of the page. You positioned this layer 111 pixels
from the top margin of the page so that it would not overlap with the
banner_graphic layer.
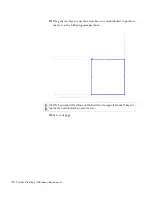
When layers overlap, you’ll notice that the border of one of layers
(specifically, the underlying layer) is represented by a dotted a line.
Summary of Contents for DREAMWEAVER 8-GETTING STARTED WITH...
Page 1: ...Getting Started with Dreamweaver...
Page 8: ...8 Contents...
Page 10: ......
Page 46: ...46 Dreamweaver Basics...
Page 48: ......
Page 128: ...128 Tutorial Formatting Your Page with CSS...
Page 136: ...136 Tutorial Publishing Your Site...
Page 138: ......
Page 189: ...Add a Repeat Region XSLT object 189 3 Select Insert XSLT Objects Repeat Region...
Page 196: ...196 Tutorial Displaying XML Data...
Page 216: ......
Page 230: ...230 Understanding Web Applications...
Page 236: ...236 Installing a Web Server...
Page 254: ...254 Setup for Sample ColdFusion Site...
Page 268: ...268 Setup for Sample ASP NET Site...
Page 284: ...284 Setup for Sample ASP Site...
Page 300: ...300 Setup for Sample JSP Site...
Page 320: ...320 Setup for Sample PHP Site...


