7-18
D i g i t a l 8 • B u s
Automation
The engineer then chooses the Paste com-
mand from the Edit menu and she is prompted
with a dialog box asking her where, in time,
she wants the data placed.
She types in 109:1:0 and hits the Enter key
(or clicks on Paste).
The first 8 bars of Channel 1 are now cloned
to be the last 8 bars of Channel 1. The same
thing happens with Channels 2 through 14.
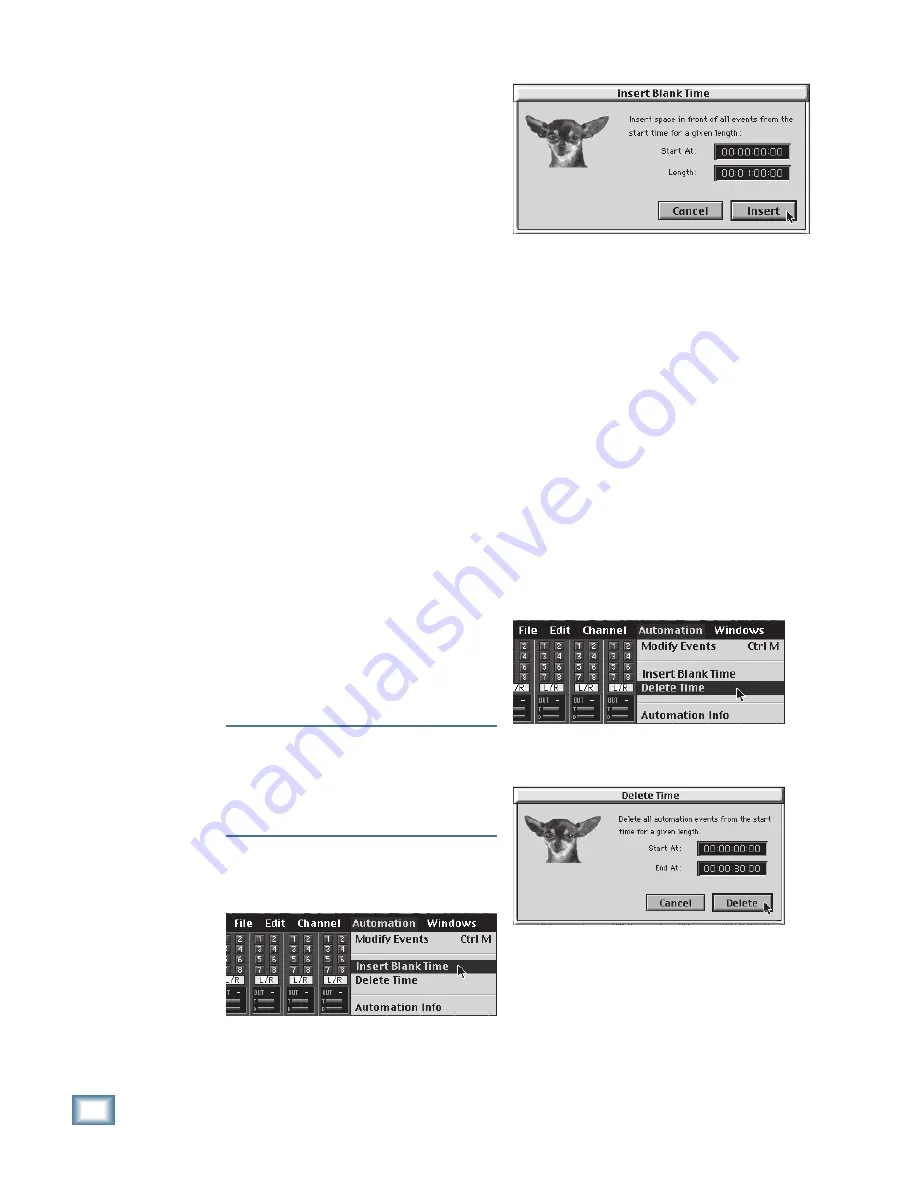
Inserting Blank Time/Delete Time
These two commands can be found under
Automation in the upper menu bar. You can use
them to insert blank time or delete time from
your entire mix. In other words, these com-
mands affect all channels.
Insert Blank Time has the effect of bumping
backward all events in your mix. If you insert
time at the beginning of your mix, it will move
all events back by that amount of time. (This is
similar to programming an offset into a syn-
chronizer). If you insert time into the middle of
a mix, it will move all events after the insert
point to a later point by the specified amount. If
you have fader events with start times before
the time insertion and end times after the inser-
tion, these events will be extended. However,
Mackie OS Real Time automation does not in-
terpolate if you insert time in the middle of an
event. For example, if you have a fade that be-
gins at 10 seconds and ends at 20, and you
insert 20 seconds of blank time at 15 seconds,
you will not get a smooth 30-second fade. You
will get a fade that stops at 15 seconds, holds
there for 20 seconds, and then resumes.
Delete Time has a similar but opposite ef-
fect. Delete time removes the specified time,
starting at the time designated in the “Delete
Time” window.
Note:
If you have imported a Standard MIDI
File (SMF), you may press the SMPTE VIEW
button next to the Position Display, or click on
the SMPTE button in the Transport window to
choose either SMPTE code or bars/beats/tics
as the time reference.
Inserting Blank Time:
1. Choose “Insert Blank Time” from the Auto-
mation menu at the top of the screen.
2. In the “Start At” box, enter the time at
which you want to insert the blank time.
3. In the “Length” box, enter the amount of
time you want to insert. For example, if you
want to add a minute at the beginning of
your mix, enter 00:00:00:00 in the “Start At”
box and 00:01:00:00 in the “Length” box. If
you want to add a minute and fifteen sec-
onds of blank time at two minutes into your
mix, enter 00:02:00:00 in the “Start At” box
and 00:01:15:00 in the “Length” box.
4. Click on the Insert button.
Insert Blank Time is handy for putting an
offset at the beginning of a mix to lock it up to
an audio source that has a different start point.
It’s also handy if, for example, you added some
time in a sequenced music piece and now you
need to add the time to your mix. (This could
require some tweaking if the inserted time falls
in the middle of events, as noted previously.)
Deleting Time:
1. Choose Delete Time from the Automation
menu at the top of the screen.
2. In the “Start At” box, enter the time at
which you want your deletion to start.
3. In the “End At” box, enter the time at which
you want the deletion to end.
4. Click on the Delete button.
Delete Time is handy if you have too much
offset time at the beginning of a mix. Or, in the
reverse of the above situation, you can use it to
take sections or time slices out of a mix. How-
ever, this can be somewhat risky.
Summary of Contents for 8-BUS Series
Page 49: ...3 16 D i g i t a l 8 B u s Start Up ...
Page 57: ...4 8 D i g i t a l 8 B u s Connections ...
Page 77: ...5 20 D i g i t a l 8 B u s Preparing for a Session ...
Page 177: ...7 20 D i g i t a l 8 B u s Automation ...
Page 207: ...D 2 D i g i t a l 8 B u s Apogee UV22 ...
Page 219: ...F 4 D i g i t a l 8 B u s Optional I O Cards ...
Page 227: ...H 2 D i g i t a l 8 B u s Upgrading ...
Page 235: ...K 2 D i g i t a l 8 B u s ...
Page 237: ...D i g i t a l 8 B u s ...
Page 239: ...D i g i t a l 8 B u s ...


