


Note:
The fuel range ring is an estimated range that can
be reached at the current rate of fuel consumption,
of the fuel onboard and based on a number of
external factors which could either extend or
shorten the projected range.
This estimate is based on data received from
external fuel management devices, or via the Fuel
Manager. It does not take into account prevailing
conditions such as tide, current, sea state, wind
etc.
You should not rely on the fuel range ring feature
for accurate voyage planning or in emergency and
safety critical situations.
Enabling the fuel range ring
From the chart application, in 2D view:
1. Select
Menu
.
2. Select
Presentation
.
3. Select
Overlays
.
4. Select
Fuel Range Ring
so that On is selected.
The fuel range ring pop-up message is displayed.
5. Select
OK
to turn on the fuel range rings.
Disabling the Fuel Range Ring
From the chart application, in 2D view:
1. Select
Menu
.
2. Select
Presentation
.
3. Select
Overlays
.
4. Select
Fuel Range Ring
so that Off is selected.
Changing the size of the vessel symbol
The vessel symbol size can be changed following
the steps below.
From the Chart application menu:
1. Select
Presentation
.
2. Select
Overlays
.
3. Select
Boat Size:
so that Large is selected to
show the large vessel symbols, or
4. Select
Boat Size:
so that Small is selected to
show the small vessel symbol.
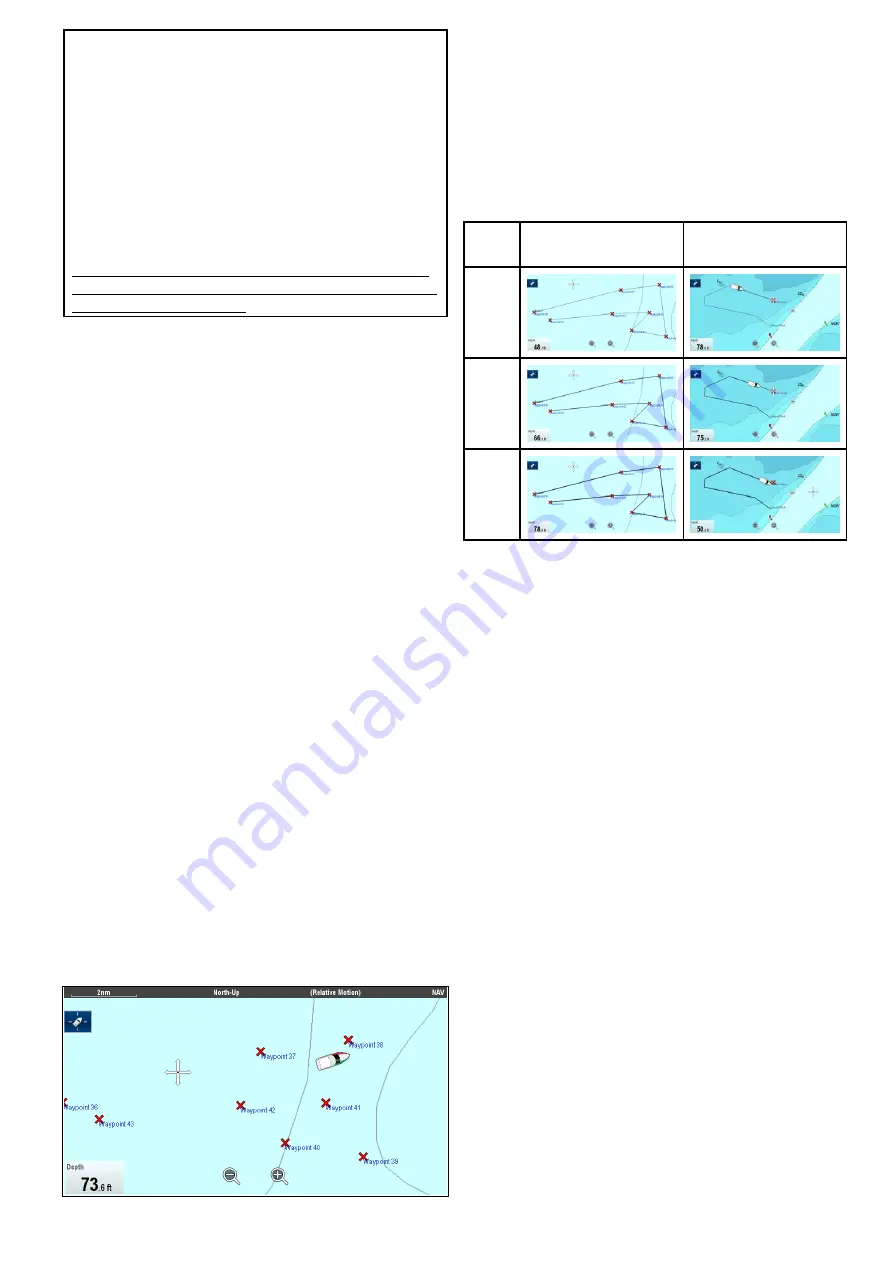
Displaying waypoint names
Waypoint names can be shown next to their
respective waypoint symbols.
From the Chart application menu.
1. Select
Presentation
.
2. Select
Overlays
.
3. Select
Waypoint Name:
so that Show is selected
to display the waypoint names, or
4. Select
Waypoint Name:
so that Hide is selected
to hide the waypoint names.
Route and Track widths
The width of route and track lines can be changed.
Set-
ting
Route
Track
Thin
Nor-
mal
Thick
Changing route or track line widths
The width of the line that make up routes and tracks
can be changed by following the steps below.
From the Chart application menu.
1. Select
Presentation
.
2. Select
Overlays
.
3. Select either
Route Width
or
Track Width
as
required.
4. Select the width you require from the list.
Chart application
251
Summary of Contents for a125
Page 2: ......
Page 6: ......
Page 16: ...16 a Series c Series e Series ...
Page 43: ...13 GPS receiver 14 Thermal camera 15 Wireless connection Planning the installation 43 ...
Page 50: ...50 a Series c Series e Series ...
Page 82: ...82 a Series c Series e Series ...
Page 114: ...114 a Series c Series e Series ...
Page 120: ...120 a Series c Series e Series ...
Page 186: ...186 a Series c Series e Series ...
Page 190: ...190 a Series c Series e Series ...
Page 208: ...208 a Series c Series e Series ...
Page 230: ...230 a Series c Series e Series ...
Page 320: ...320 a Series c Series e Series ...
Page 340: ...340 a Series c Series e Series ...
Page 364: ...364 a Series c Series e Series ...
Page 420: ...420 a Series c Series e Series ...
Page 424: ...424 a Series c Series e Series ...
Page 434: ...434 a Series c Series e Series ...
Page 459: ......
Page 460: ...www raymarine com ...


