


5. Select
Save Waypoints to Card
.
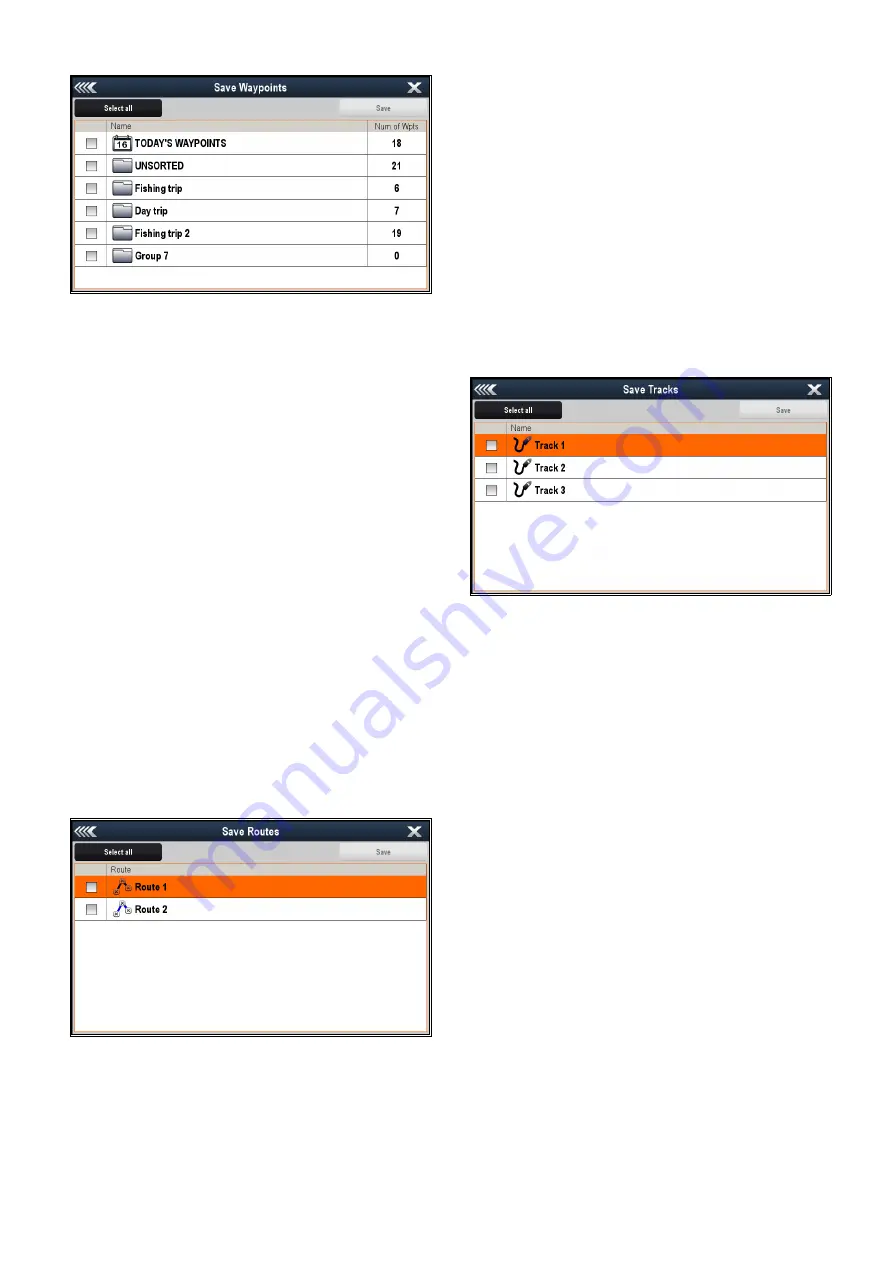
The Waypoint Group list is displayed.
6. Select the group or groups you want to save, or
select
Select All
.
7. Select
Save
.
The on-screen keyboard is displayed.
8. Using the on-screen keyboard enter the filename
you want to save the file as.
9. Select
SAVE
.
If your display has more than 1 card slot then a
message is displayed prompting you to select the
slot you want to save data to, if your display only
has 1 card slot then you will not be prompted.
10. Select
SD1
for a memory card in the top card slot,
or
SD2
for a memory card in the bottom card slot.
A confirmation dialog is displayed.
11. Select
OK
.
Saving routes to a memory card
With the Homescreen displayed:
1. Ensure you have a memory card (NOT a chart
card) inserted into a card slot.
2. Select
My Data
.
3. Select
Import/Export
.
4. Select
Save Data to Card
.
5. Select
Save Routes to Card
.
The Routes list is displayed.
6. Select the route or routes you want to save, or
select
Select All
.
7. Select
Save
.
The on-screen keyboard is displayed.
8. Using the on-screen keyboard enter the filename
you want to save the file as.
9. Select
SAVE
.
If your display has more than 1 card slot then a
message is displayed prompting you to select the
slot you want to save data to, if your display only
has 1 card slot then you will not be prompted.
10. Select
SD1
for a memory card in the top card slot,
or
SD2
for a memory card in the bottom card slot.
A confirmation dialog is displayed.
11. Select
OK
.
Saving tracks to a memory card
With the Homescreen displayed:
1. Ensure you have a memory card (NOT a chart
card) inserted into a card slot.
2. Select
My Data
.
3. Select
Import/Export
.
4. Select
Save Data to Card
.
5. Select
Save Tracks to Card
.
The Tracks list is displayed.
6. Select the track or tracks you want to save, or
select
Select All
.
7. Select
Save
.
The on-screen keyboard is displayed.
8. Using the on-screen keyboard enter the filename
you want to save the file as.
9. Select
SAVE
.
If your display has more than 1 card slot then a
message is displayed prompting you to select the
slot you want to save data to, if your display only
has 1 card slot then you will not be prompted.
10. Select
SD1
for a memory card in the top card slot,
or
SD2
for a memory card in the bottom card slot.
A confirmation dialog is displayed.
11. Select
OK
.
Importing waypoints, routes, or tracks from
a memory card
With the Homescreen displayed:
1. Ensure you have a memory card containing the
user data in gpx format in one of the card slots.
2. Select
My Data
.
3. Select
Import/Export
.
4. Select
Retrieve from Card
.
The file browser is opened.
126
a Series / c Series / e Series
Summary of Contents for a125
Page 2: ......
Page 6: ......
Page 16: ...16 a Series c Series e Series ...
Page 43: ...13 GPS receiver 14 Thermal camera 15 Wireless connection Planning the installation 43 ...
Page 50: ...50 a Series c Series e Series ...
Page 82: ...82 a Series c Series e Series ...
Page 114: ...114 a Series c Series e Series ...
Page 120: ...120 a Series c Series e Series ...
Page 186: ...186 a Series c Series e Series ...
Page 190: ...190 a Series c Series e Series ...
Page 208: ...208 a Series c Series e Series ...
Page 230: ...230 a Series c Series e Series ...
Page 320: ...320 a Series c Series e Series ...
Page 340: ...340 a Series c Series e Series ...
Page 364: ...364 a Series c Series e Series ...
Page 420: ...420 a Series c Series e Series ...
Page 424: ...424 a Series c Series e Series ...
Page 434: ...434 a Series c Series e Series ...
Page 459: ......
Page 460: ...www raymarine com ...


