2-74
Service Manual
4060-
xxx
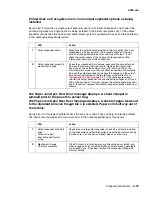
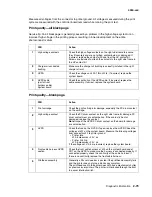
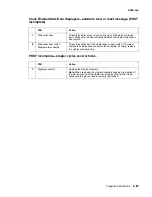
Remove Paper - Output Bin
x
is displayed, POST incomplete, unable to clear
the message.
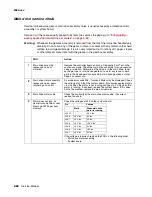
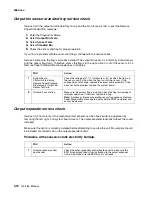
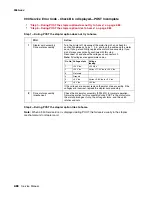
271 Paper Jam - Check Bin
x
, POST incomplete
271 Paper jam - Check Bin
x
, POST complete, first sheet of paper feeds into
output bin
x
.
Note:
Before performing the following checks, run the Output Bin X Sensor Test and check for the
failing sensor.
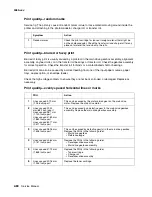
Sensor Test:
NF = Near Full (Upper part of sensor assembly)
F = Full (Lower part of sensor assembly)
P = Pass Thru Sensor
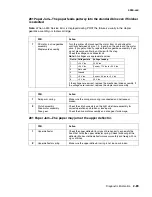
990 Service - Bin
x
FRU
Action
1
Dual output bin sensor flag
Check the flag for correct operation, binding, broken parts, or
interference from the sensor cable, If incorrect, repair as necessary.
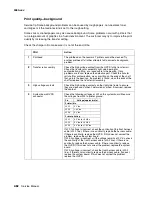
FRU
Action
1
Pass thru sensor and flag
assembly
Control board
Check the sensor flag for proper operation. If correct, check to make
sure the pass thru sensor cable is correctly connected to J3 on the
control board. Disconnect the pass thru sensor cable from J3 on the
control board and check the voltage at J3-3. The voltage measures
approxi5 V dc. If incorrect, replace the control board. If
correct, check the voltage at J3-2. The voltage measures
approximately 0 V dc. If incorrect, replace the sensor assembly. If
this does not fix the problem, replace the control board.
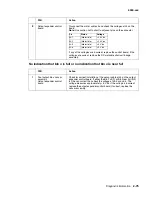
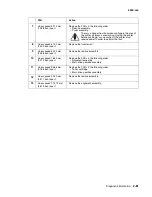
FRU
Action
1
D.C. motor
mechanical linkage
assembly
Make sure the DC motor cable connector is correctly installed at J4
on the output expander option board. If correct, disconnect J4 from
the option board and check the resistance of the motor on the cable
connector: J4-1 to J4-2 (measures between 115 and 135 ohms.) Also
check J4-1 and J4-2 to the motor case for shorts. If either the
resistance is incorrect or a short is found, replace the motor/
mechanical linkage assembly.
Note:
If the DC motor is shorted, it may also be necessary to replace
the control board.
Summary of Contents for T63 Series
Page 13: ...Laser notices xiii 4060 xxx Japanese Laser Notice ...
Page 14: ...xiv Service Manual 4060 xxx Korean Laser Notice ...
Page 34: ...1 16 Service Manual 4060 xxx ...
Page 218: ...4 64 Service Manual 4060 xxx ...
Page 236: ...6 2 Service Manual 4060 xxx ...
Page 238: ...7 2 Service Manual 4060 xxx Assembly 1 Covers ...
Page 240: ...7 4 Service Manual 4060 xxx Assembly 2 Frame 1 5 2 1 3 4 3 4 8 6 7 ...
Page 252: ...7 16 Service Manual 4060 xxx Assembly 9 Paper feed alignment 3 2 1 4 ...
Page 258: ...7 22 Service Manual 4060 xxx Assembly 12 Drives Main drive and developer drive 3 2 4 1 7 6 5 ...
Page 260: ...7 24 Service Manual 4060 xxx Assembly 13 Hot roll fuser 3 7 5 2 6 4 1 5 8 7 9 ...
Page 262: ...7 26 Service Manual 4060 xxx Assembly 14 Transfer charging 3 2 4 1 5 6 7 9 10 8 ...
Page 264: ...7 28 Service Manual 4060 xxx Assembly 15 Electronics power supplies 3 7 5 2 6 4 1 ...
Page 266: ...7 30 Service Manual 4060 xxx Assembly 16 Electronics card assemblies 3 1 4 5 6 9 2 4 7 8 10 ...
Page 268: ...7 32 Service Manual 4060 xxx Assembly 17 Electronics shields ...
Page 270: ...7 34 Service Manual 4060 xxx Assembly 18 Cabling diagrams 1 3 1 2 4 5 6 7 8 7 4 ...
Page 272: ...7 36 Service Manual 4060 xxx Assembly 19 Cabling diagrams 2 HVPS LVPS 3 5 4 1 2 6 ...
Page 276: ...7 40 Service Manual 4060 xxx Assembly 21 250 sheet paper tray ...
Page 284: ...7 48 Service Manual 4060 xxx Assembly 23 Duplex option 1 ...
Page 286: ...7 50 Service Manual 4060 xxx Assembly 24 Envelope feeder 3 11 7 13 5 9 2 10 6 4 12 8 14 1 ...
Page 288: ...7 52 Service Manual 4060 xxx Assembly 25 Output expander ...
Page 290: ...7 54 Service Manual 4060 xxx Assembly 25 cont Output expander ...
Page 292: ...7 56 Service Manual 4060 xxx Assembly 26 High capacity output expander ...
Page 296: ...7 60 Service Manual 4060 xxx Assembly 27 5 bin mailbox ...
Page 298: ...7 62 Service Manual 4060 xxx Assembly 27 cont 5 bin mailbox ...
Page 300: ...7 64 Service Manual 4060 xxx Assembly 28 High capacity feeder 1 ...
Page 320: ...7 84 Service Manual 4060 xxx Assembly 38 StapleSmart finisher 4 1 ...
Page 344: ...I 20 Service Manual 4060 xxx ...
Page 345: ......

