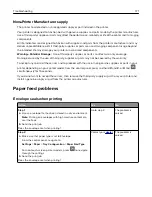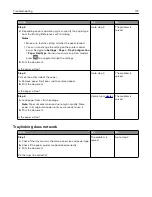
4
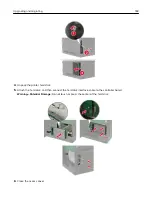
Install any supported internal options. For more information, see the documentation that came with the
option.
5
Close the access cover.
6
Connect the power cord to the printer, and then to the electrical outlet.
CAUTION—POTENTIAL INJURY:
To avoid the risk of fire or electrical shock, connect the power cord
to an appropriately rated and properly grounded electrical outlet that is near the product and easily
accessible.
7
Turn on the printer.
Installing a memory card
Note:
These instructions apply only to the DDR3 DIMM memory card.
CAUTION—SHOCK HAZARD:
To avoid the risk of electrical shock, if you are accessing the controller
board or installing optional hardware or memory devices sometime after setting up the printer, then turn
the printer off, and unplug the power cord from the electrical outlet before continuing. If you have any
other devices attached to the printer, then turn them off as well, and unplug any cables going into the
printer.
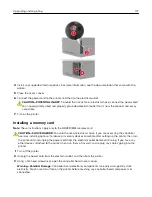
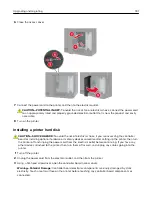
1
Turn off the printer.
2
Unplug the power cord from the electrical outlet, and then from the printer.
3
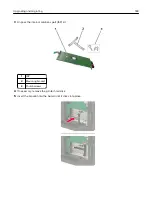
Using a flat
‑
head screwdriver, open the controller board access cover.
Warning—Potential Damage:
Controller board electronic components are easily damaged by static
electricity. Touch a metal surface on the printer before touching any controller board components or
connectors.
Upgrading and migrating
177
Summary of Contents for MX-B557P
Page 1: ...LASER PRINTER MX B557P MX B707P User s Guide October 2021 Machine type 4064 Models 29H 69H ...
Page 109: ...2 Unlock the fuser 3 Remove the used fuser 4 Unpack the new fuser Maintaining the printer 109 ...
Page 114: ...3 Remove the used hot roll fuser wiper Maintaining the printer 114 ...
Page 120: ...2 Remove the used pick roller 3 Unpack the new pick roller Maintaining the printer 120 ...
Page 121: ...4 Install the new pick roller 5 Close the multipurpose feeder Maintaining the printer 121 ...
Page 142: ...2 Remove the staple cartridge holder 3 Remove the loose staples Clearing jams 142 ...
Page 193: ...b Insert the tabs of the guide bar into the output expander Upgrading and migrating 193 ...


