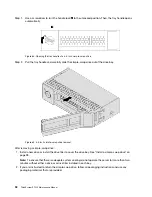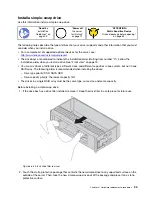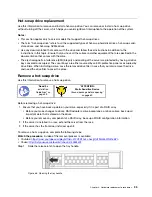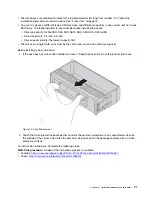
Step 1. Use a screwdriver to turn the handle lock
1
to the unlocked position. Then, the tray handle opens
automatically.
Figure 64. Opening the tray handle of a 3.5-inch simple-swap drive
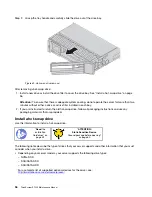
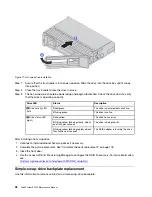
Step 2. Pull the tray handle and carefully slide the simple-swap drive out of the drive bay.
Figure 65. 3.5-inch simple-swap drive removal
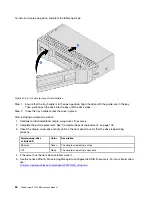
After removing a simple-swap drive:
1. Install a new drive or install the drive filler to cover the drive bay. See “Install a simple-swap drive” on
Note:
To ensure that there is adequate system cooling, do not operate the server for more than two
minutes without either a drive or a drive filler installed in each bay.
2. If you are instructed to return the simple-swap drive, follow all packaging instructions and use any
packaging materials that are provided.
92
ThinkSystem ST550 Maintenance Manual
Summary of Contents for ThinkSystem ST550 7X09
Page 1: ...ThinkSystem ST550 Maintenance Manual Machine Types 7X09 and 7X10 ...
Page 8: ...vi ThinkSystem ST550 Maintenance Manual ...
Page 36: ...28 ThinkSystem ST550 Maintenance Manual ...
Page 188: ...180 ThinkSystem ST550 Maintenance Manual ...
Page 206: ...198 ThinkSystem ST550 Maintenance Manual ...
Page 210: ...202 ThinkSystem ST550 Maintenance Manual ...
Page 219: ......
Page 220: ......


