3: Installation
EMG™ Edge Management Gateway User Guide
40
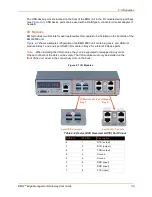
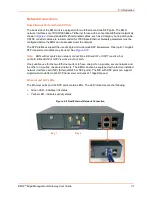
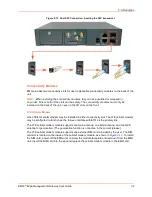
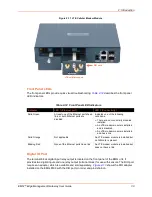
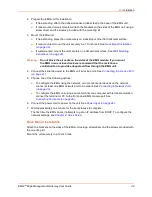
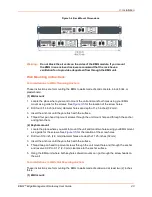
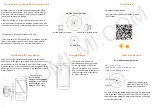
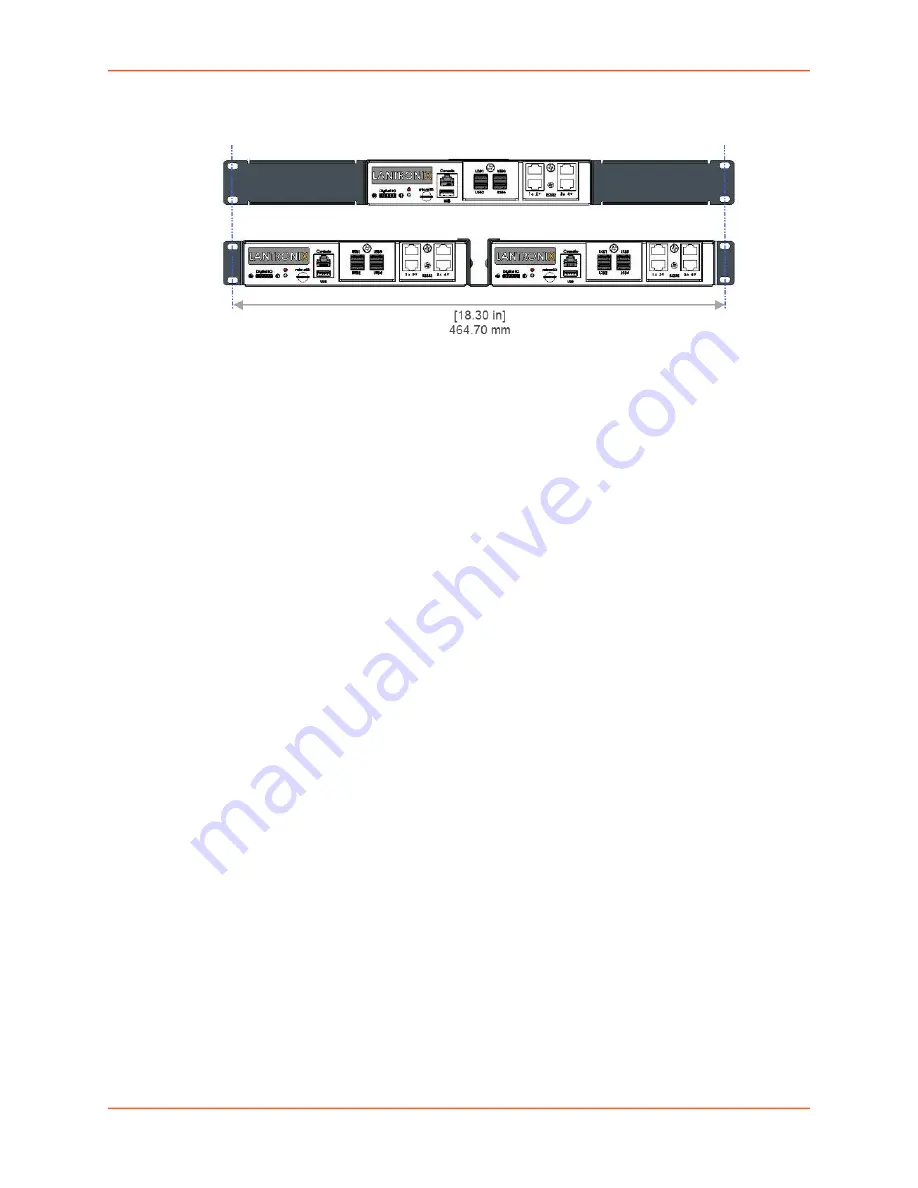
Figure 3-4 Rack Mount Dimensions
Warning:
Do not block the air vents on the sides of the EMG module. If you mount
the EMG in an enclosed rack, we recommend that the rack have a
ventilation fan to provide adequate airflow through the EMG unit.
Wall Mounting Instructions
For installations to Walls Requiring Anchors
These instructions are for mounting the EMG to walls made of solid concrete, block, brick, or
plasterboard.
(1) Wall mount:
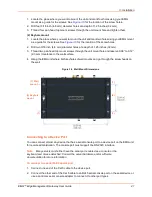
1. Locate the place where you want to mount the unit and mark four holes using your EMG
mount as a guide for the screws. See
for the location of the screw holes.
2. Drill four 3/16 inch (4.8 mm) diameter holes at a depth of 1.25 inches (32 mm).
3. Insert the anchors until they are flush with the surface.
4. Thread four pan head top mount screws through the unit mount hole and through the anchor,
and tighten them.
(2) Keyhole mount:
1. Locate the place where you want to mount the unit and mark two holes using your EMG mount
as a guide for the screws. See
for the location of the screw holes.
2. Drill two 3/16 inch (4.8 mm) diameter holes at a depth of 1.25 inches (32 mm).
3. Insert the anchors until they are flush with the surface.
4. Thread two pan head top mount screws through the unit mount hole and through the anchor,
and reserve 0.08” to 0.12” (2-3 mm) clearance to the anchor surface.
5. Hang the EMG unit where both keyholes of wall mounts can go through the screw heads on
the wall.
For installations to Walls Not Requiring Anchors
These instructions are for mounting the EMG to walls made of solid wood at least two (2) inches
thick.
(1) Wall mount:

