2-32
Installing and Setting up the Machine > Network Setup
Network Setup
Configuring the Wired Network
The machine is equipped with network interface, which is compatible with network protocols such as TCP/IP (IPv4),
TCP/IP (IPv6), NetBEUI, and IPSec. It enables network printing on the Windows, Macintosh, UNIX and other platforms.
Set up TCP/IP (IPv4) to connect to the Windows network.
Be sure to connect the network cable before configuring the settings.
Connecting LAN Cable (page 2-7)
For other network settings, refer to the following:
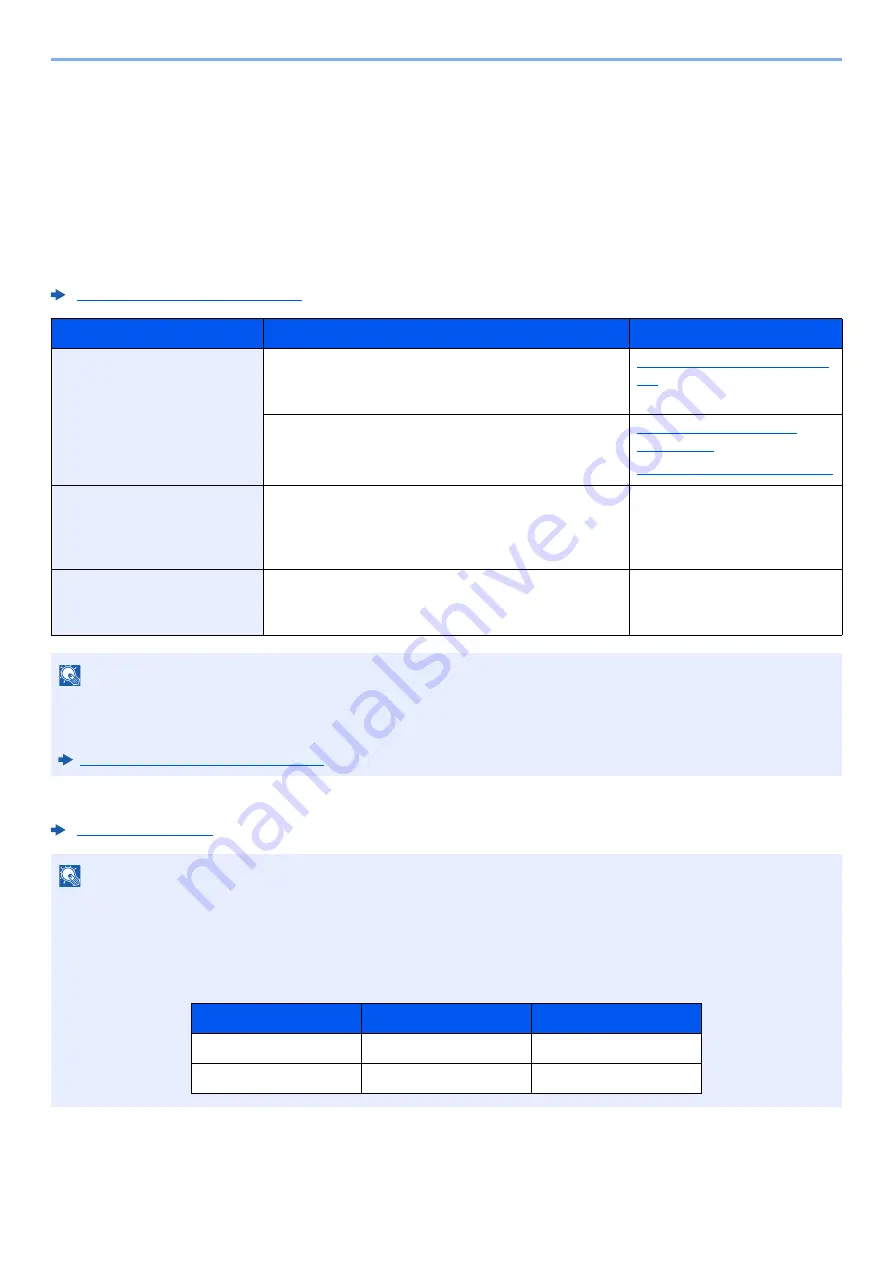
Configuration Method
Description
Reference Page
Configuring the Connection
from the Operation Panel
on This Machine
Use Quick Setup Wizard when configuring the
network in a wizard-style screen, without setting
individually in System menu.
Quick Setup Wizard (page 2-
44)
Use Wired Network Settings or Optional Network to
configure the network in details from System menu.
Wired Network Settings
(page 8-58)
Optional Network (page 8-67)
Configuring Connections
on the Web Page
For the equipped network interface, the connection
can be set by using Command Center RX. For the
optional IB-50, the connection can be set by using
the dedicated Web page.
Command Center RX User
Guide
IB-50 Operation Guide
Setting the Connection by
Using the Setup Utility of
IB-50
This is the setup tool included in the CD of IB-50. You
can use it on Windows.
IB-50 Operation Guide
NOTE
When you want to switch to the network interface other than Wired (default) after installing an optional Network
Interface Kit (IB-50) and a Wireless Network Interface Kit (IB-35 or IB-51), select the desired setting on "Primary
Network (Client)".
Primary Network (Client) (page 8-70)
NOTE
If user login administration is enabled, you can only change the settings by logging in with administrator privileges or
as a user with privileges to configure this setting.
If user login administration is disabled, the user authentication screen appears. Enter a login user name and
password, and select [
Login
].
The factory default login user name and login password are set as shown below.
Model Name
Login User Name
Login Password
TASKalfa 7353ci
7300
7300
TASKalfa 8353ci
8300
8300
Summary of Contents for TASKalfa 7353ci
Page 1: ...kyoceradocumentsolutions com Operation Guide TASKalfa 8353ci TASKalfa 7353ci ...
Page 553: ...10 20 Troubleshooting Regular Maintenance 4 Install the Staple Waste Box 5 Close the cover ...
Page 555: ...10 22 Troubleshooting Regular Maintenance 4 Install the Punch Waste Box 5 Close the cover ...
Page 616: ...10 83 Troubleshooting Clearing Paper Jams 12Return the side feeder to the original position ...
Page 661: ...10 128 Troubleshooting Clearing Paper Jams 14Return the covers to the original position ...
Page 720: ......
Page 723: ...2019 6 2XNKDEN000 is a trademark of KYOCERA Corporation 2019 KYOCERA Document Solutions Inc ...


