About the Control Panel
14
13
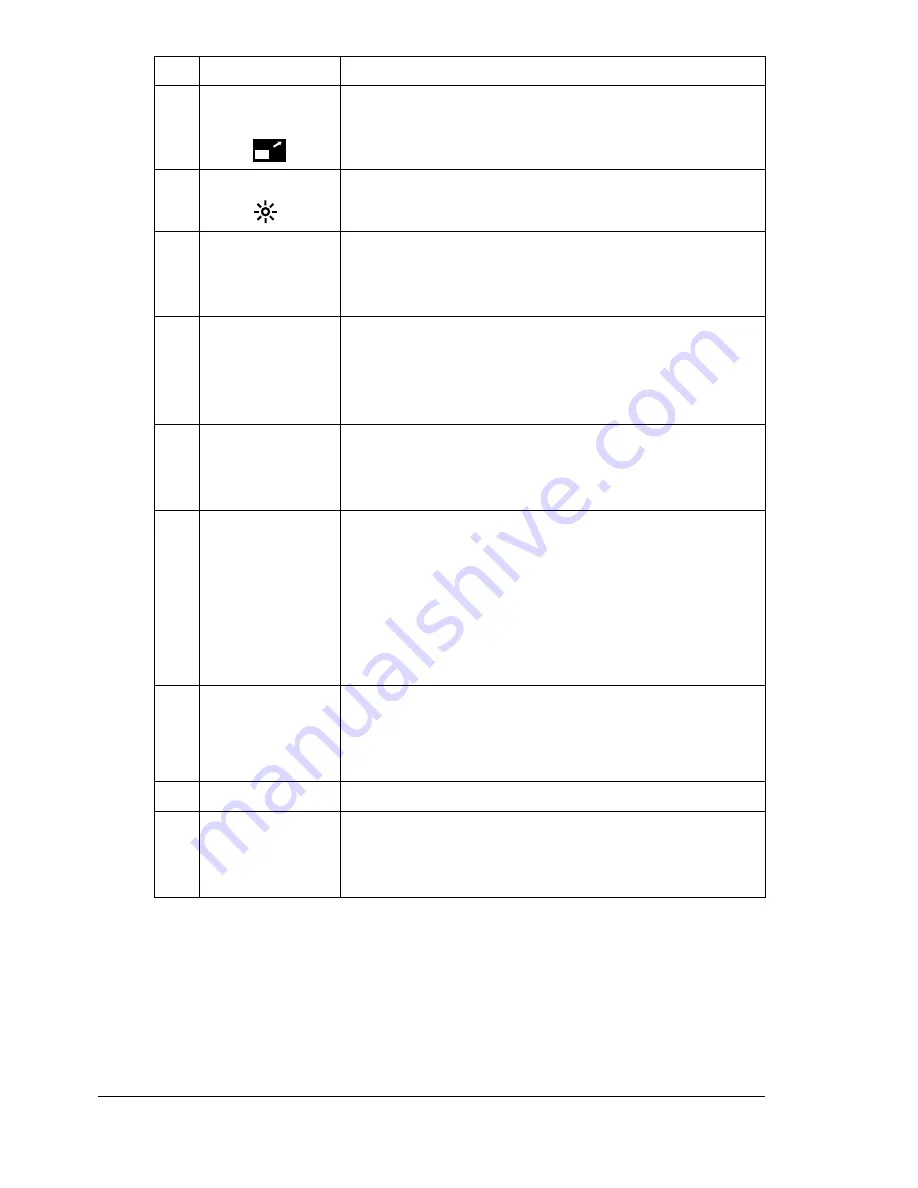
Reduce/
Enlarge
key
Press to specify reduced/enlarged copying with pre-
set zoom ratios.
14
Light/Dark
key Press to select the copy density.
15
*
/
)
keys
Press to move left and right through the setting
screens, such as the configuration menu.
Press to select the copy density.
16
+
/
,
keys
Press to move up and down through the setting
screens, such as the configuration menu.
Press to specify the zoom ratio in 0.01 incre-
ments. (Setting range: 0.50 to 2.00)
17
Menu Select
key
Press to display the configuration menu.
Press to select the setting that is currently dis-
played.
18
Cancel/C
key
Press to cancel the setting that is currently dis-
played.
Press to clear the specified number of copies.
Press to return to the first screen of a menu item
or to the main screen.
Press to cancel printing from the print screen.
19
TC Change
key Press to display the message for replacing the toner
cartridge. For details on replacing the toner car-
tridge, refer to “Replacing the Toner Cartridge” on
page 126.
20
Start-Color
key Press to begin full-color copying.
21
Start
indicator
Lights up in green when copying is possible.
Lights up in orange if copying is not possible, for
example, during warm-up or if an error has occurred.
No. Name
Function
Summary of Contents for BIZHUB C10
Page 1: ...bizhub C10 Printer Copier Scanner User s Guide 4556 9607 00A ...
Page 14: ...Contents viii ...
Page 15: ...1 Introduction ...
Page 24: ...Getting Acquainted with Your Machine 10 ...
Page 25: ...2 Control Panel and Configuration Menu ...
Page 52: ...Configuration Menu Overview 38 ...
Page 53: ...3 Media Handling ...
Page 71: ...Loading Media 57 10 Carefully close the engine cover ...
Page 77: ...Loading Media 63 6 Reattach the lid to Tray 2 7 Reinsert Tray 2 into the machine ...
Page 87: ...4 Using the Printer Driver ...
Page 96: ...Printer Driver Settings 82 ...
Page 97: ...5 Using Direct Print ...
Page 100: ...Camera Direct Photo Printing 86 ...
Page 101: ...6 Using the Copier ...
Page 112: ...Making Advanced Copies 98 ...
Page 113: ...7 Using the Scanner ...
Page 138: ...Basic Scan to PC Operation 124 ...
Page 139: ...8 Replacing Consumables ...
Page 155: ...9 Maintenance ...
Page 170: ...Storing the machine 156 ...
Page 171: ...10 10 Troubleshooting ...
Page 181: ...Clearing Media Misfeeds 167 8 Reinstall the drum cartridge 9 Carefully close the engine cover ...
Page 185: ...Clearing Media Misfeeds 171 20 Reinsert Tray 2 ...
Page 214: ...Status Error and Service Messages 200 ...
Page 215: ...11 11 Installing Accessories ...
Page 223: ...A Appendix ...
Page 236: ...Index 222 ...


