NOTE:
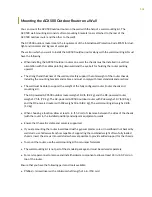
• The mounting screws are not provided. The size and strength of the mounting screws
must safely support the total weight of the router chassis, including the mounting
brackets and cables, and must comply with the local standards and practices.
• It is important to leave 1/4 in. of the screw. The keyholes on the wall-mounting bracket
align with these screws and help hang the wall-mounting kit on the wall.
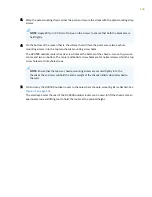
6.
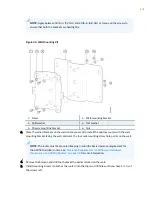
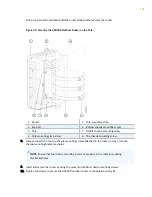
Carefully align the wall-mounting bracket keyholes of the joined brackets and hang it on the two
screws that were secured on the wall in step
. See
.
Figure 37: Installing the Wall-Mounting Kit
1
—
Wall-mounting bracket keyhole
3
—
Chassis-mounting bracket
2
—
Chassis-mounting bracket keyhole
4
—
Wall-mounting bracket
7.
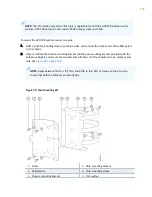
Pull the wall-mounting kit gently down so that it sits tightly on the screws.
8.
Insert two mounting screws onto the bottom wall-mounting holes to completely secure the wall-
mounting kit to the wall.
9.
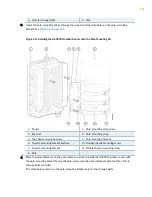
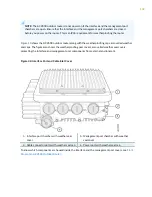
Lift and carry the ACX500 outdoor router to the wall where the wall-mounting kit is attached.
The small eye bolt at the top of the ACX500 outdoor router can be used to lift the chassis. Use an
appropriate rope and lifting tool to hoist the router at the desired height.
One person must be available to lift the router while another secures the router.
10. Insert two mounting screws on the top of the outdoor router and secure the screws.
135

