87
x
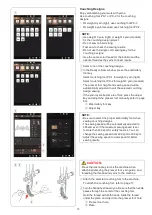
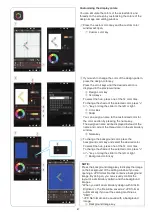
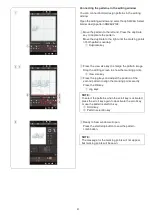
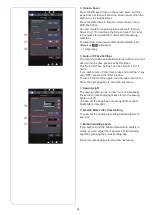
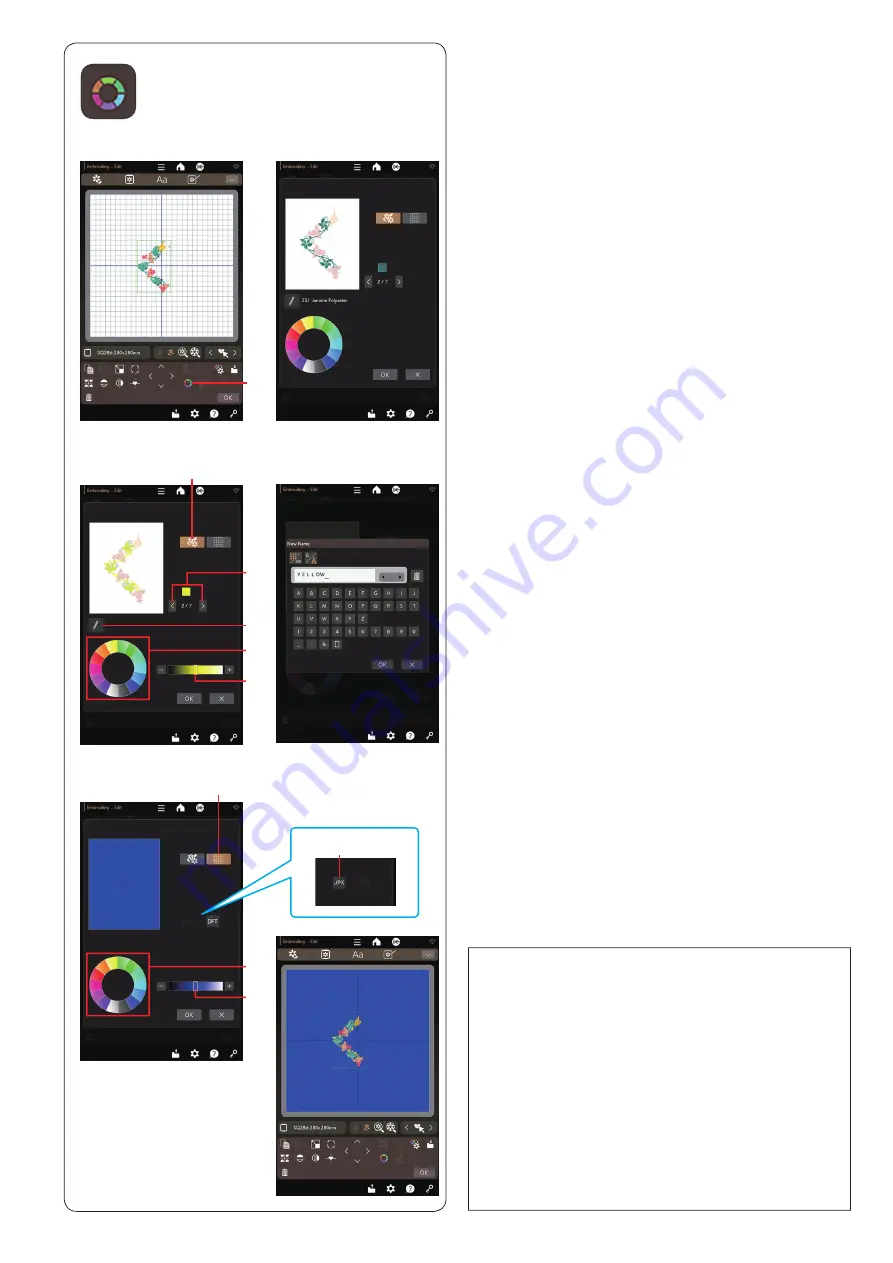
If you wish to change the color of the design pattern,
press the design color key.
Press the scroll keys until the desired section is
displayed in the preview window.
w
Design color key
e
Scroll keys
To select the hue, press one of the 14 color tiles.
To change the shade of the selected color, press “+”
or “–” key, or drag the slider to the left or right.
r
Color tiles
t
Slider
You can assign a name to the customized color for
the color section by pressing the name key.
The assigned name will be displayed instead of the
name and code of the thread color in the embroidery
window.
y
Name key
c
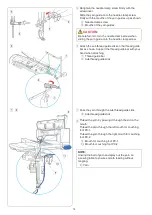
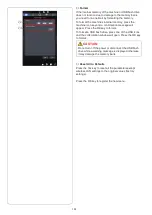
To change the background color, press the
background color key and select the desired color.
To select the hue, press one of the 14 color tiles.
To change the shade of the selected color, press “+”
or “–” key, or drag the slider to the left or right.
u
Background color key
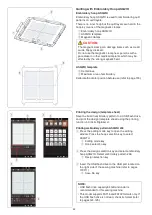
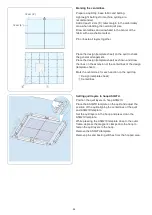
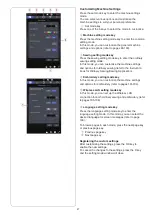
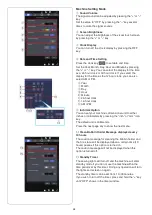
Customizing the display colors
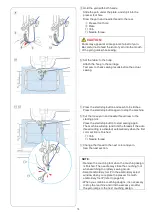
You can simulate the colors of the actual fabric and
threads on the screen by customizing the colors of the
design image and editing window.
z
Press the custom color key and the custom color
window will open.
q
Custom color key
q
r
t
y
e
w
z
x
c
r
t
u
NOTE:
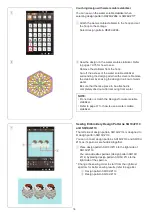
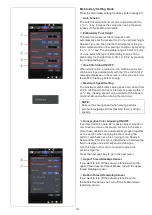
Press the background image key to display the image
on the background of the editing window if you are
opening a JPX format file that contains a background
image. By doing so, you can visually confirm the
layout of a embroidery pattern and the background
images.
* When you edit an embroidery design with Artistic
Digitizer Jr., the file will be saved as *.JPX format
automatically if you set the sewing machine as
“CM17”.
*
.JPX file format can be saved with a background
image.
i
Background image key
i

