40
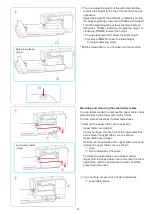
Attaching the Embroidery Hoop to the Machine
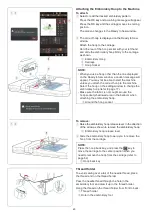
To attach:
z
Select or edit the desired embroidery pattern.
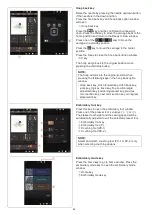
Press the OK key and a warning message will appear.
Press the OK key and the carriage moves to starting
position.
The screen changes to the Ready to Sew window.
x
The correct hoop is displayed on the Ready to Sew
window.
Attach the hoop to the carriage.
Hold the rear of the hoop socket with your left hand
and slide the embroidery hoop firmly to the carriage
as shown.
q
Embroidery Hoop
w
Carriage
e
Hoop Socket
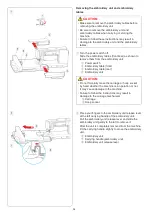
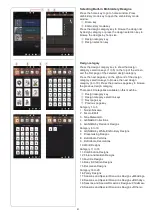
To remove:
z
Raise the embroidery hoop release lever in the direction
of the arrow as shown to remove the embroidery hoop.
t
Embroidery hoop release lever
x
Slide the embroidery hoop toward you to remove the
hoop from the carriage.
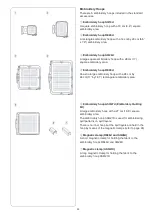
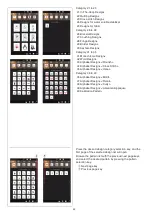
Thread Holder
To avoid sewing over a tail of the needle thread, place
the thread end on the thread holder.
Pass the needle thread through the hole in the
embroidery foot and draw it up to the thread holder.
Hang the thread on the thread holder from front to back.
q
Thread holder
w
Hole in the embroidery foot
NOTE:
• When you use a hoop other than the one displayed
on the Ready to Sew window, a caution message will
appear. You may not be able to start the machine
unless you attach the correct hoop to the machine.
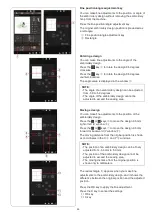
Select the hoop on the editing window to change the
embroidery hoop (refer to page 77).
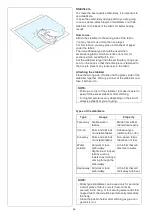
• Make sure the fabric is not caught around the
hoop socket (shadowed area in the balloon) when
attaching the embroidery hoop.
r
Around the hoop socket
z x
w
e
q
q
w
r
y
z x
t
NOTE:
Press the hoop back key, and press the
key to
move the carriage to the center position when you
need to remove the hoop from the carriage (refer to
page 54).
y
Hoop back key

